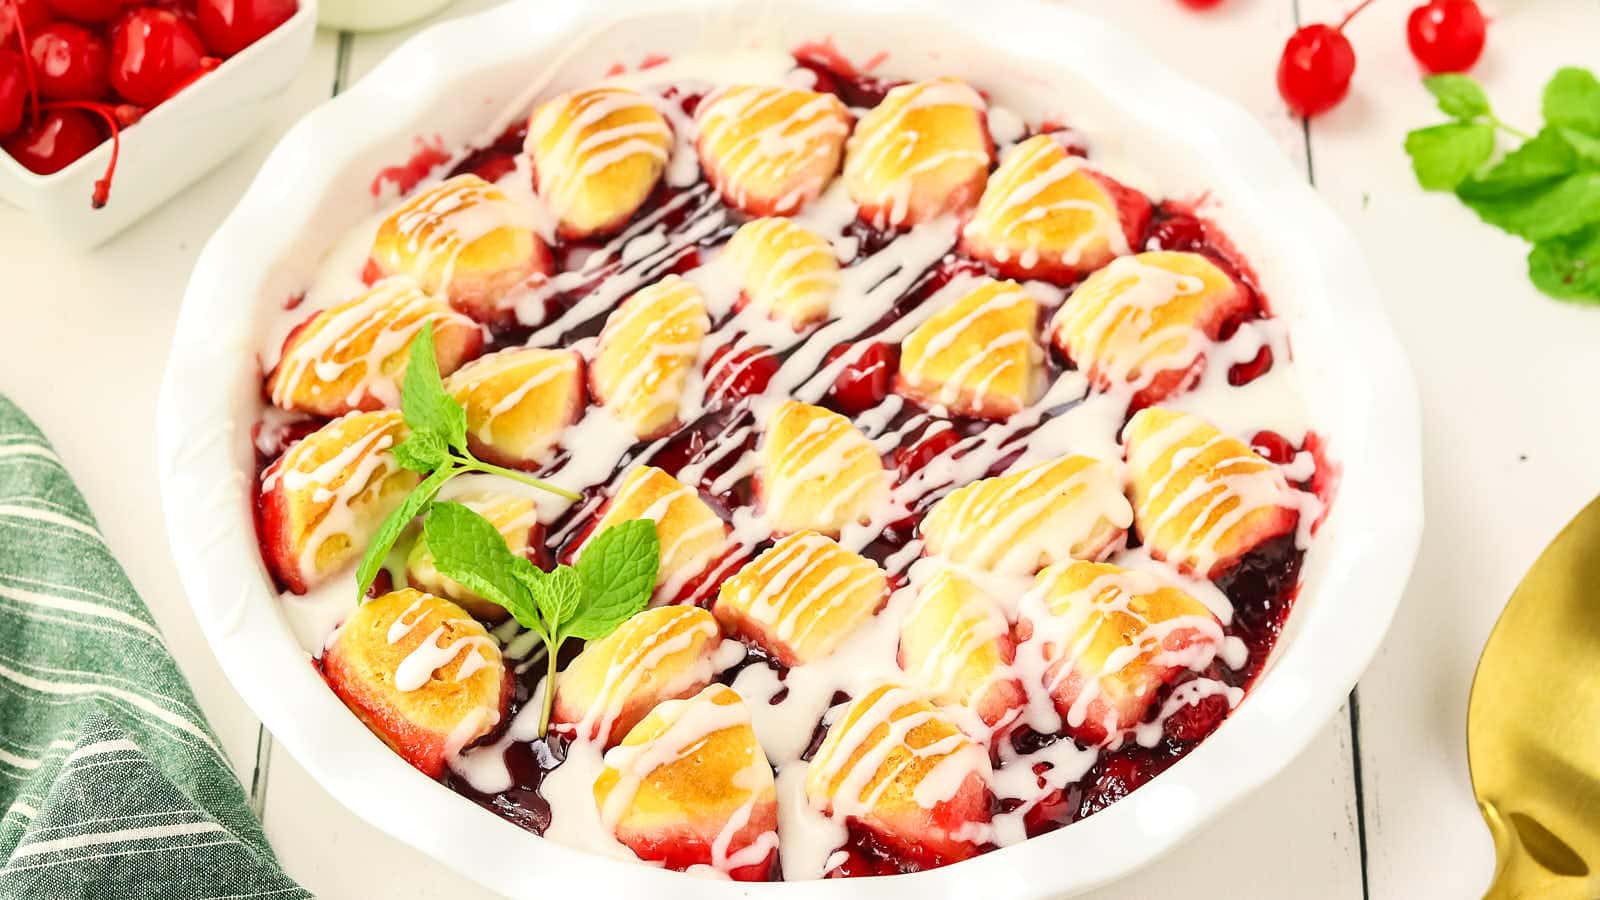
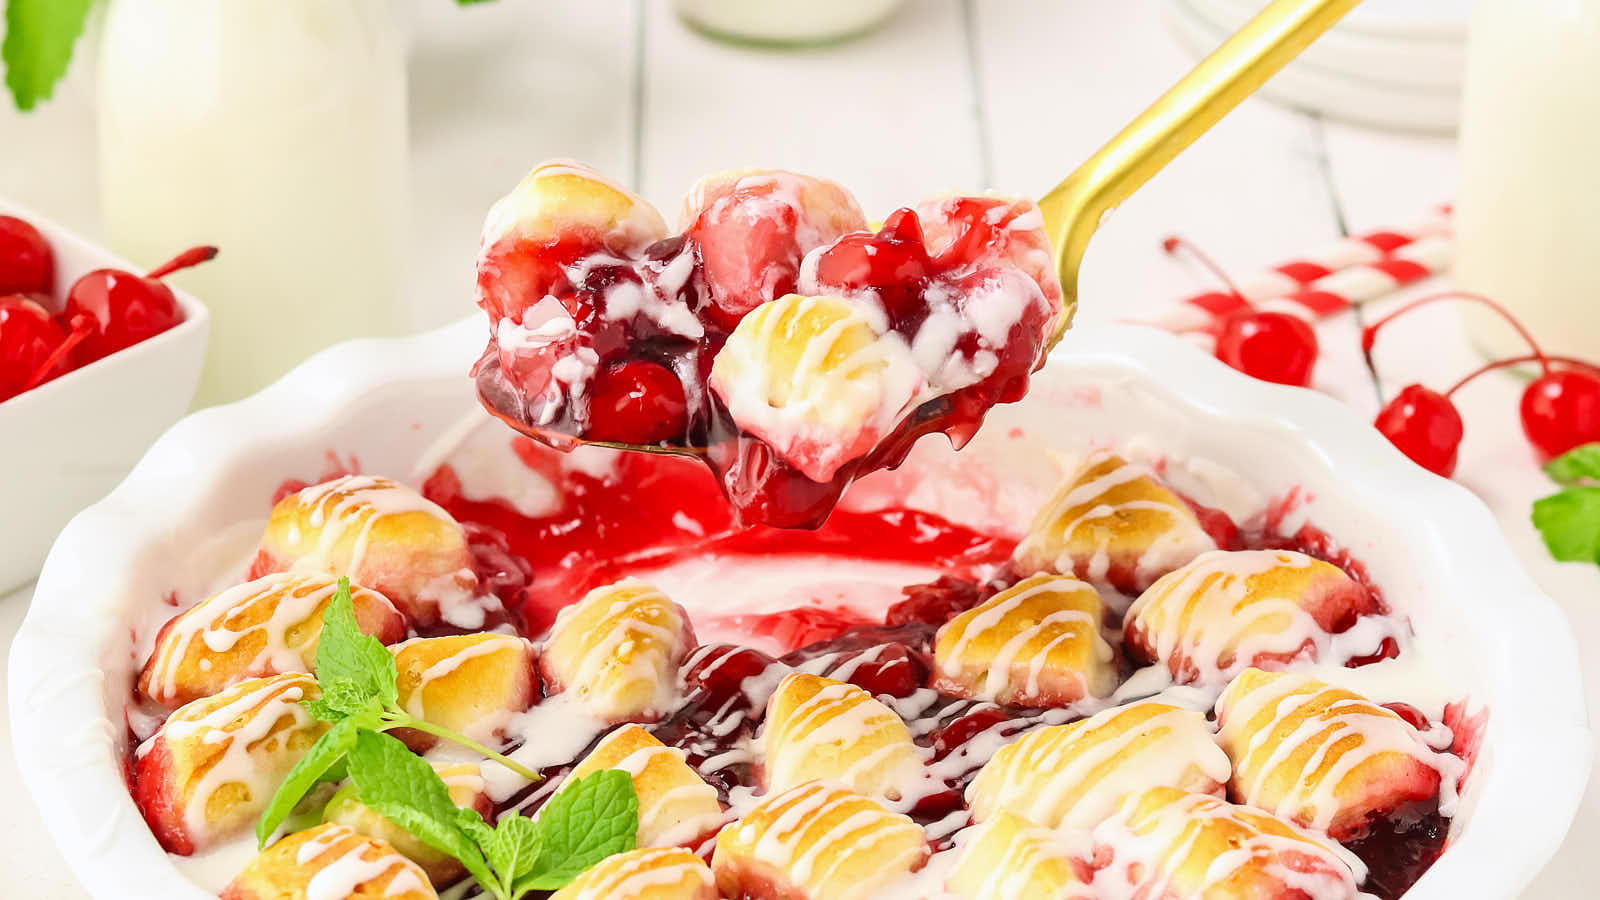
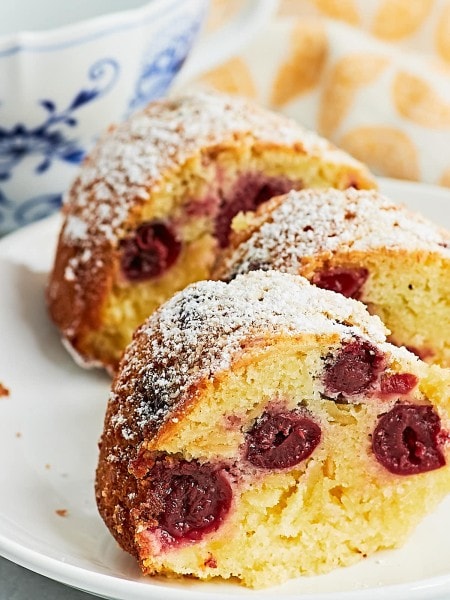
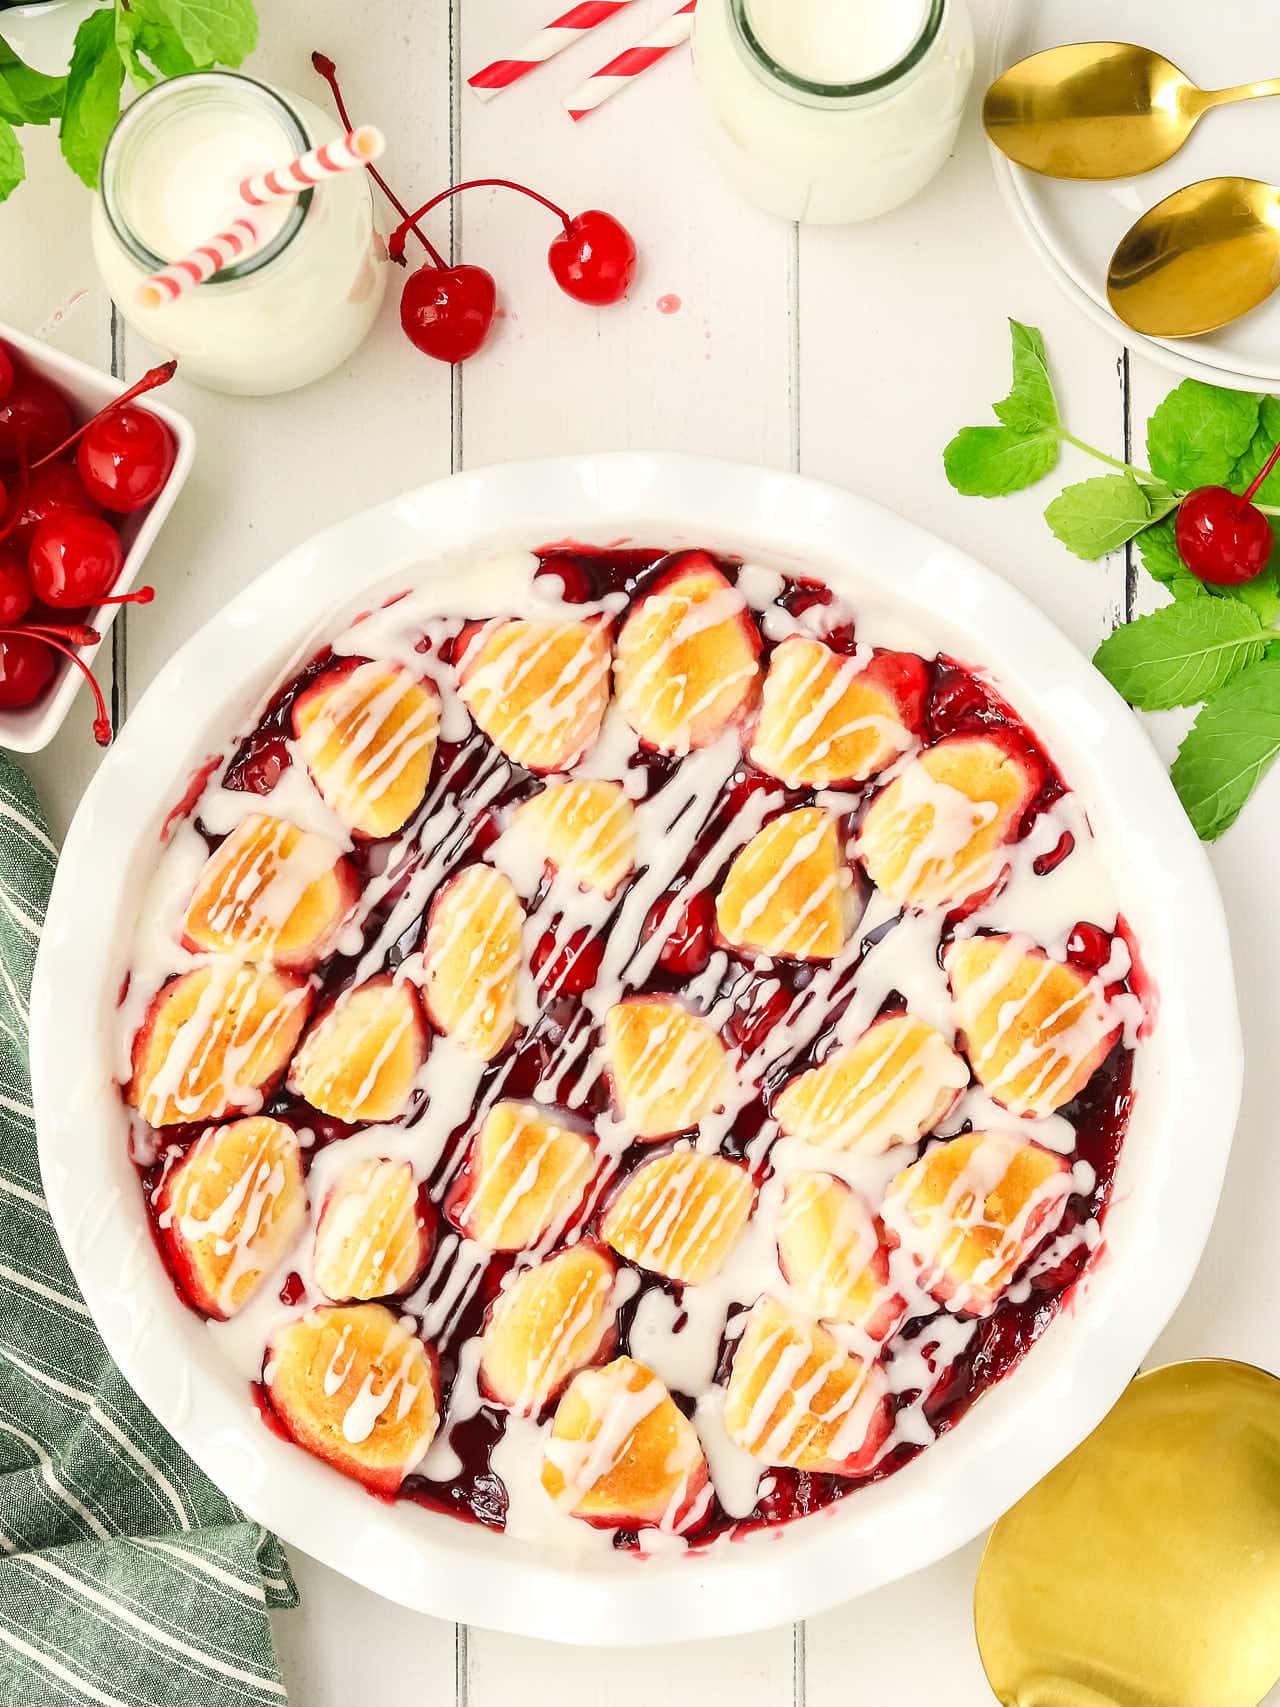
Easy Cherry Cobbler

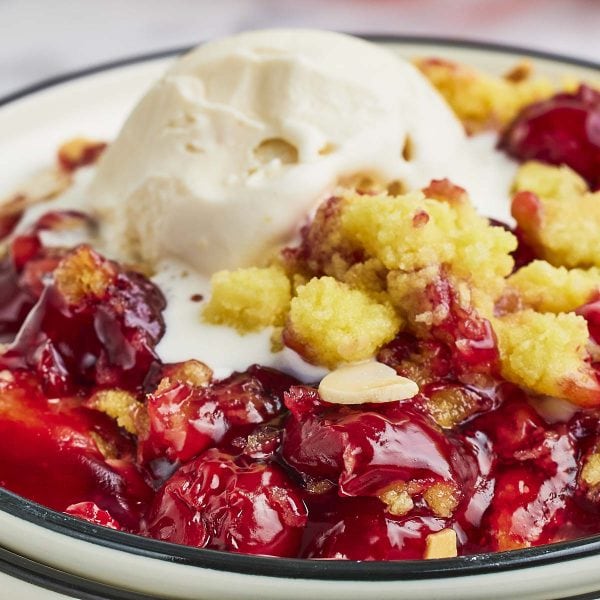
Easy Cherry Cobbler is the kind of dessert we can count on when we want something warm, fruity, and quick to make without any stress.
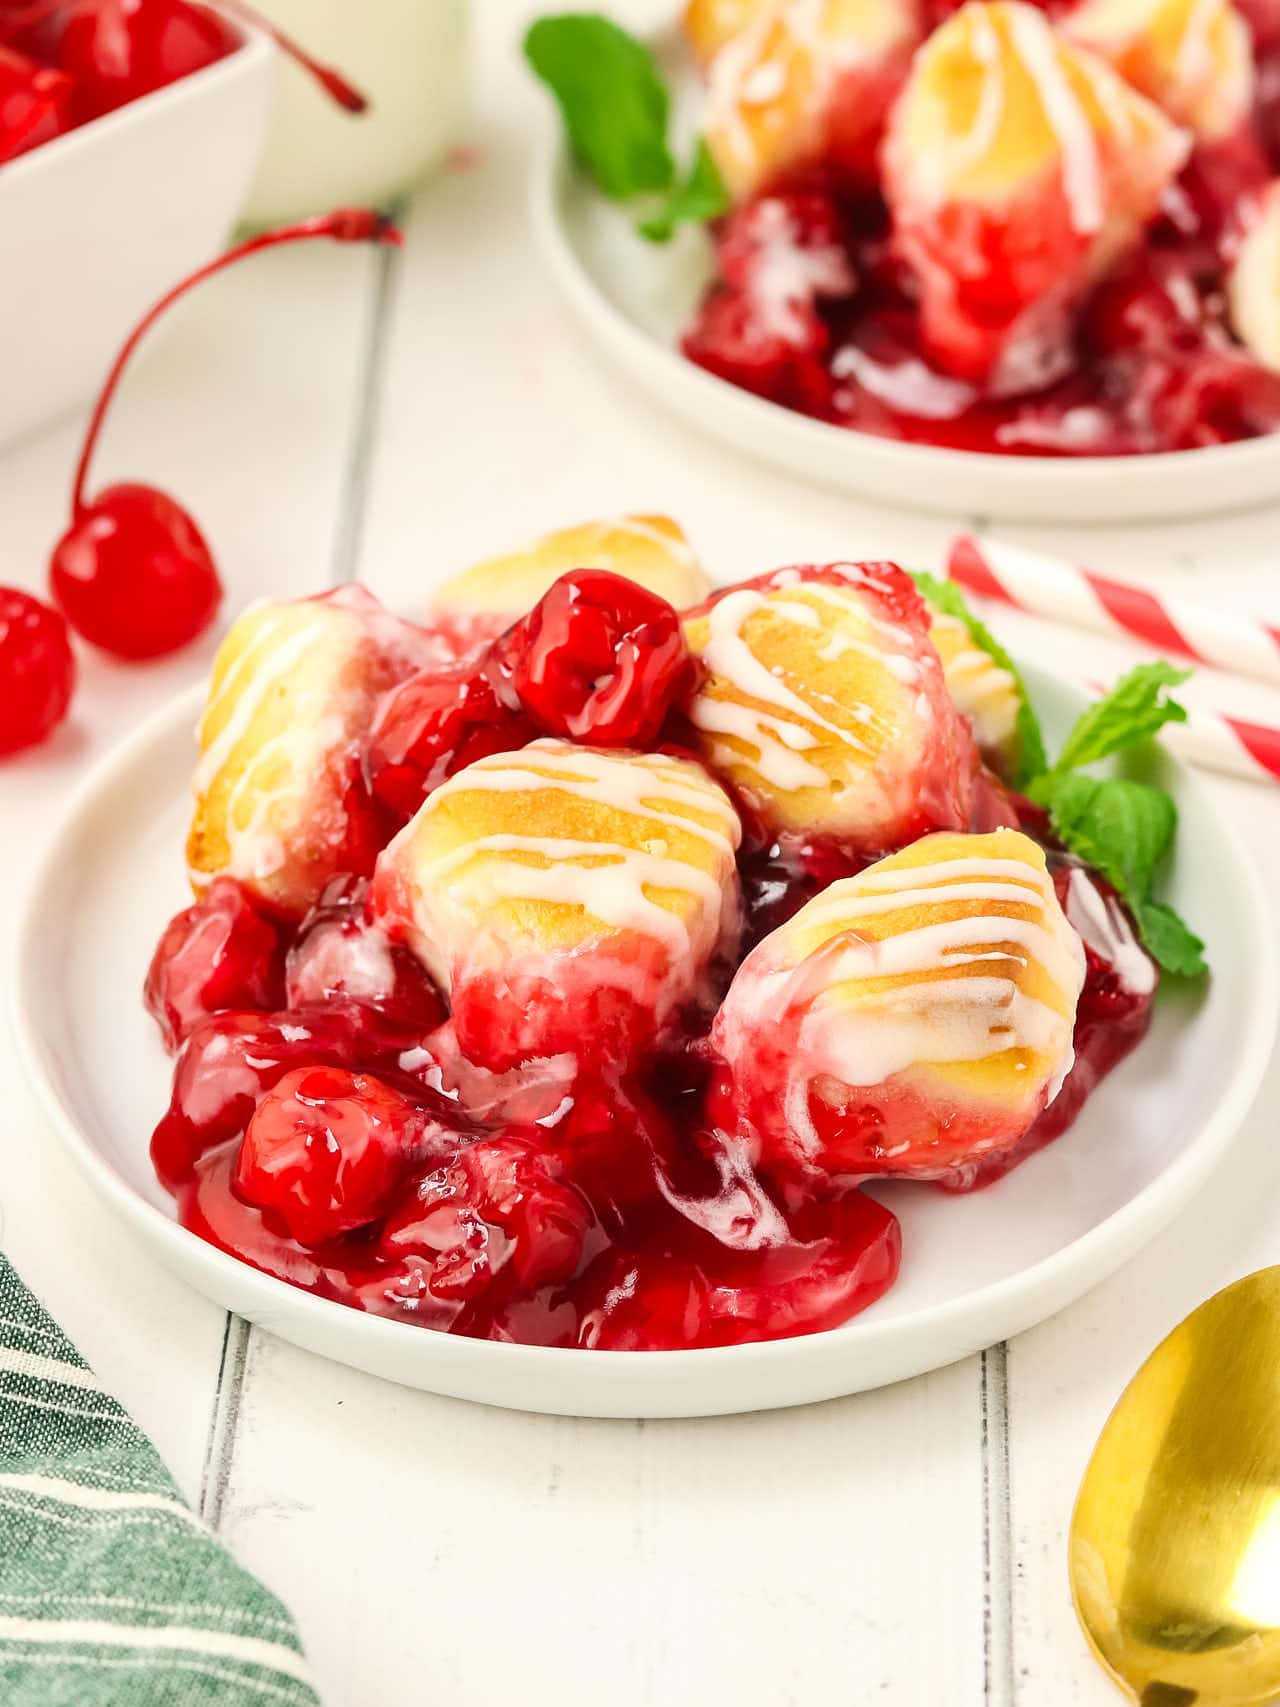
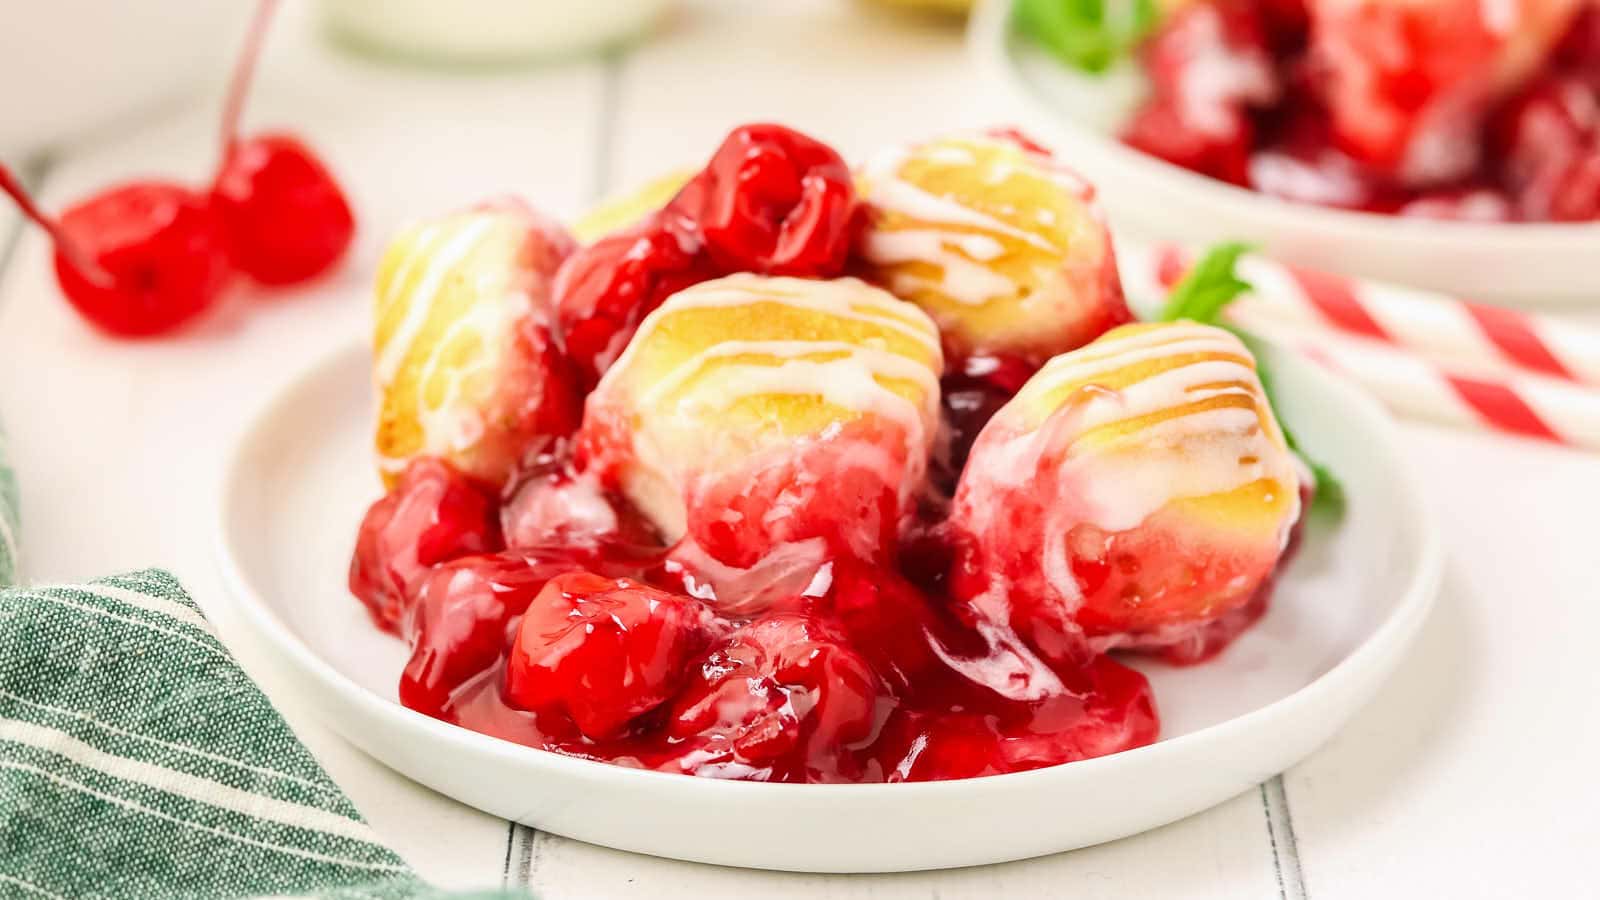
It’s made with cherry pie filling, canned biscuits, powdered sugar, and cream, using just four simple ingredients that bake into a bubbly golden dessert topped with a sweet drizzle.
Whether you’re short on time or just need a reliable treat everyone will love, this cobbler brings ease and flavor together in the best kind of way.
Cherry Cobbler Recipe Highlights
- Just 4 ingredients and 30 minutes from start to finish
- No mixing bowls required for the cobbler base
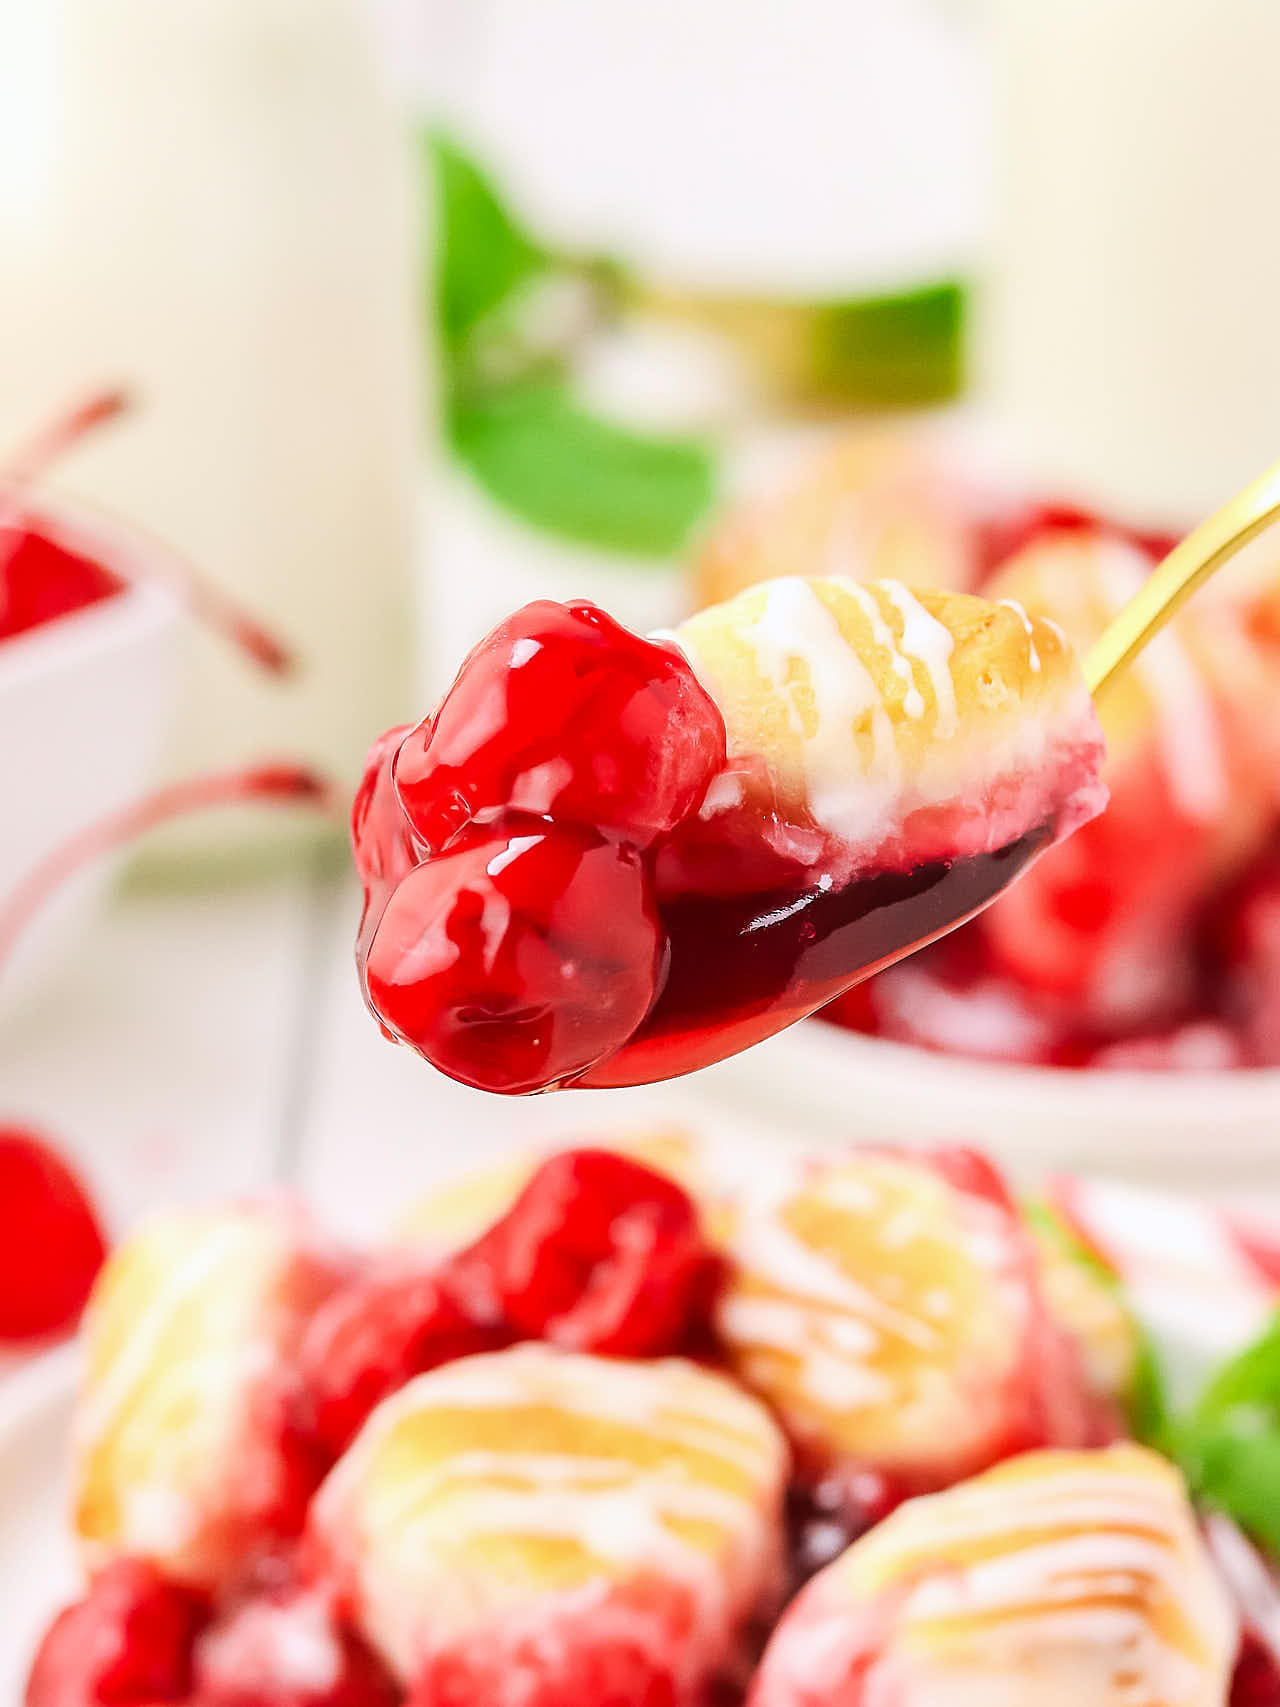
- Golden biscuits on top give the perfect soft crunch
- Great way to use canned cherry pie filling
- Easy to adapt with other fruit fillings or biscuit types
Ingredient Notes
Please check the recipe card below for a detailed, printable ingredient list.
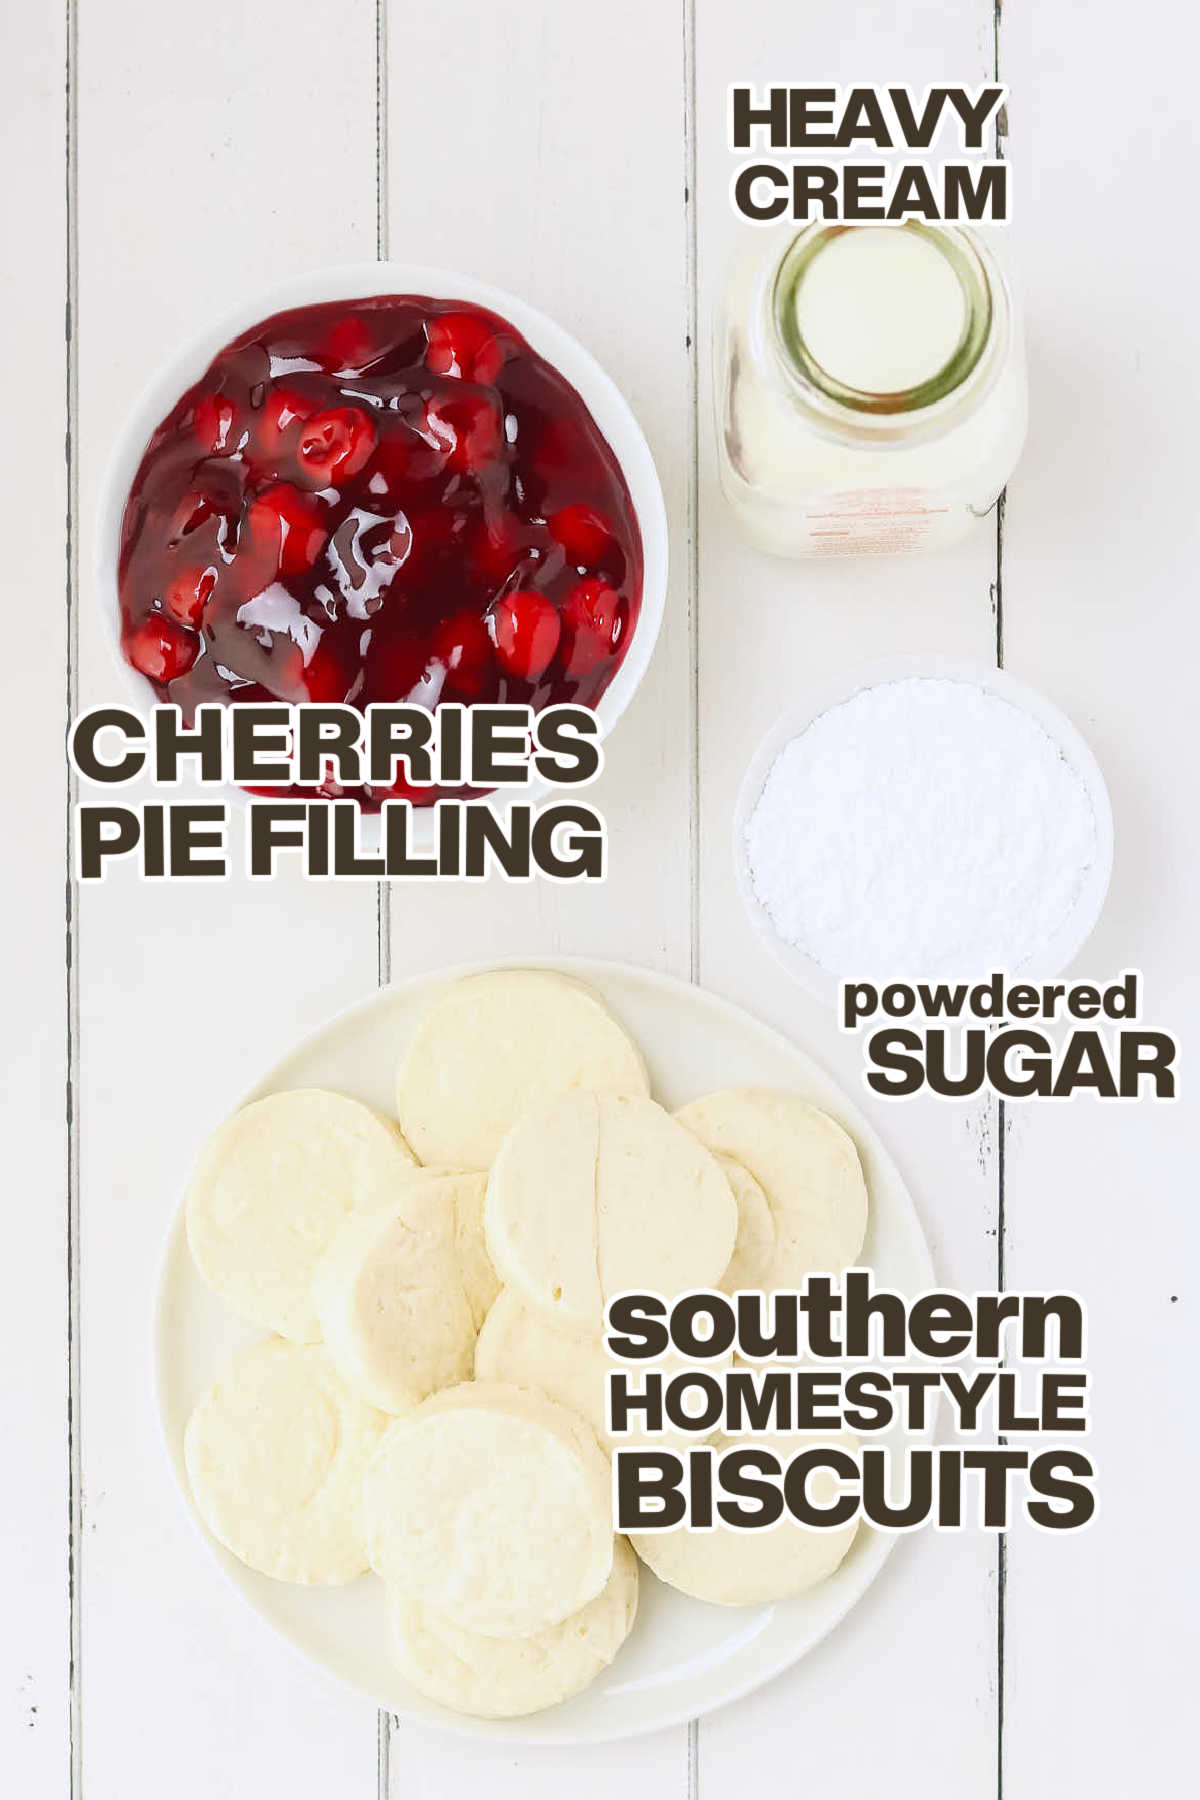
FILLING – I use canned cherry pie filling because it brings bold fruit flavor and the thick, gooey texture we want without needing extra sugar or cornstarch. It’s reliable and makes this cobbler fast and fuss-free.
BISCUITS – I use regular Pillsbury Southern Biscuits, not the grand or flaky layers. They bake up golden and tender, soaking in just enough cherry flavor while holding their shape.
SUGAR – I use powdered sugar for the glaze because it mixes smoothly and gives a soft, sweet finish that balances the tart cherries. It also adds a nice shine once it sets.
CREAM – I use heavy cream to make a thick, pourable glaze that sticks to the biscuits without running off. Milk works in a pinch, but the glaze will be lighter and less rich.
How To Make a Cherry Cobbler
Please check the printable recipe card below for more detailed instructions.

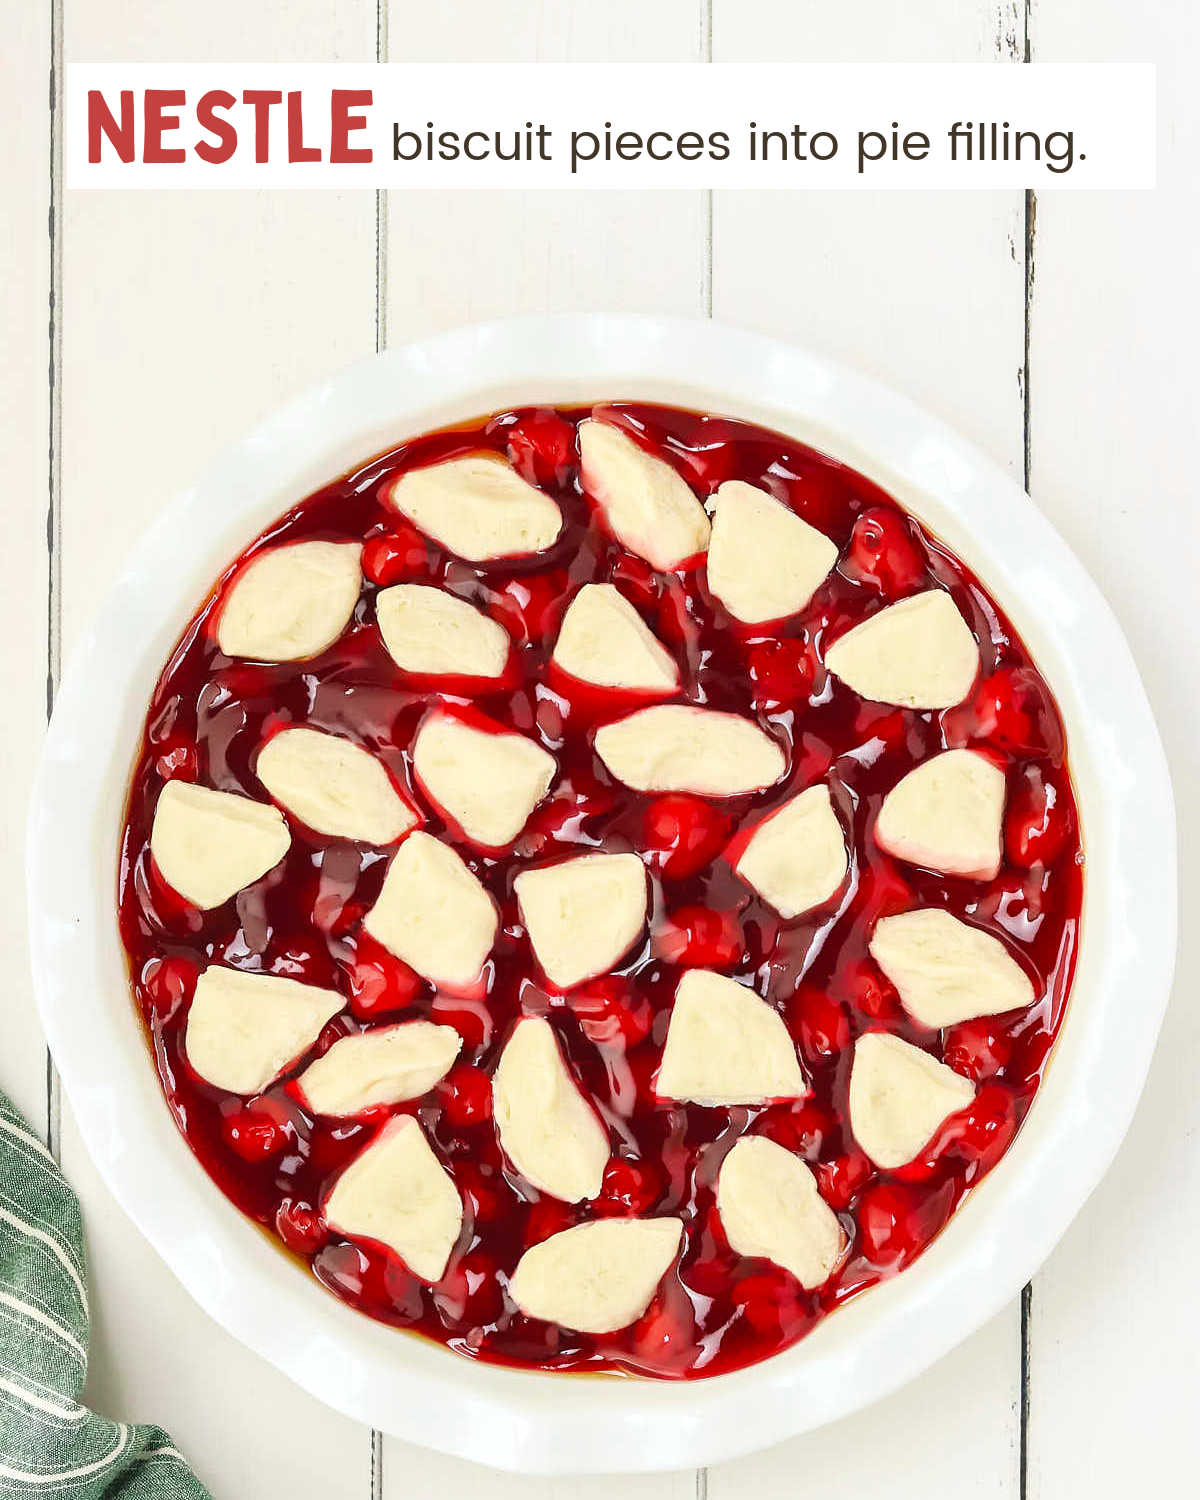
- Add the cherry pie filling to a pie dish.
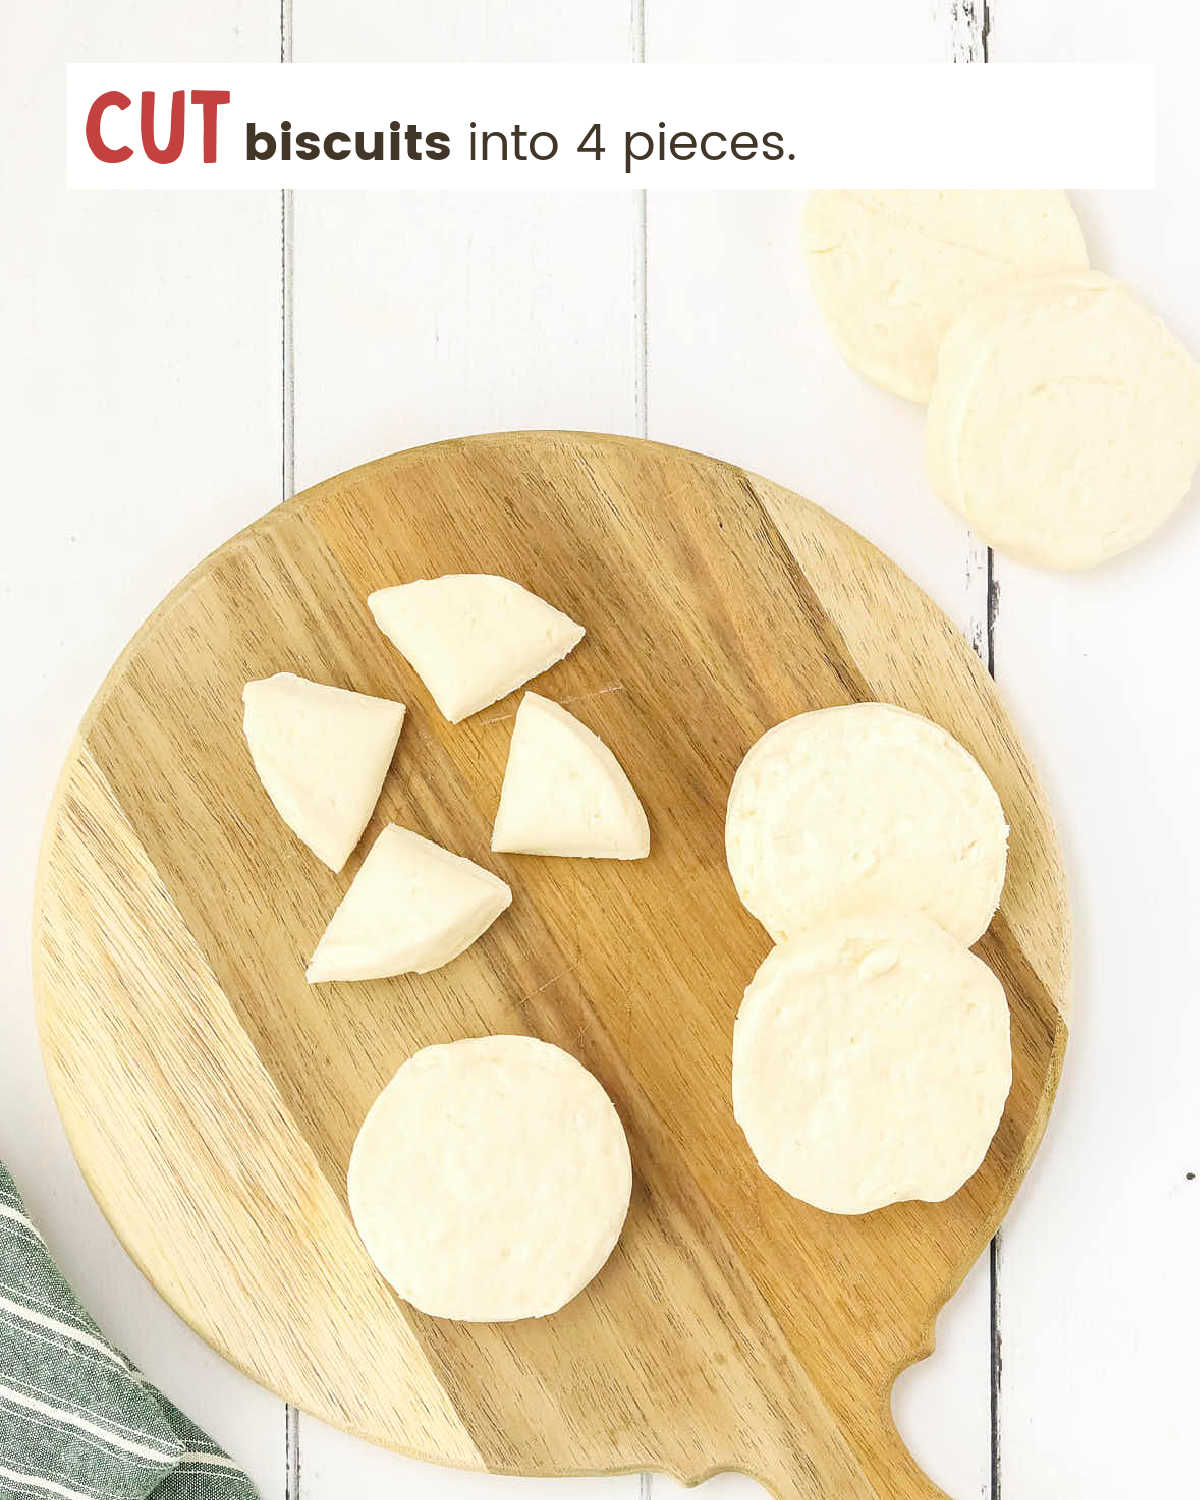
- Cut biscuits into quarters and nestle them into the filling.
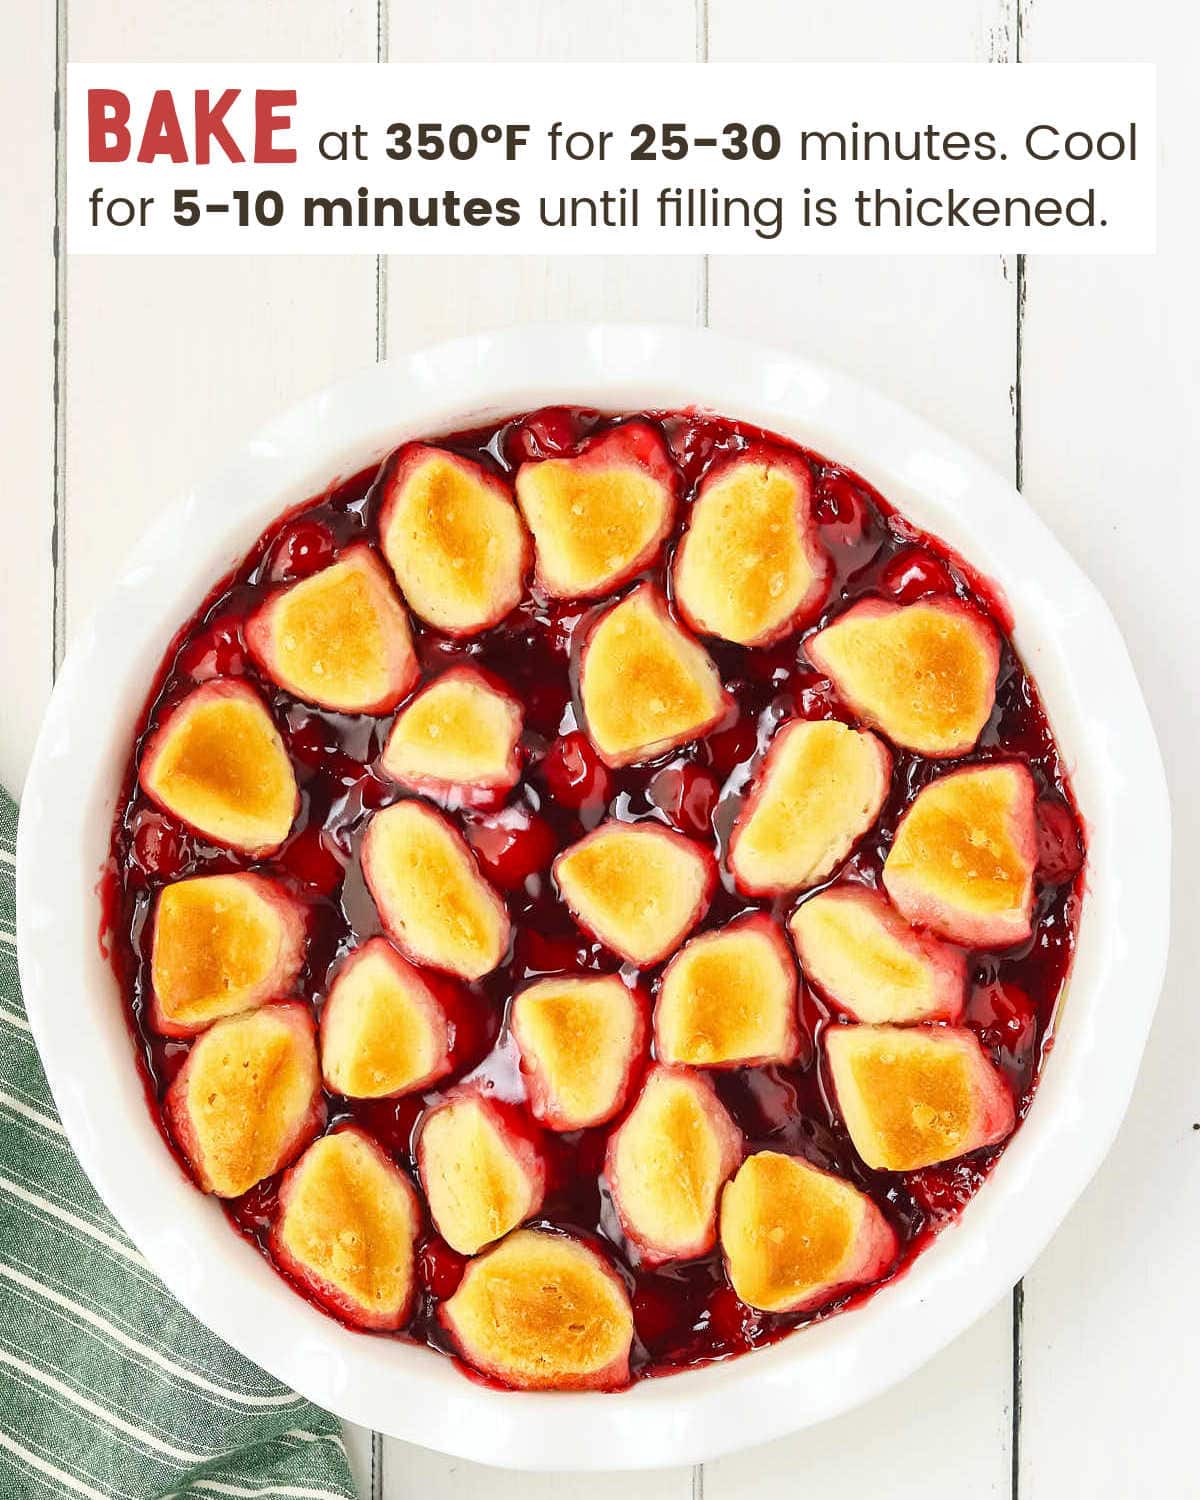
- Bake at 350º Fahrenheit for 30 minutes until golden and bubbly.
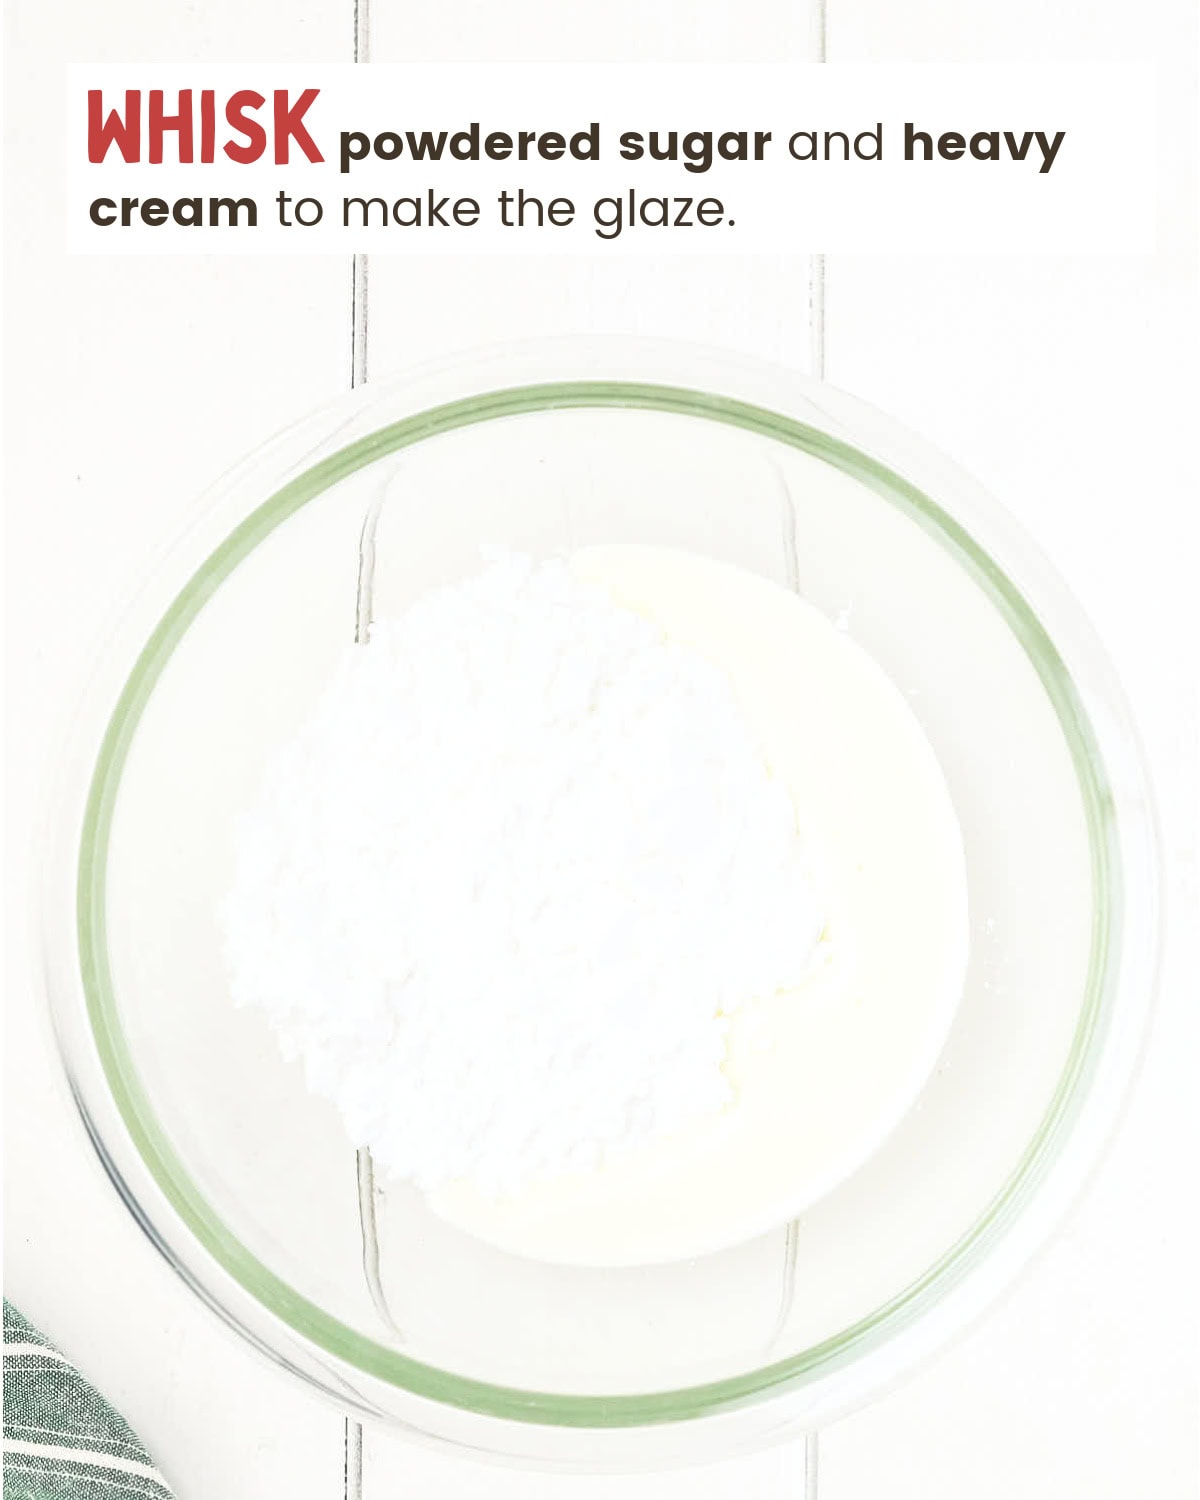
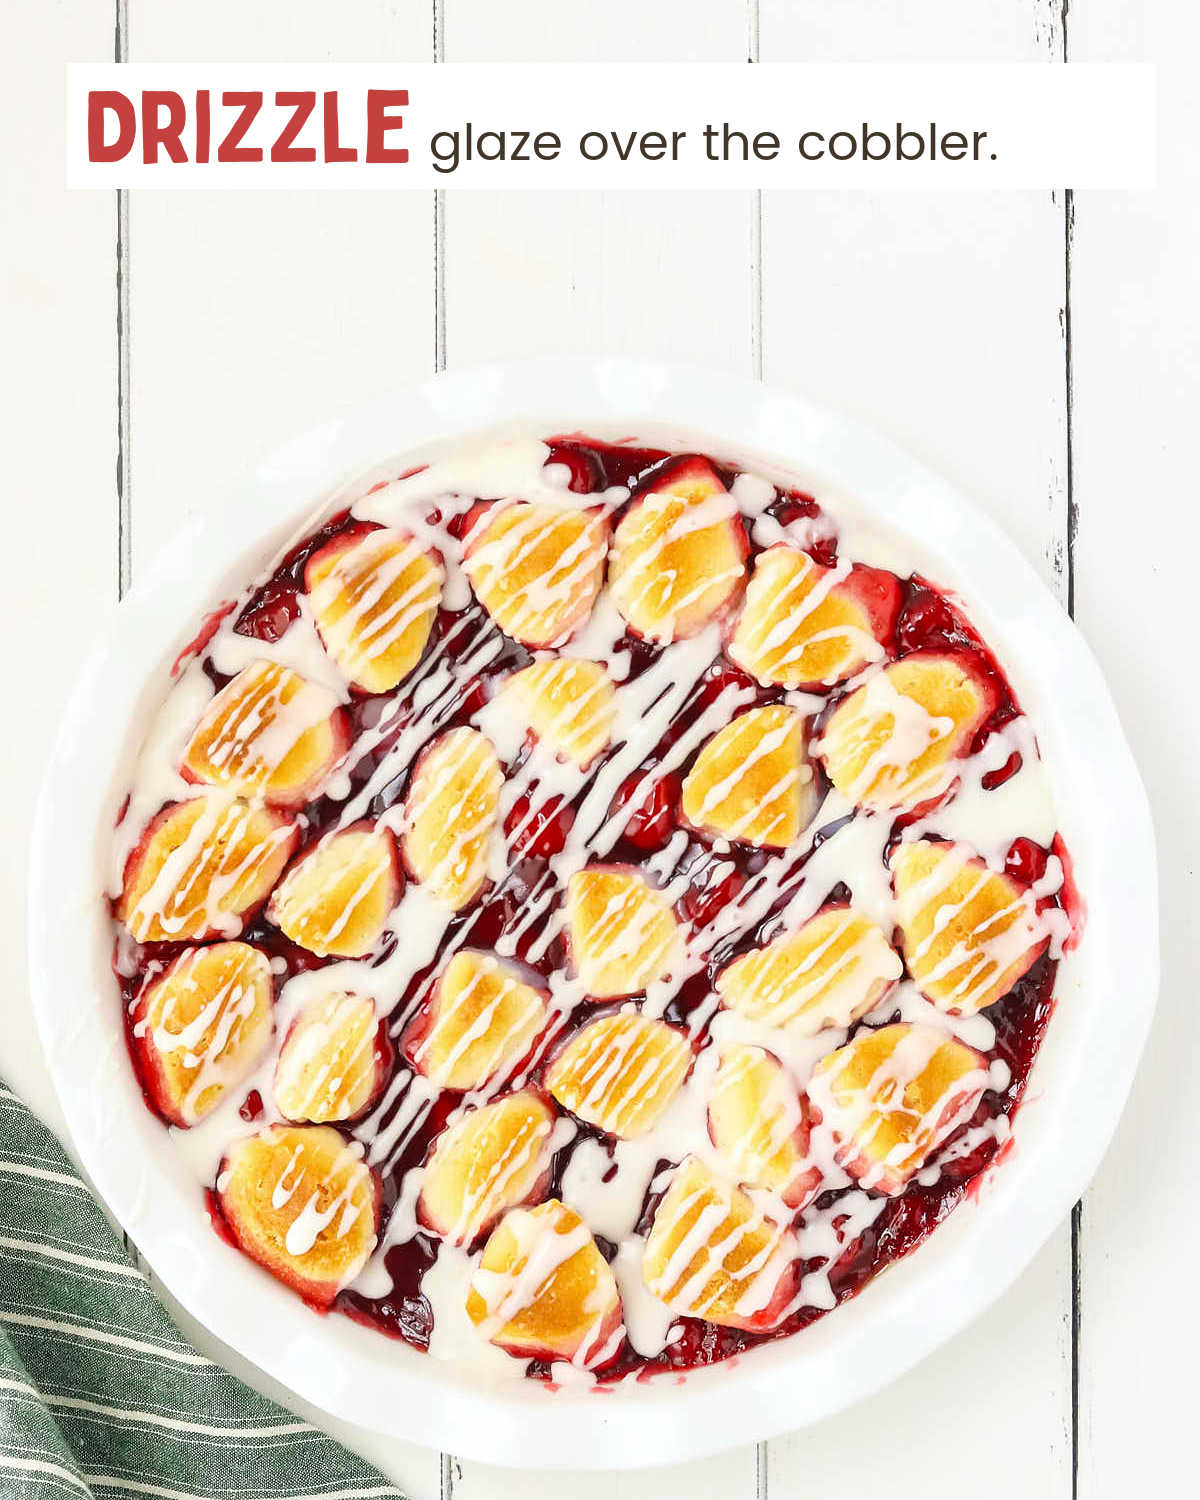
- Mix powdered sugar with heavy cream, then drizzle the glaze over the top.
Leftovers and Storage
STORE – Cover leftovers with foil or move them to an airtight container. They’ll stay fresh for 2 to 3 days at room temperature or up to 6 days in the fridge. The biscuits soften slightly, but the flavor holds up well.
FREEZE – Freeze the fully baked cobbler in a sealed container for up to 2 months. Let it thaw on the counter, uncovered, so the biscuits don’t get soggy as they defrost.
REHEAT – Warm individual portions in the microwave for 20 to 30 seconds. If you’re reheating a larger portion, use the oven at 300º Fahrenheit for about 10 minutes to keep the biscuits from getting too soft.
MAKE AHEAD – You can make the glaze up to two days in advance and store it covered in the fridge. Give it a good stir before drizzling. The cobbler itself comes together quickly, so it’s best to bake it fresh.
More Easy and Delicious Cherry Desserts

Serving Suggestions
VANILLA ICE CREAM – A scoop melts right into the warm cherry cobbler and gives you that classic hot-and-cold combo everyone loves.
WHIPPED CREAM – A generous dollop on top softens the tart cherries and keeps the glaze from feeling too sweet.
FRESH MINT – Just a few leaves can dress it up if you’re serving guests or want to make it feel a little special without extra work.
Recipe Success Tips
USE REGULAR SIZE BISCUITS – Stick with regular canned biscuits because the jumbo or flaky styles can bake unevenly and may not hold their shape in the filling.
LEAVE SPACE TO EXPAND – Nestle the biscuit pieces gently into the filling and leave space between them so they can puff up as they bake.
LET IT COOL SLIGHTLY – Give the cobbler about 10 minutes to rest after baking. This helps the filling set and makes it easier to scoop and serve.
Commonly Asked Questions
Can I use homemade pie filling instead of canned?
Yes, if your homemade filling has a thick consistency like canned, it will work just fine.
Should I use flaky biscuits or homestyle?
Stick with regular homestyle biscuits because the flaky ones can separate too much during baking.
Can I double this recipe?
Yes, just use a larger baking dish and keep an eye on the baking time because it may need a few extra minutes.
More Easy and Delicious Easy Pies
Cherry Cobbler
Ingredients
Pie
- 1 21-ounce cherry pie filling
- 1 12-ounce can Southern Homestyle Biscuits I used Pillsbury
Glaze
- ½ cup powdered sugar
- 3 tablespoons heavy cream
Instructions
Pie
- Preheat the oven to 350º Fahrenheit. Spray a pie dish with cooking spray.
- Spoon the cherry pie filling into the pan. Cut each biscuit into 4 equal pieces. Nestle the biscuit pieces into the pie filling.
- Bake for 25-30 minutes. The biscuits will be a golden brown and the pie filling will be bubbly. Cool for 5-10 minutes to allow the filling to thicken.
Glaze
- Whisk the powdered sugar in a small mixing bowl with the heavy cream until you get a pourable glaze. Drizzle the glaze over the top of the dessert. Serve warm or at room temperature.
Equipment

Nutritional Information
Nutritional Disclaimer
Cheerful Cook team members are not trained nutritionists or medical professionals. Calorie information and nutritional values are estimates. If you have nutritional concerns, we recommend using a nutritional calculator.
Maike Corbett is the founder and food blogger of Cheerful Cook, a popular recipe website featuring comfort food recipes from the US and Germany. She has been featured in numerous media outlets, including the AP Wire and MSN.