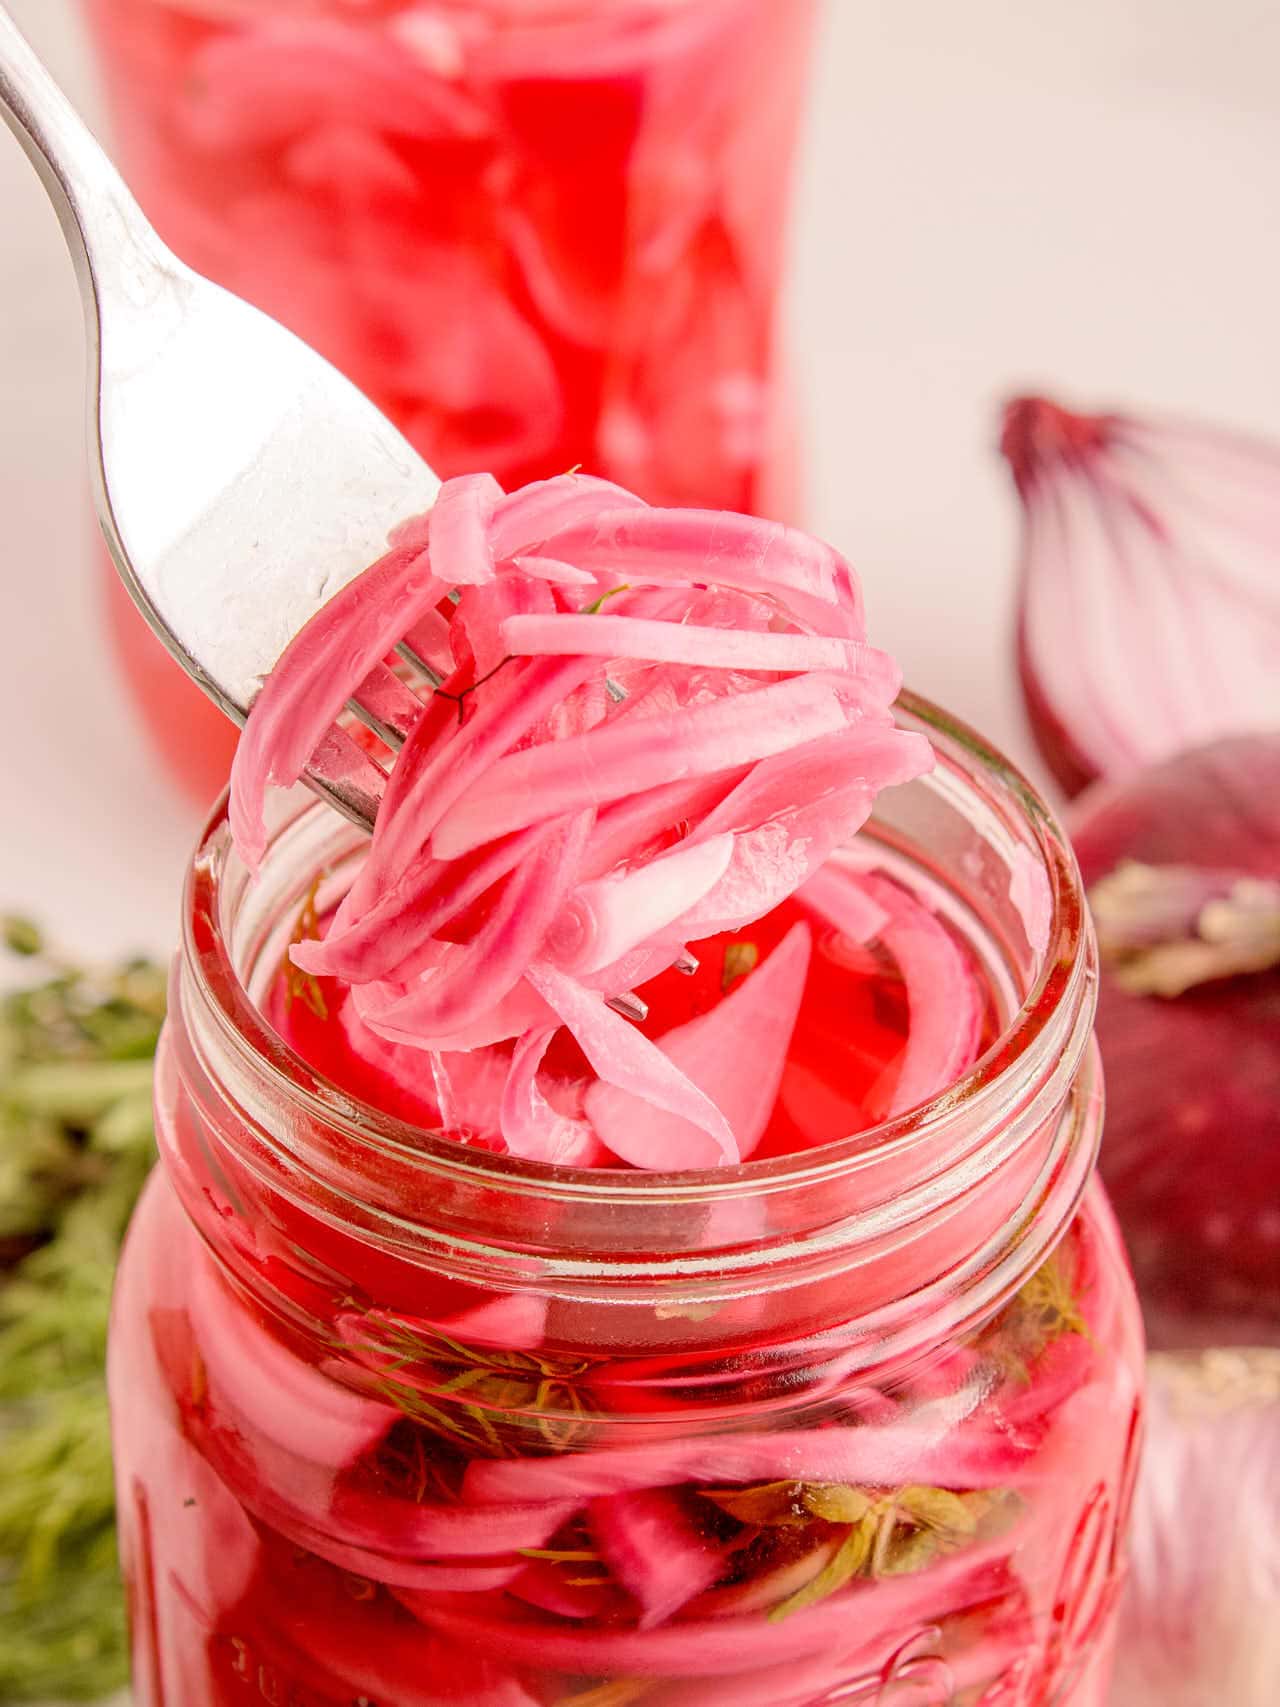
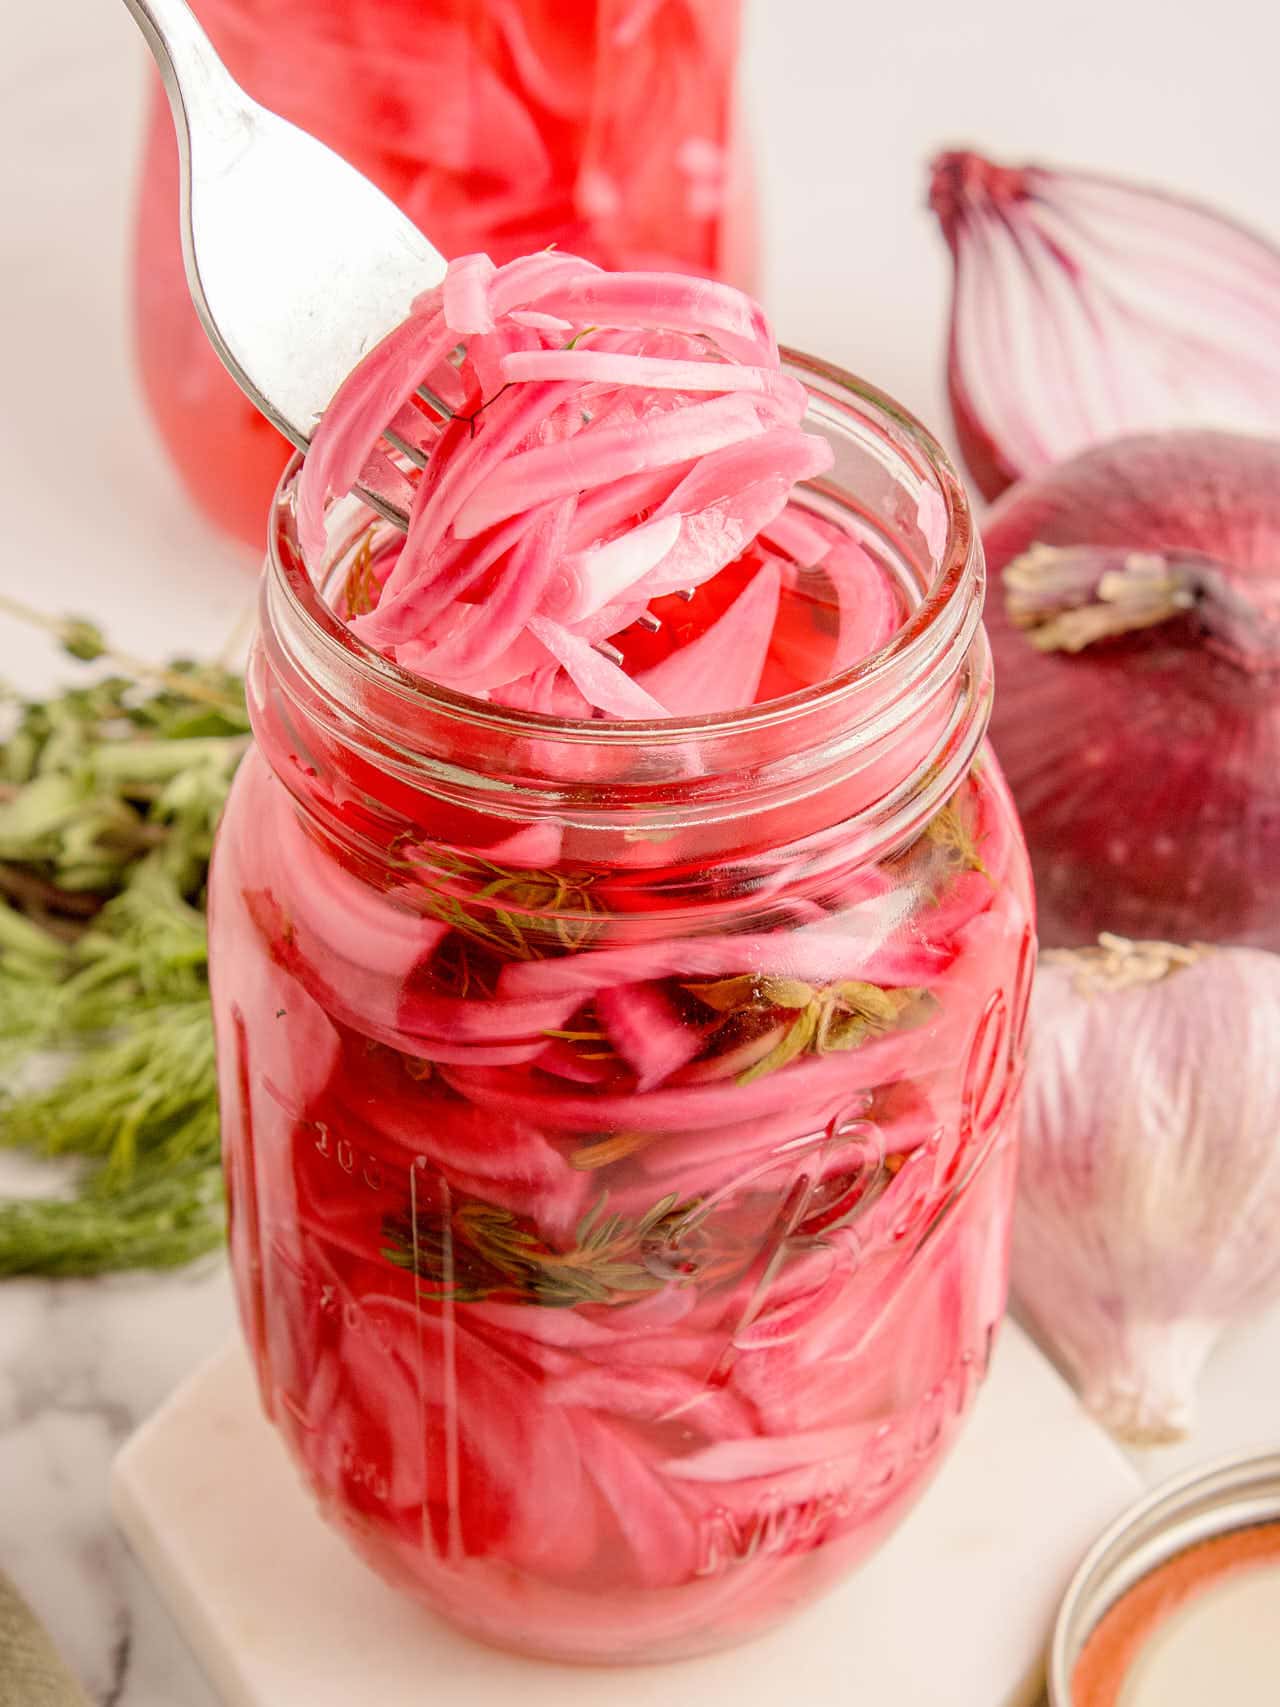
Pickled Red Onions

Pickled Red Onions are a bright, tangy topping that works on almost everything. They come together in about 15 minutes of prep, and the fridge does the rest.
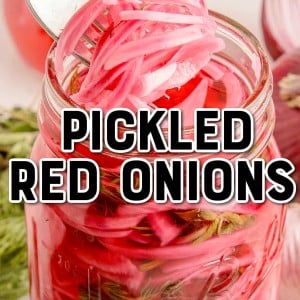
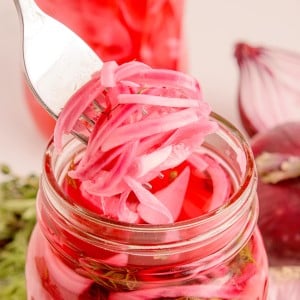
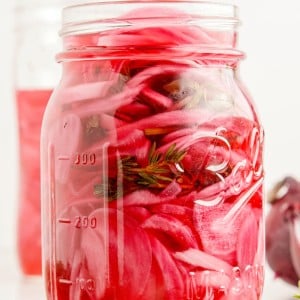
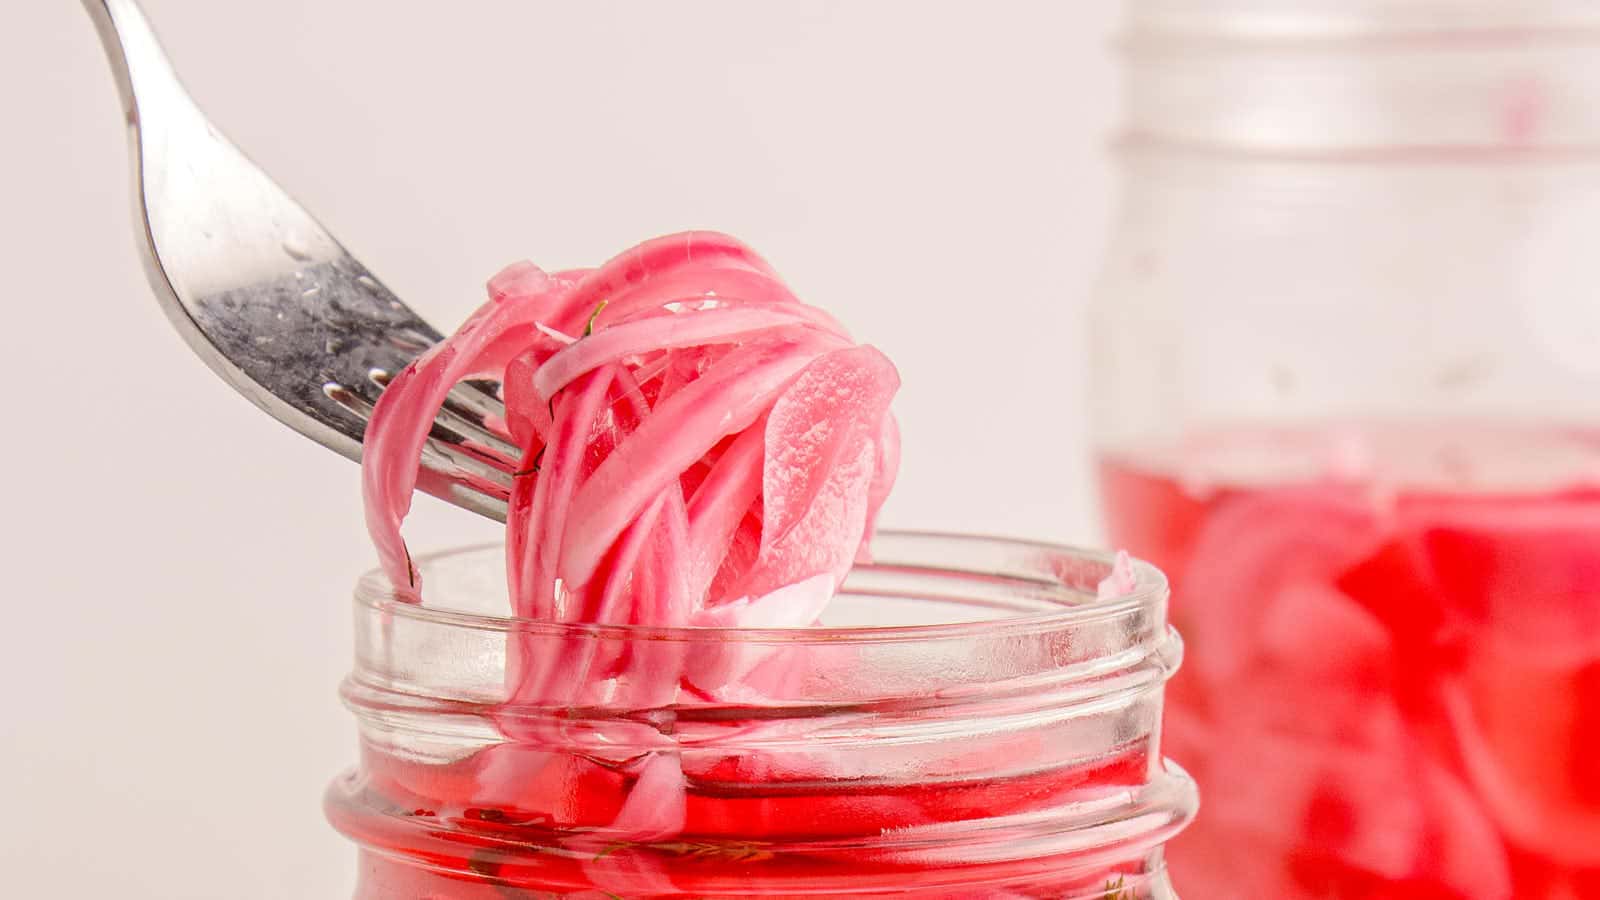
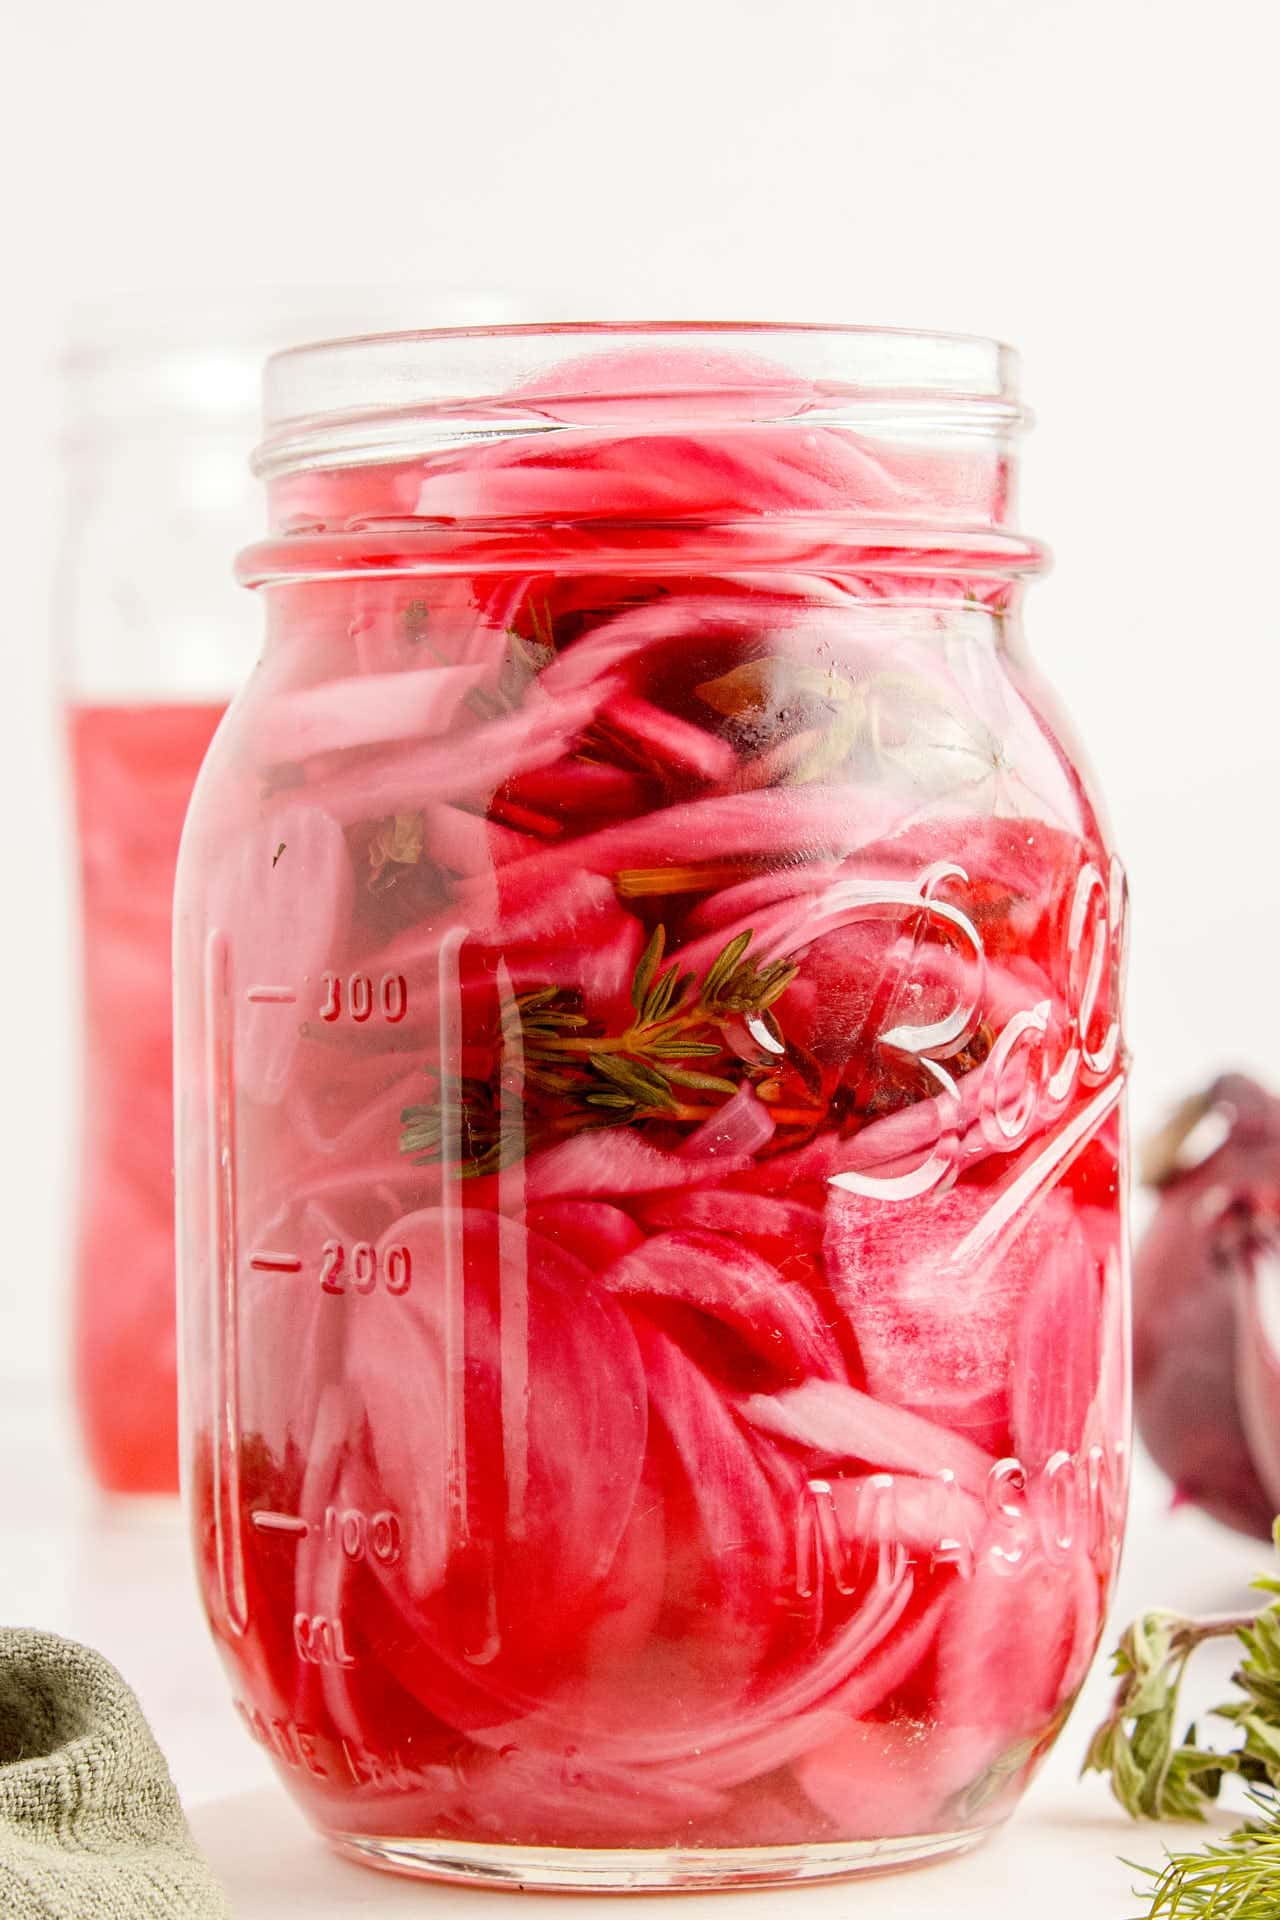
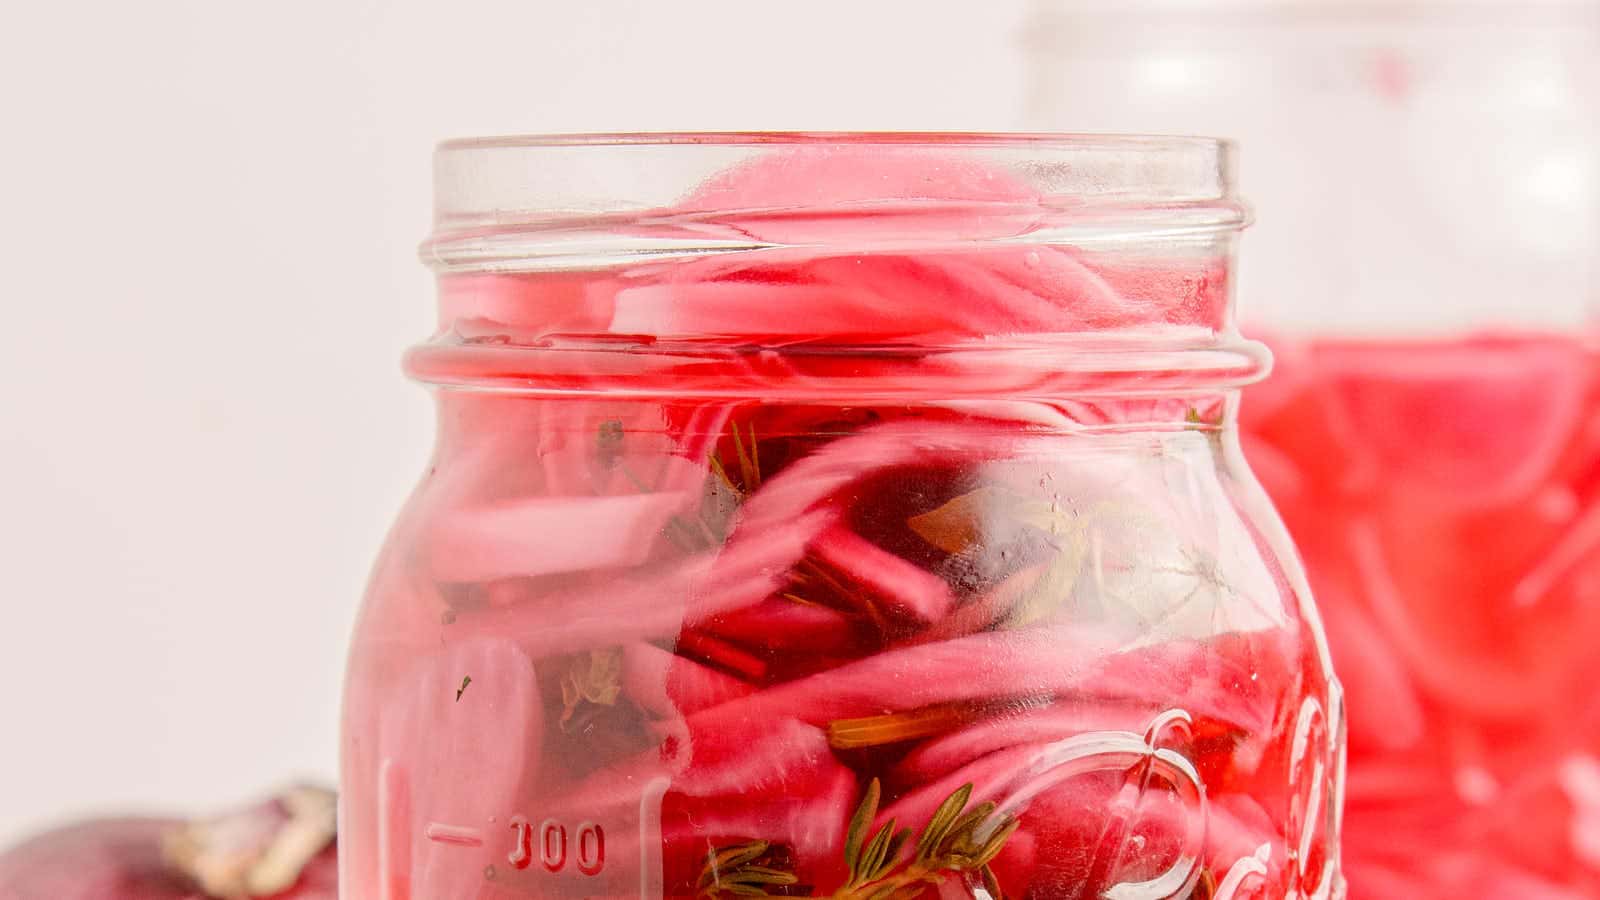
Thinly sliced red onions soaked in a simple vinegar brine with garlic and fresh herbs.
I like keeping a jar in the fridge so a plain dinner has something to brighten it up. My husband puts these on tacos, burgers, and just about any sandwich he builds. A batch usually lasts us most of the week.
Recipe Highlights
- Ready in about 15 minutes of prep
- Just a handful of simple ingredients
- Keeps in the fridge for up to 3 weeks
- No canning or special equipment needed
- Great on tacos, burgers, salads, and bowls
Ingredient Notes
Please check the recipe card below for a detailed, printable ingredient list.
RED ONIONS – Look for firm, medium-size onions with tight, papery skin and no green sprouts poking out. Red onions stay crisper in the brine than yellow or white and bring that signature bright pink color to the finished jar. Shallots work as a more delicate substitute and white onions make a sharper, more aggressive jar.
GARLIC – Slice the cloves thin instead of mincing them. Minced garlic can turn blue or green in a vinegar brine (totally harmless but odd-looking), and sliced cloves are easier to fish out of the jar later. Three cloves is the right amount for this size jar. Add more if you really love garlic.
DISTILLED WHITE VINEGAR – The standard for pickling because it’s sharp, clean, and reliably 5% acidity, which is the level you need for safe refrigerator storage (check the bottle label to confirm). Apple cider vinegar, red wine vinegar, and rice vinegar all work as flavor swaps. Skip balsamic and anything labeled less than 5% acidity.
|
Vinegar Type |
Flavor |
Best For |
|
Distilled white |
Sharp, clean |
Classic pickled onions |
|
Apple cider |
Fruity, mellow tang |
Sandwiches, BBQ, slaws |
|
Rice vinegar |
Mild, slightly sweet |
Asian-style bowls |
|
Red wine vinegar |
Bold, slightly fruity |
Mediterranean, charcuterie |
SALT AND SUGAR – Kosher salt is the easiest to dissolve and doesn’t cloud the brine the way table salt sometimes does. If you only have table salt, use 1¼ teaspoons instead of 2 teaspoons because table salt is denser. The sugar balances the sharp vinegar bite. Honey, maple syrup, or agave work as 1-to-1 swaps.
FRESH HERBS – Thyme, dill, and oregano all hold up well in the brine. I’ve made this with just bay leaves and a few peppercorns when I didn’t have fresh herbs on hand, and it works just as well, so feel free to skip the produce aisle trip. If you’re using dried herbs instead, use half the amount.
How To Make Pickled Red Onions
Please check the printable recipe card below for more detailed instructions.
- Slice the onions and garlic thin.
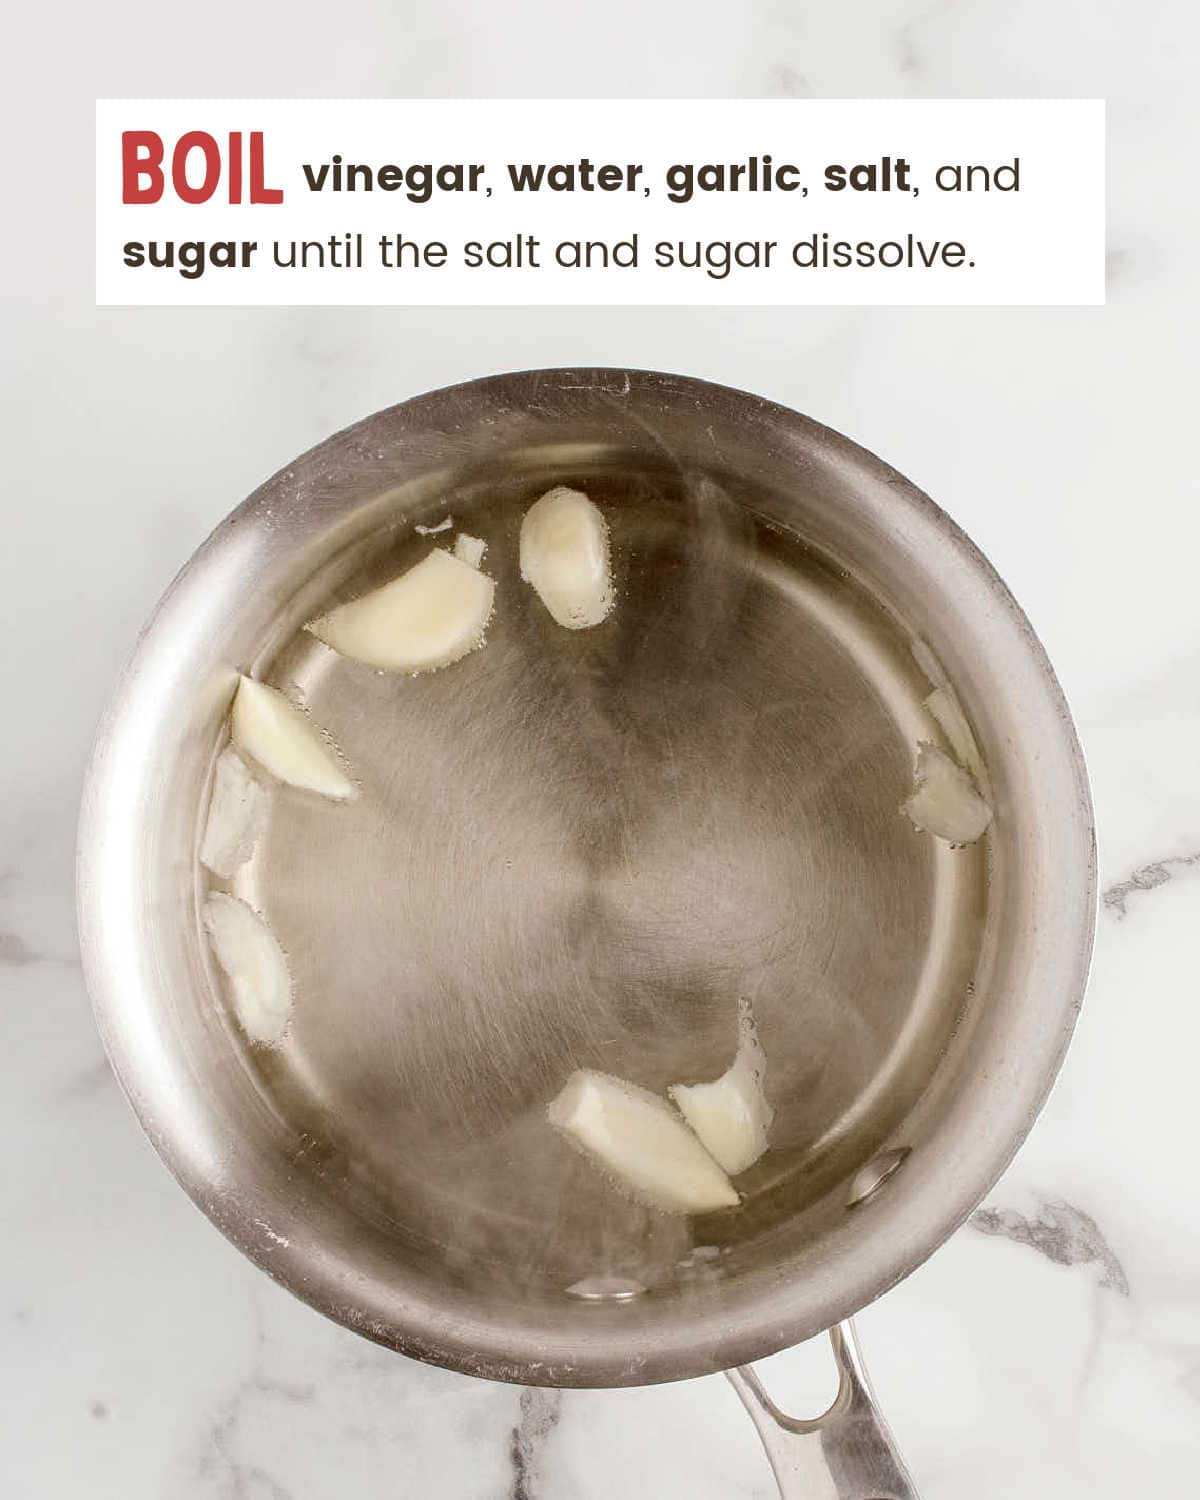
- Boil the vinegar, water, salt, and sugar.
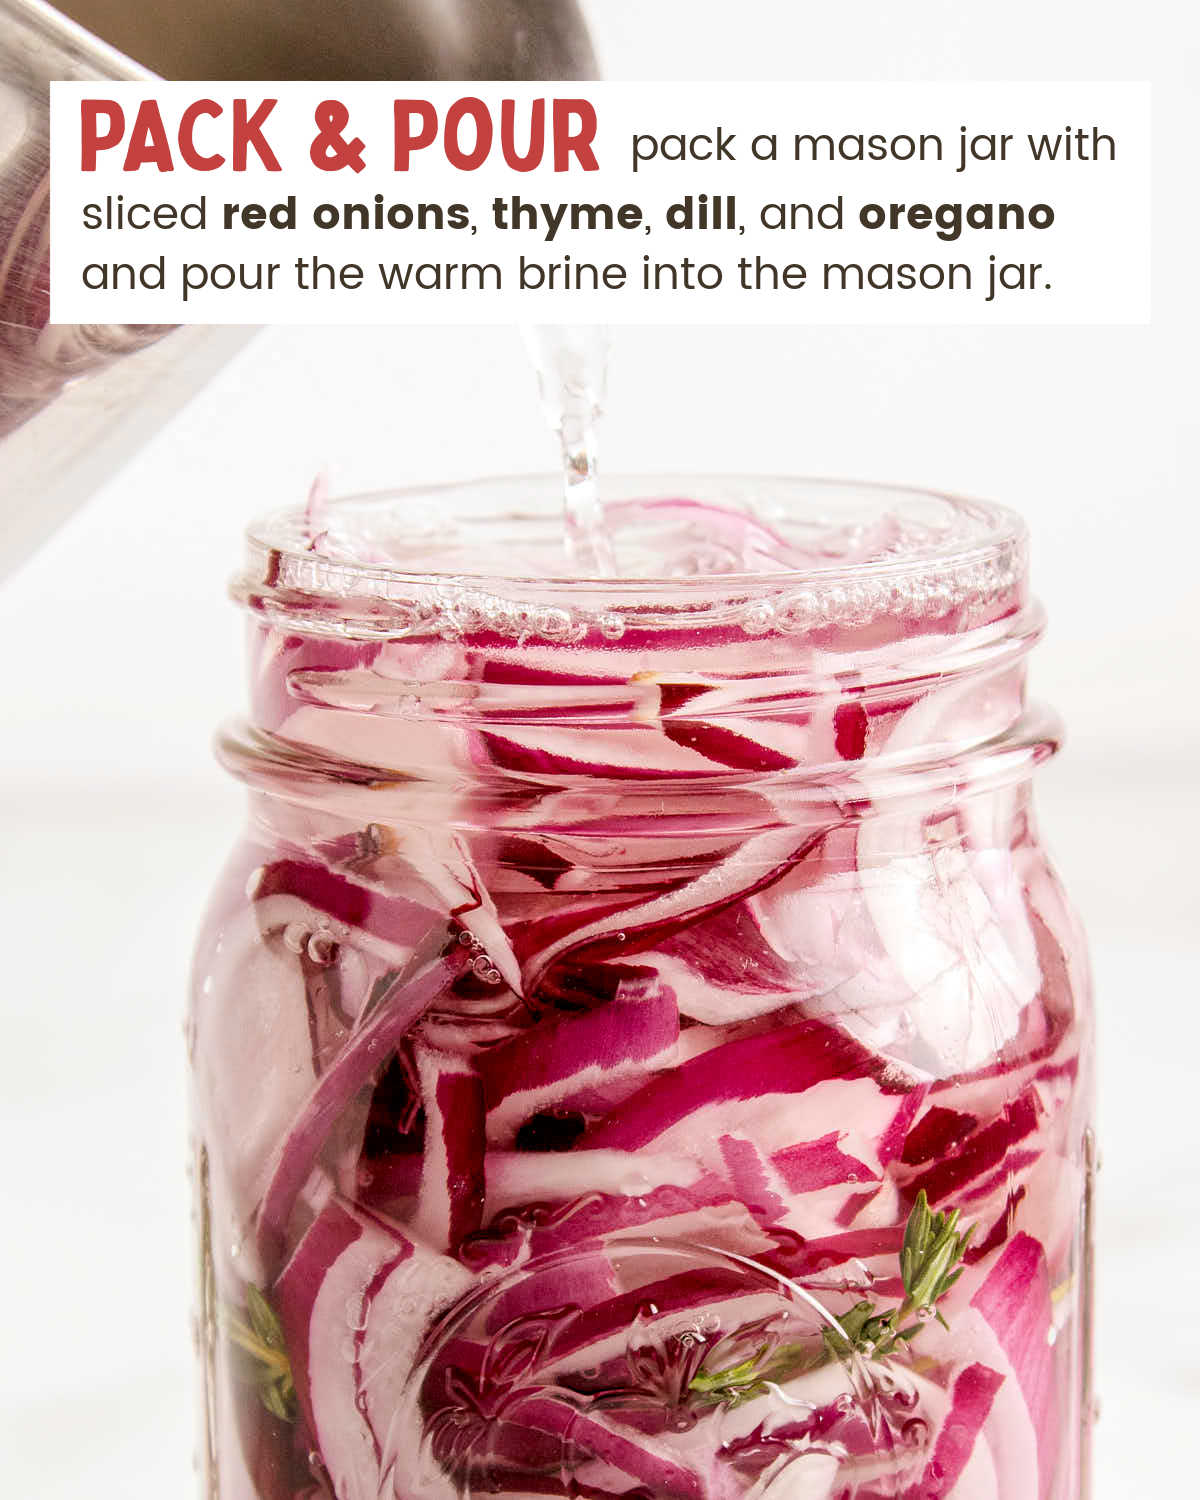
- Pack the jar with onions and herbs, pour the brine over.
- Cool, seal, and refrigerate.
Leftovers and Storage
STORE – Keep your Pickled Red Onions covered with a tight lid in the refrigerator. Stored properly in a clean, sterilized jar, they’ll hold their color, crunch, and flavor for up to 3 weeks.
FREEZE – Honestly, don’t. The onions go limp and lose their bite when thawed, which defeats the whole point of making them. Stick to the fridge.
REHEAT – Skip it. Pickled red onions are served cold or at room temperature straight from the jar. Pulling them out about 10 minutes before serving softens the chill a bit if you like.
MAKE AHEAD – This recipe IS the make-ahead. Build the jar at least 2 hours before you need them, or the day before for even better color and flavor throughout every slice.
Recipes That Love a Topping of Pickled Onions
Serving Suggestions
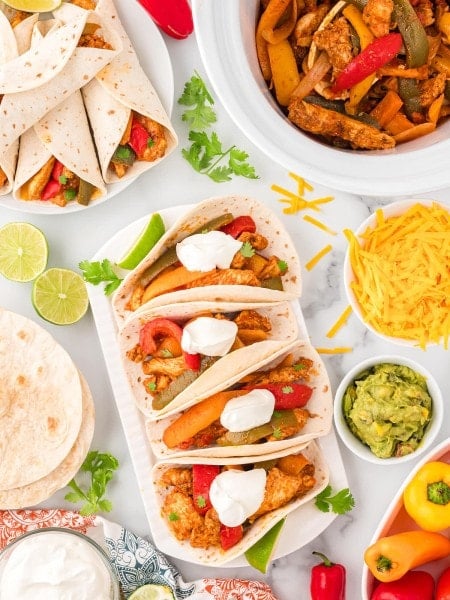
TACO NIGHT – These shine on Turkey Tacos, fish tacos, or anything piled into a tortilla. The acid cuts through fatty meats and the bright color lifts the entire plate.
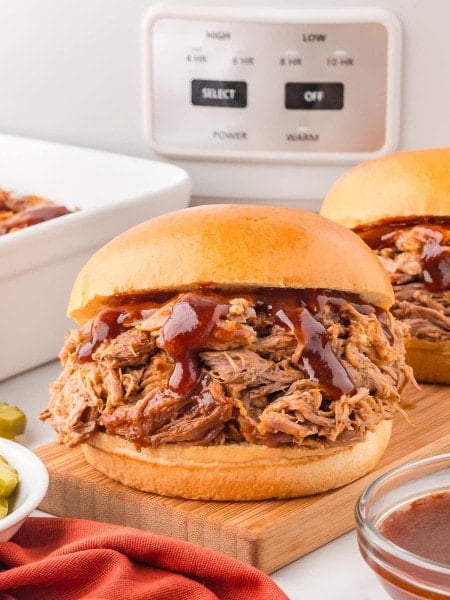
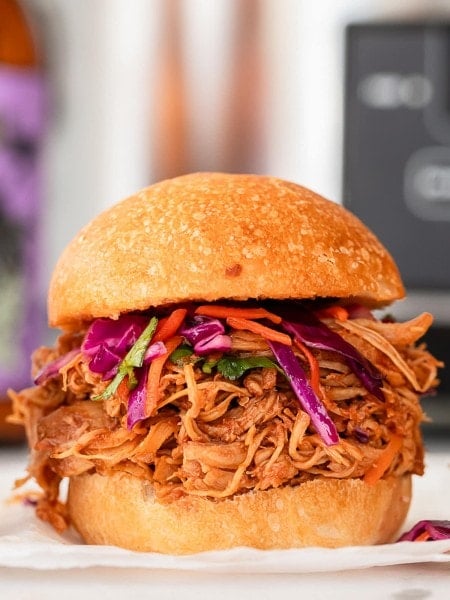
PULLED PORK SANDWICHES – Top Slow Cooker Pulled Pork or Slow Cooker Pulled Chicken Sliders with a generous handful right before serving. The sharp pickle cuts through the rich, smoky meat.
RICE BOWLS – Add to a Korean Beef Bowl or Steak Rice Bowl for color, crunch, and that needed acid balance.
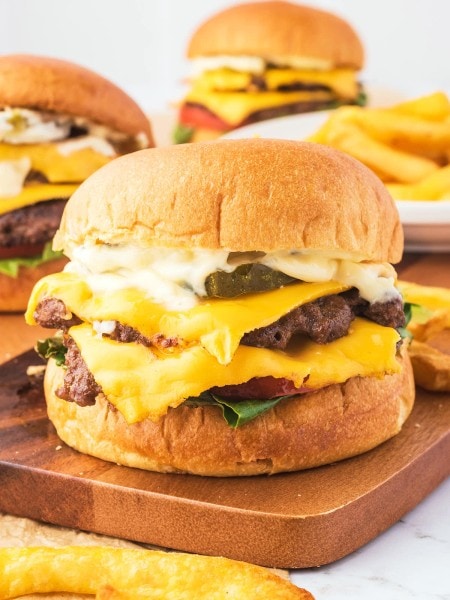
BURGERS AND SLIDERS – A few rings on a Smash Burger or Buffalo Chicken Sliders brings a deli-shop quality to a weeknight burger.
CHARCUTERIE BOARD – Pile them in a small bowl alongside soft cheeses and cured meats. The acid cuts the richness and the color makes the board look intentional.
Recipe Success Tips
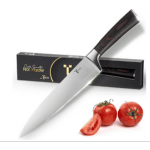
SLICE EVENLY THIN – Aim for ⅛-inch slices using a sharp knife or mandoline. Uneven slices pickle unevenly, with thicker pieces tasting raw while thinner ones get too soft. A mandoline gets the most consistent results (use the hand guard, please).
HOT BRINE OVER COLD ONIONS – This is the move that softens the onion slices just enough without losing their crunch. Pour the brine straight from the hot pan onto the onions in the jar. Don’t let it cool first or the texture suffers.
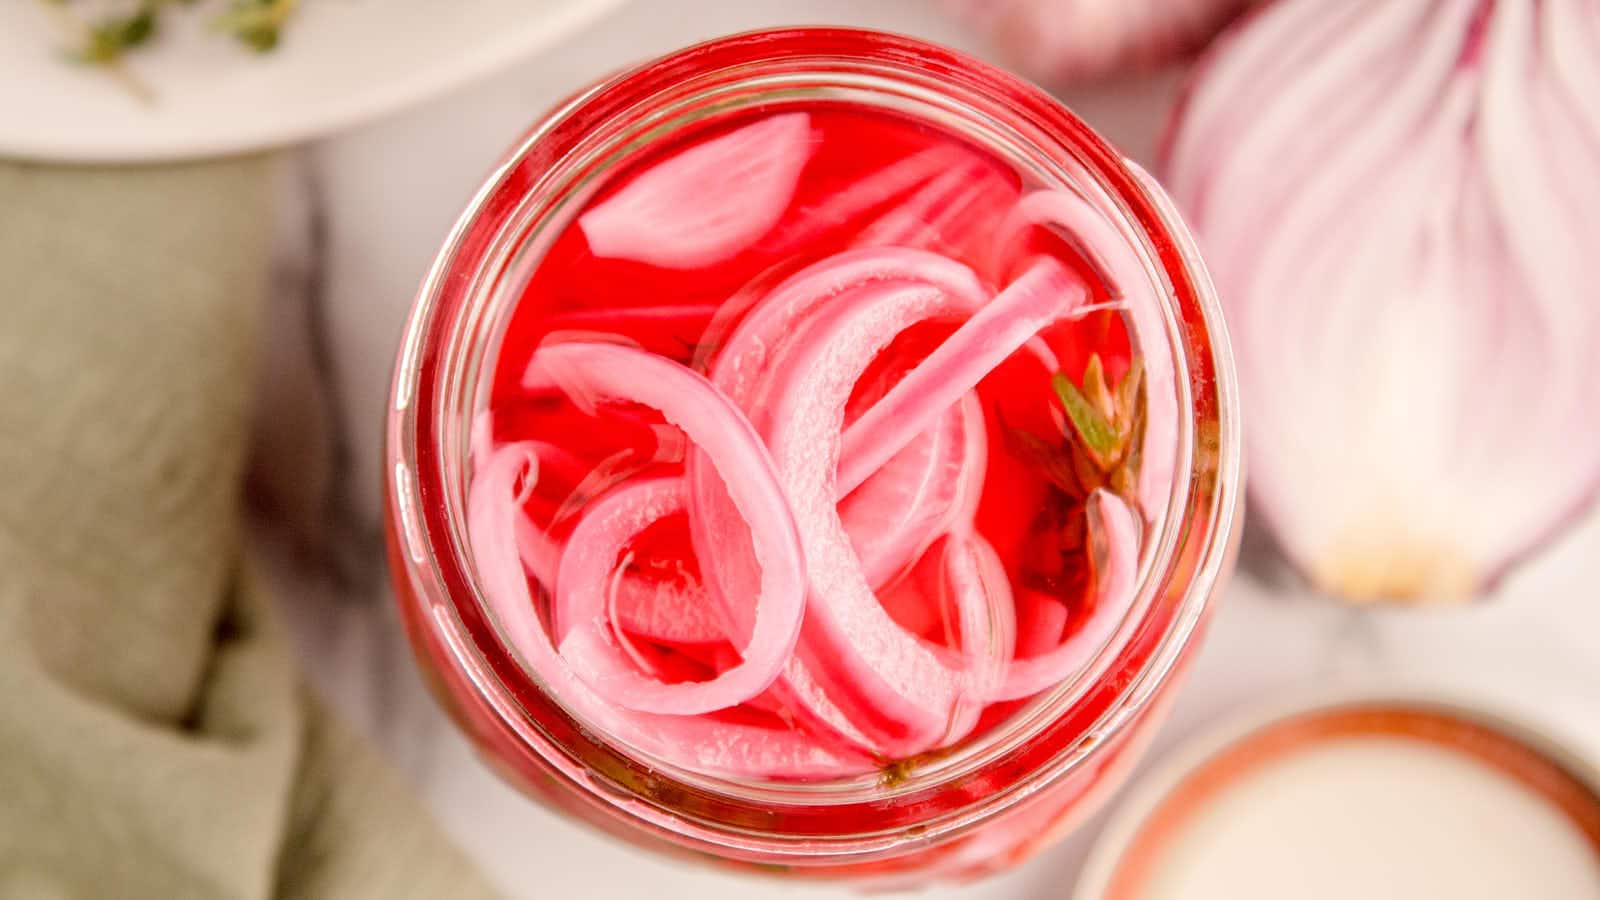
WAIT FOR THE COLOR – At 30 minutes the onions look pale pink. At 2 hours they hit that bright magenta you see in restaurant tacos. Overnight is best for the deepest color and most balanced flavor throughout every slice in the jar.
DOUBLE BATCH STRATEGY – Homemade pickled red onions cost a fraction of the $7-8 store-bought jars. Grab two extra onions while you’re at the store and make a 32-ounce jar instead. Same effort, double the supply, three weeks of taco night handled.
EXPERT TIP – Sterilize the jar before filling it. Run it through a hot dishwasher cycle or boil it for 10 minutes. A clean jar is the difference between 3 weeks of crisp pickled onions and a fuzzy science experiment.
Commonly Asked Questions
Why Are My Pickled Onions Not Bright Pink Yet?
Pickled red onions take a full 2 hours of chilling before they turn that signature bright magenta color. At the 30-minute mark they look pale, almost peachy pink. At 2 hours they hit restaurant color. Overnight gives you the deepest, most even pink throughout every slice in the jar.
Can I Eat These Easy Pickled Red Onions Right Away?
Yes, but they taste sharper and less balanced when eaten straight after packing the jar. The brine needs at least 2 hours to soften the onion bite and soak into the slices evenly. If you taste one at the 30-minute mark, expect a serious vinegar punch. Patience really does pay off here.
What’s the Difference Between Refrigerator Pickled Onions and Canned Pickles?
Refrigerator pickled onions are stored cold and last about 3 weeks, while canned pickles are processed in a boiling water bath to become shelf-stable for months. This recipe is the refrigerator version. No canning equipment, no shelf storage, no pressure cooker. Always keep the jar cold and treat it like any other condiment.
Can I Double the Recipe in a Larger Jar?
Yes, just keep the 1-to-1 vinegar-to-water ratio so the brine stays acidic enough for safe refrigerator storage. Double everything across the board, use a 32-ounce mason jar, and make sure the hot brine fully covers the onions. Two batches in one jar saves you about 5 minutes of cleanup later.
More Homemade Kitchen Staples Worth Making
Cilantro Lime Slaw – Fresh, bright slaw that lives on the same tacos and bowls you’ll be topping with pickled onions.
Coleslaw – Creamy classic coleslaw that pairs perfectly with pulled pork sandwiches and BBQ plates.
Big Mac Sauce – The copycat fast food sauce that turns any burger into a Big Mac without leaving the kitchen.
Cilantro Lime Dressing – A bright, herby dressing that doubles as a sauce for grilled chicken, fish, or rice bowls.
Italian Dressing – Homemade Italian dressing that beats anything in a bottle and lasts in the fridge for weeks.
Pickled Red Onions
Ingredients
For the Brine:
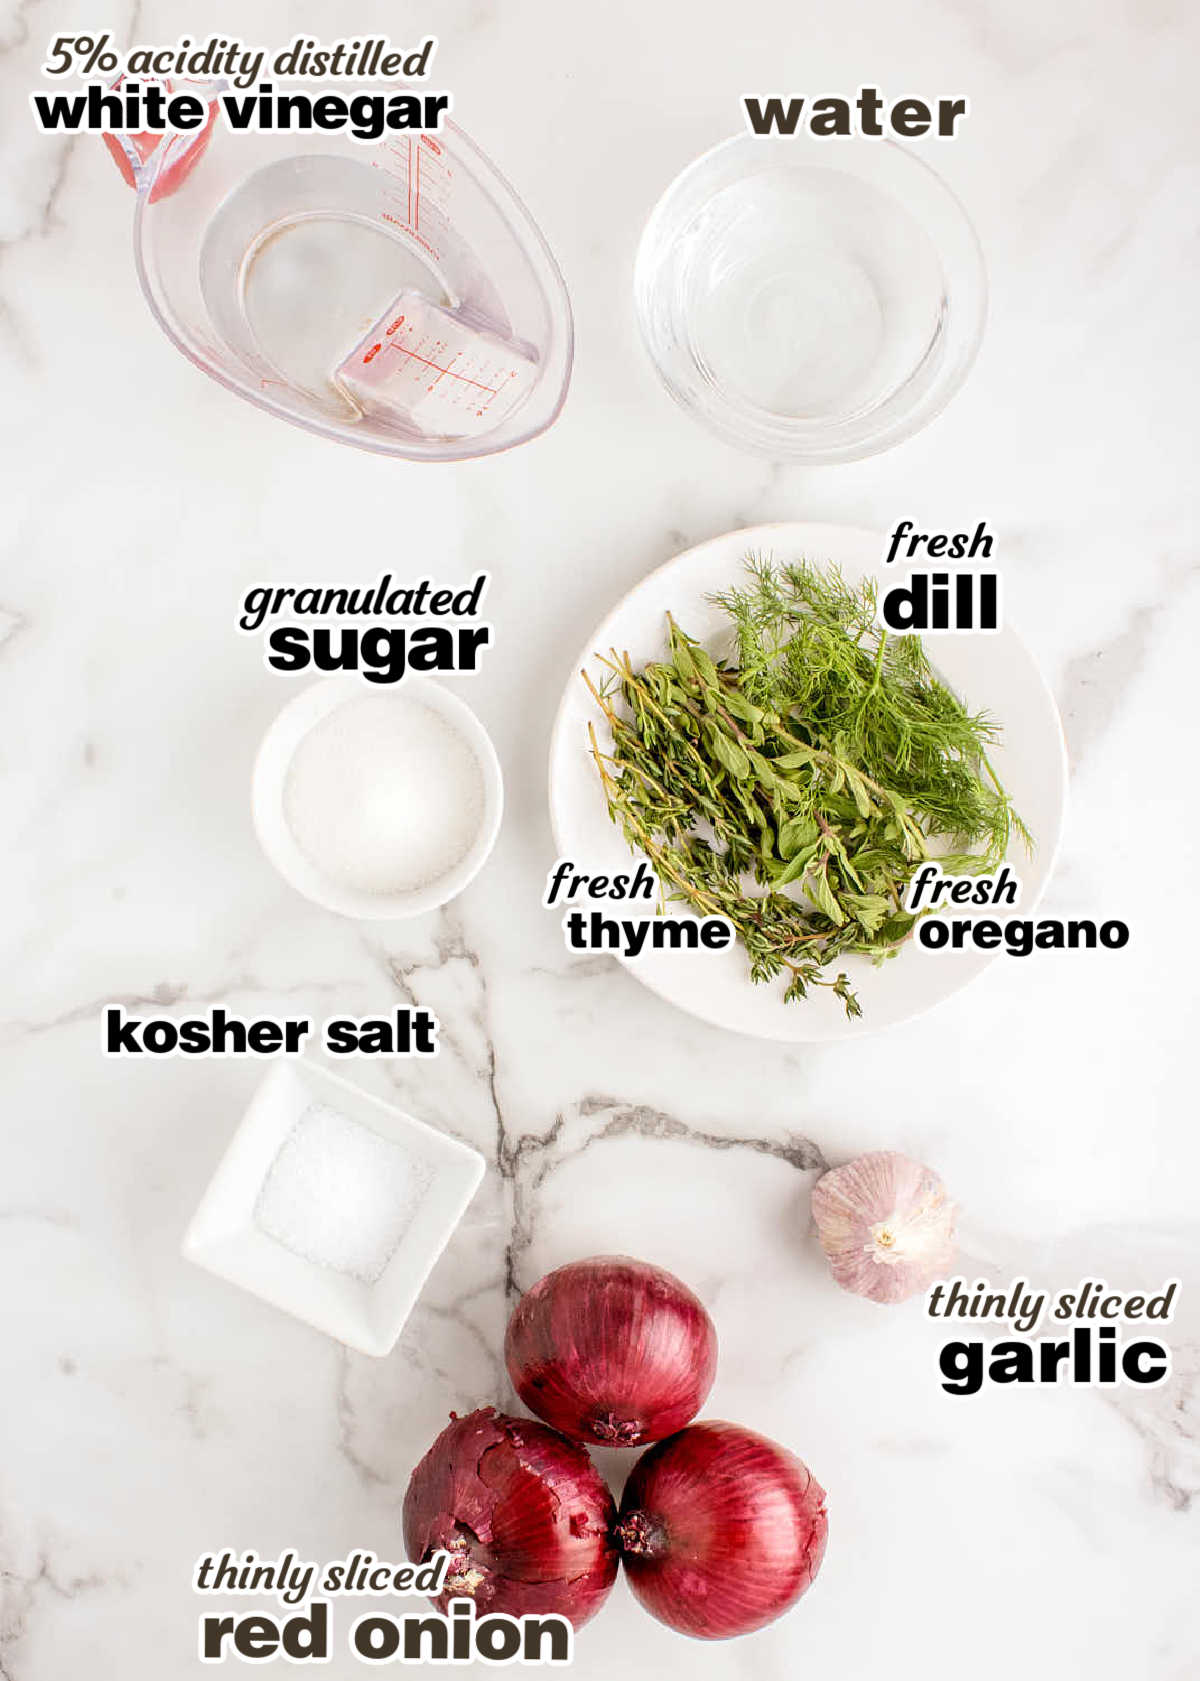
- 1 cup distilled white vinegar distilled, 5% acidity
- 1 cup water
- 2 tablespoons granulated sugar
- 2 teaspoons kosher salt
For the Jar:
- 2 medium red onions about 1 pound, thinly sliced ⅛-inch thick
- 3 cloves garlic thinly sliced
- 3 sprigs fresh thyme
- 3 sprigs fresh dill
- 3 sprigs fresh oregano
Instructions
- In a medium saucepan, combine the distilled white vinegar, water, sugar, and kosher salt. Bring to a boil over medium-high heat, stirring frequently until the sugar and salt fully dissolve. Remove from heat.
- While the brine heats, slice the red onions and garlic. Peel the onions, cut each in half from root to stem, and use a sharp knife or mandoline to slice each half ⅛-inch thick. Thinly slice the garlic cloves.
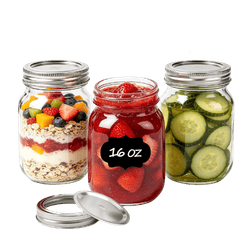
- Pack the sliced onions, sliced garlic, and herb sprigs into a clean 16-ounce mason jar, layering as you go.
- Carefully pour the hot brine over the onions until they’re completely covered. Use a clean spoon to gently press the onions down so they stay fully submerged in the brine.
- Let the jar cool to room temperature on the counter, about 30 minutes. Seal it tightly with a lid and refrigerate for at least 2 hours before serving. Stored properly in a sealed jar, these keep for up to 3 weeks in the refrigerator.
Notes
Chill time
After packing the jar, let it cool on the counter for about 30 minutes, then refrigerate for at least 2 hours before serving. Overnight chilling produces the deepest color and most balanced flavor.! Chill time is not included in the total time as it might vary.
Vinegar acidity
For food safety, use vinegar labeled 5% acidity (check the bottle).Jar prep
Sterilize the jar before filling by running it through a hot dishwasher cycle or boiling it for 10 minutes.Nutritional Information
Nutritional Disclaimer
Cheerful Cook team members are not trained nutritionists or medical professionals. Calorie information and nutritional values are estimates. If you have nutritional concerns, we recommend using a nutritional calculator.
Maike Corbett grew up in German kitchens learning to cook and bake alongside her Omas before spending over a decade running full-service restaurants in the US. She founded Cheerful Cook in 2017 to share practical, tested comfort food recipes that actually work on busy weeknights, drawing on both her American restaurant experience and her German home-cooking roots. Her work has been featured on MSN, Yahoo, the Associated Press, and other major media outlets.