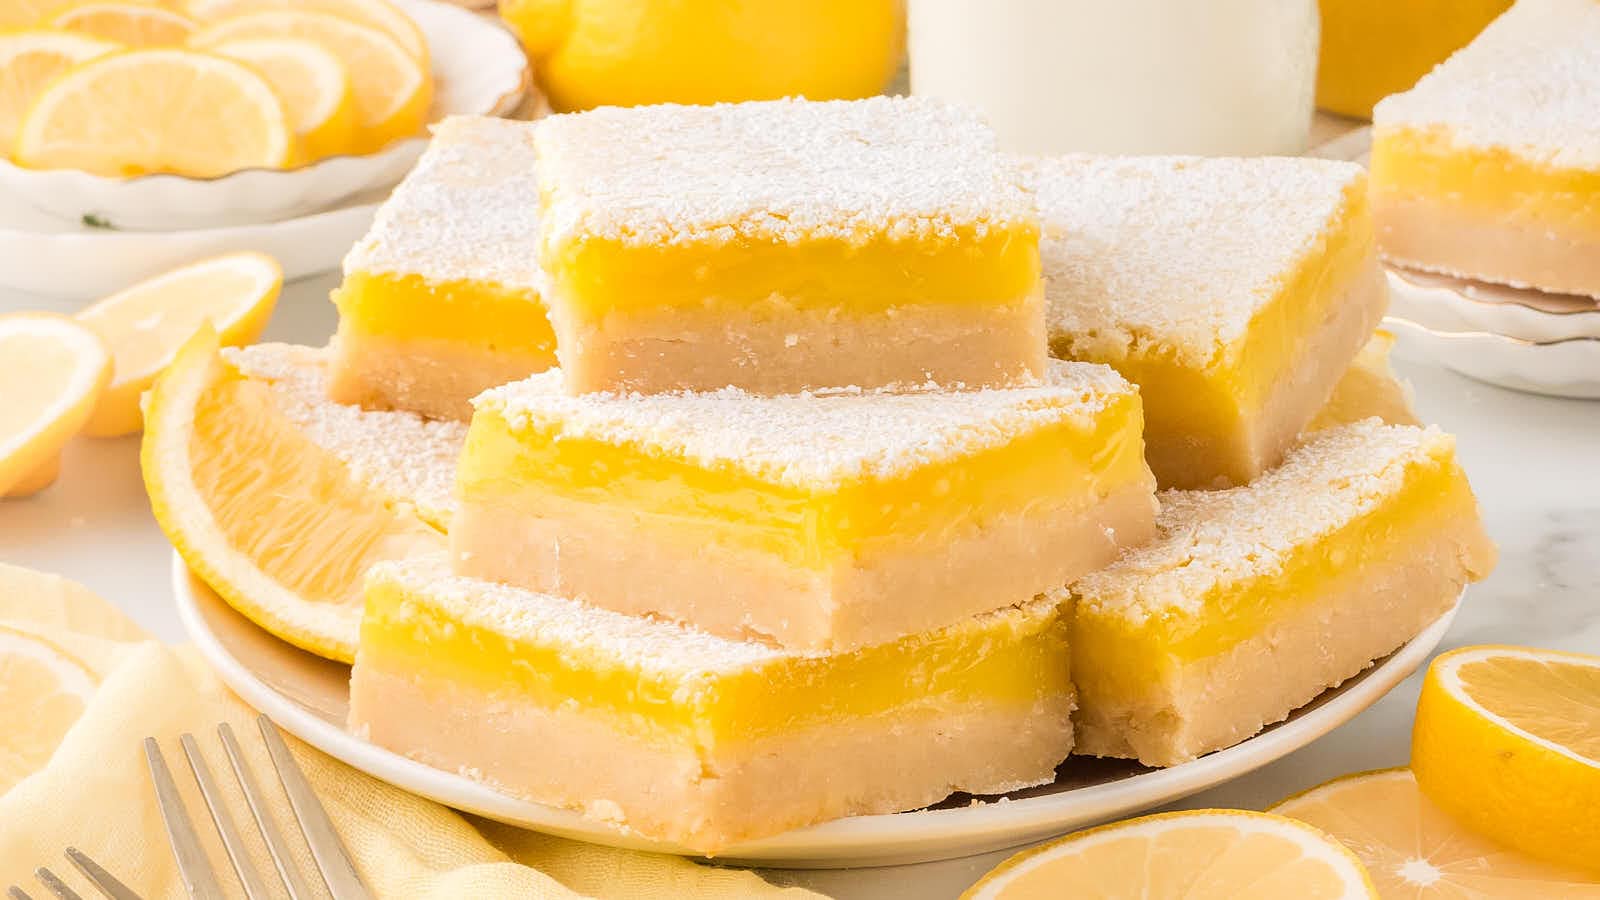
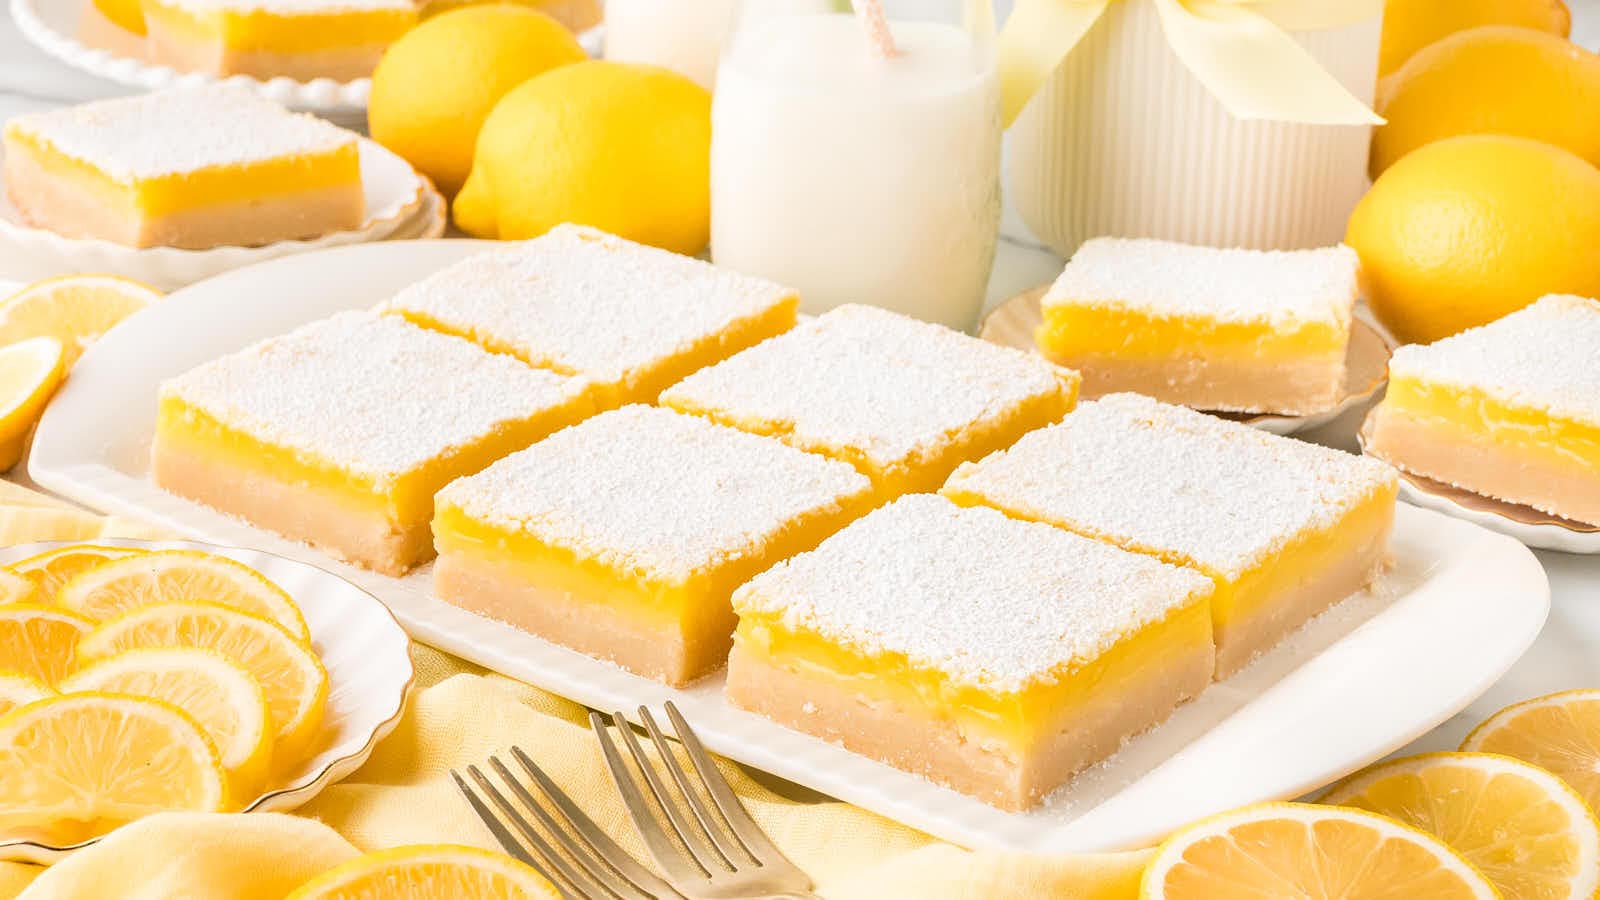
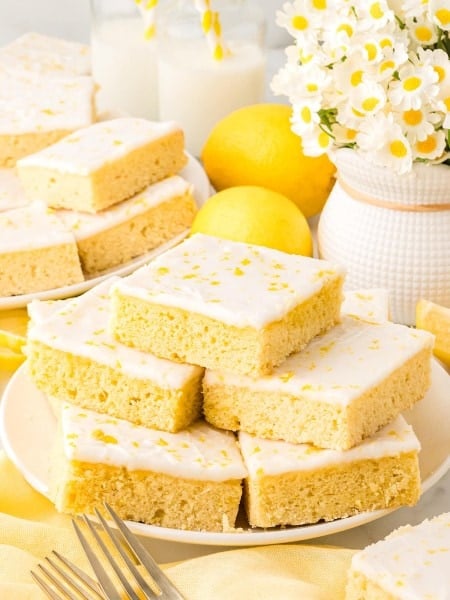
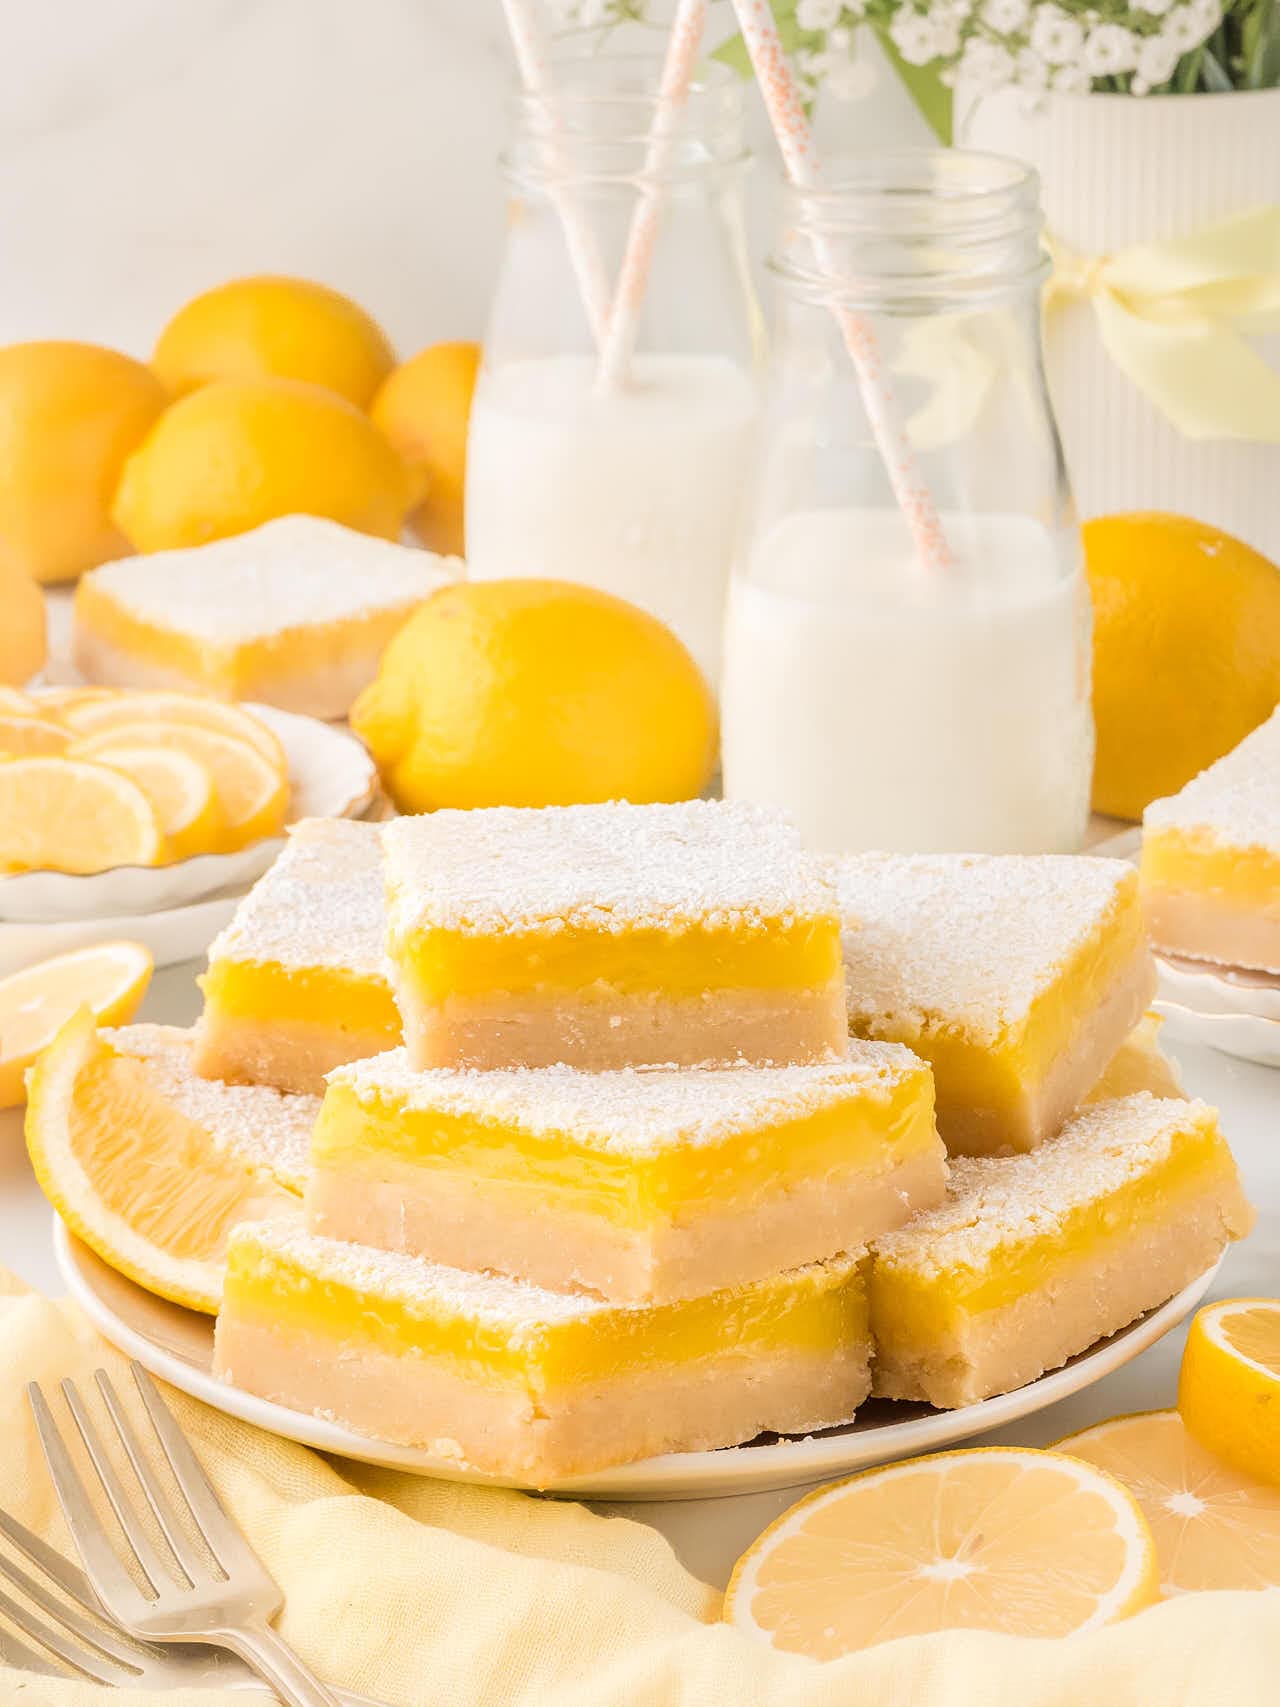
Lemon Bars

Lemon Bars are the perfect treat when you want a dessert that’s bright, tangy, and completely satisfying.
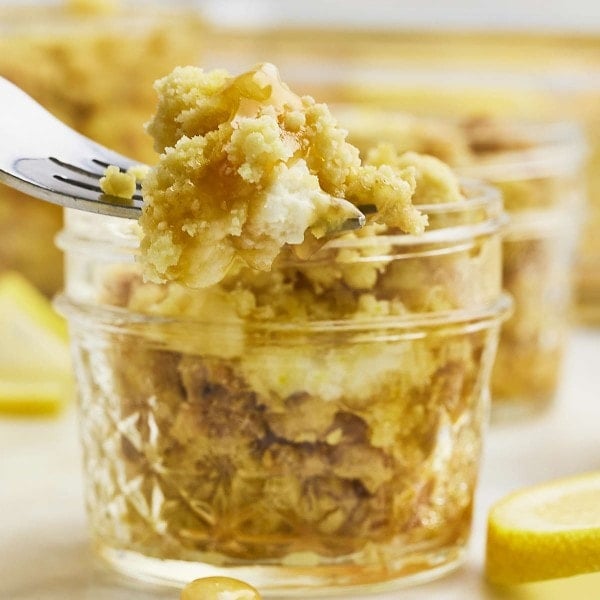
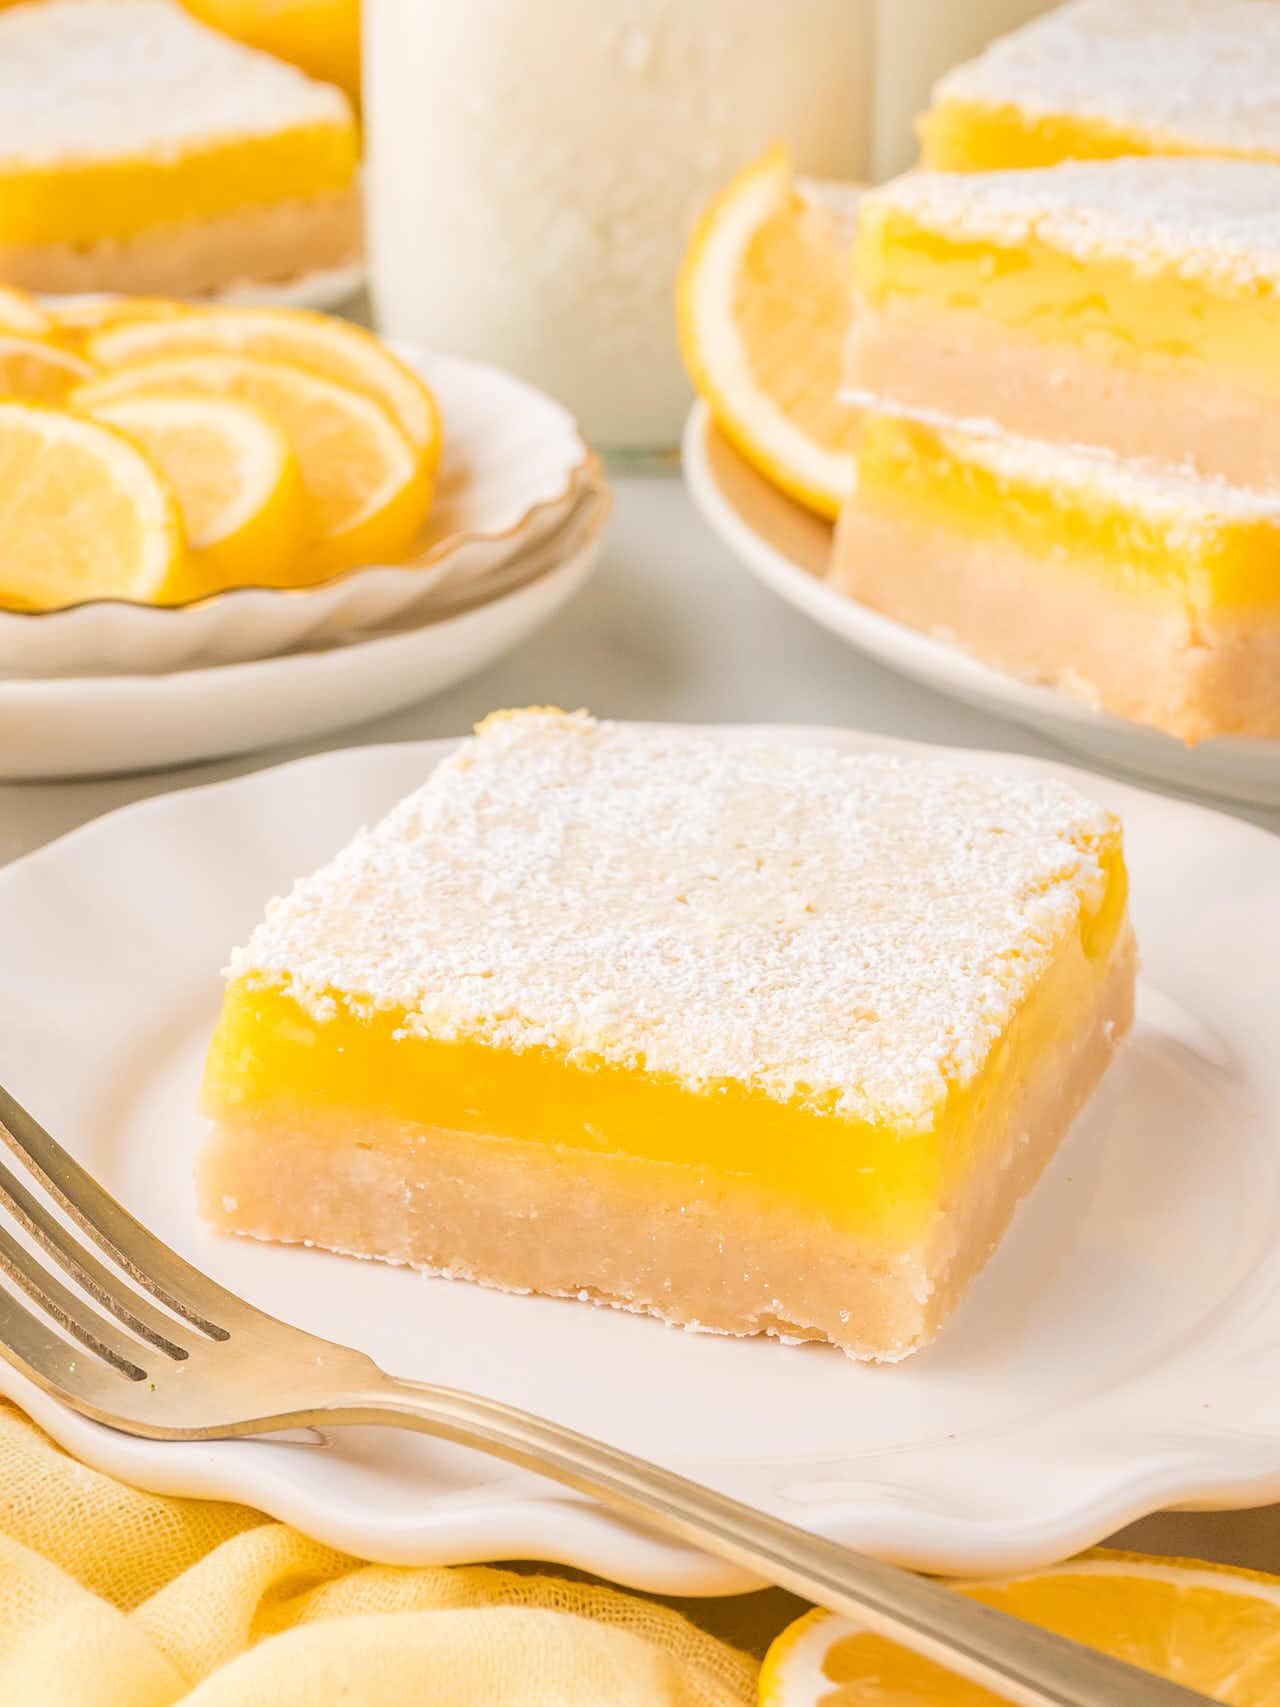
A buttery shortbread crust pairs beautifully with the smooth lemon curd filling, creating a balance of richness and zing in every bite.
Whether you’re whipping these up for a picnic, potluck, or a quiet treat at home, this simple recipe guarantees a dessert that feels as rewarding to make as it is to eat.
Lemon Bars Recipe Highlights
- Perfectly balanced sweet and tart flavors.
- Buttery shortbread crust that’s easy to make.
- A dessert that’s ready in just a few steps.
- Great for parties, picnics, or potlucks.
- Easily prepped ahead of time for stress-free entertaining.
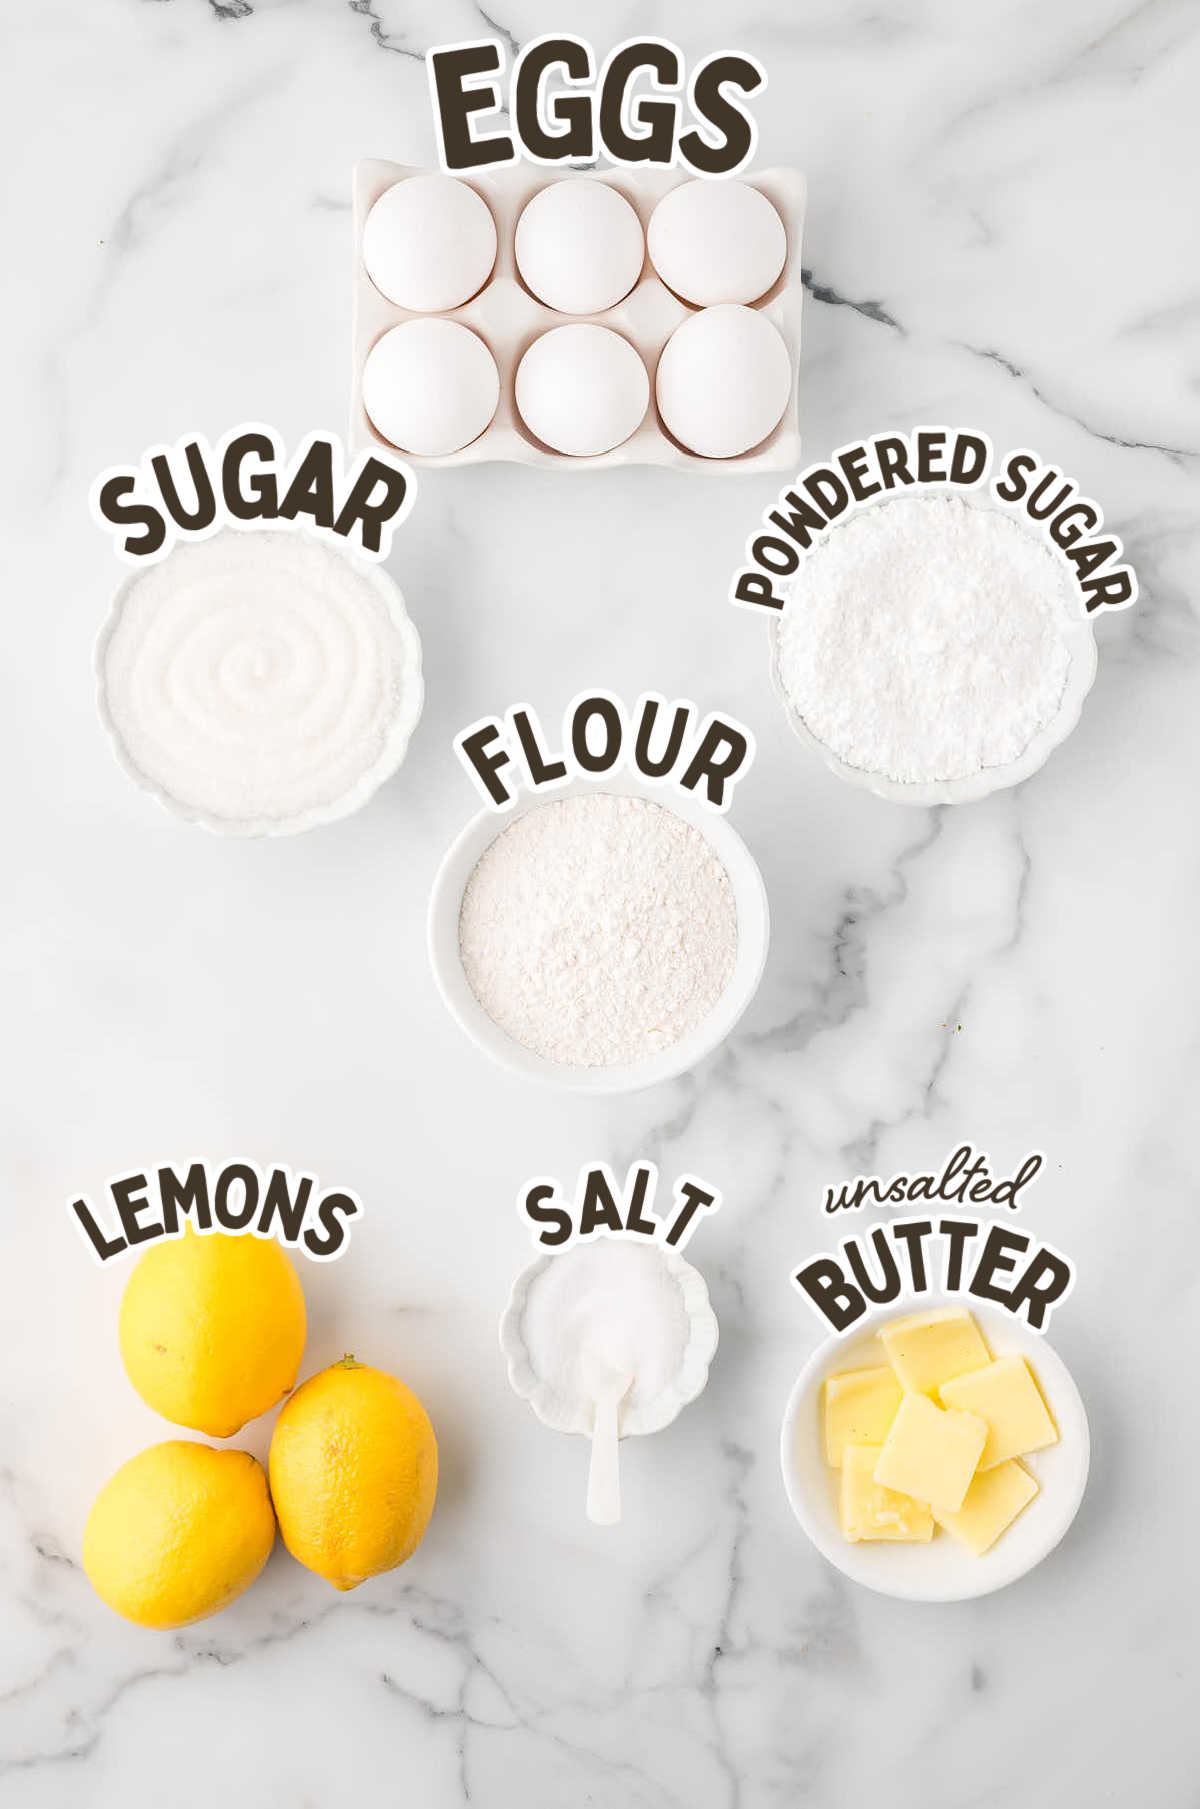
Ingredient Notes
Please check the recipe card below for a detailed, printable ingredient list.
SUGAR – Granulated sugar works double-duty in this recipe. It sweetens the buttery shortbread crust and balances the tangy lemon filling. Using it in both layers creates that perfect harmony of sweet and tart. Powdered sugar is the finishing touch, giving the bars a bakery-worthy look and just a hint of extra sweetness on top. If you’re out of powdered sugar, no worries—the bars will still taste great, but that pretty dusting adds a little extra charm.
BUTTER – Unsalted butter is key to getting the crust just right. It lets the rich, buttery flavor shine without adding any unexpected saltiness. Melting the butter makes it easy to mix into the dough, helping you press it into the pan with no fuss. If you only have salted butter on hand, you can use it—just skip the extra salt in the recipe. The crust might taste a bit saltier, but it’ll still be delicious.
FLOUR – Flour is the foundation for both the crust and the filling. In the crust, it gives structure and holds everything together, while in the filling, it thickens the lemon layer so it sets perfectly. To avoid a dense crust or stiff filling, spoon the flour into your measuring cup and level it off with a knife. It’s a tiny extra step but makes all the difference in getting the right texture.
EGGS – Eggs are what give the filling that smooth, custardy texture. They bind everything together so the filling holds its shape when sliced. Room-temperature eggs are easier to whisk into the filling without lumps, so if yours are still cold, just let them sit in warm water for a few minutes. It’s a simple trick to save time and avoid curdling.
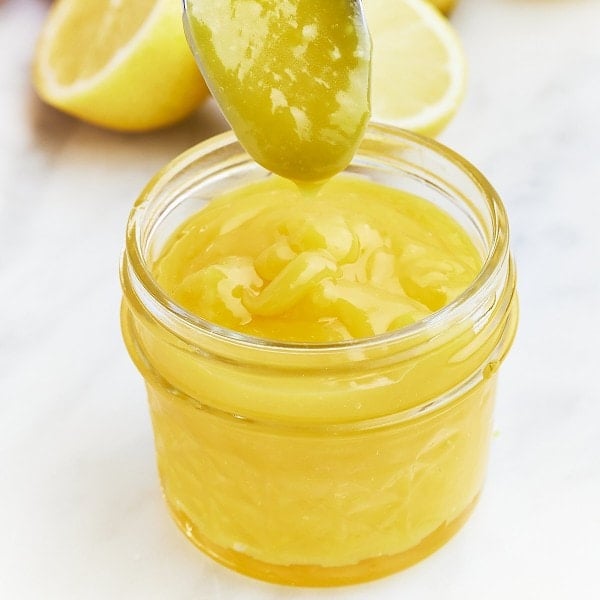
LEMON – Freshly squeezed lemon juice is the secret to these bars’ bright, zesty flavor. Bottled lemon juice won’t give you the same pop, so grab some fresh lemons. To get the most juice, roll the lemons on the counter under your palm before cutting. Don’t forget to strain out the seeds and pulp for a silky-smooth filling. If you’ve already zested the lemons, no problem—they’ll still juice just fine. And if you have extra zest, toss it into another recipe or freeze it for later!
How To Make Lemon Bars
Please check the printable recipe card below for more detailed instructions.

- Press a simple dough into a lined dish and bake until golden.
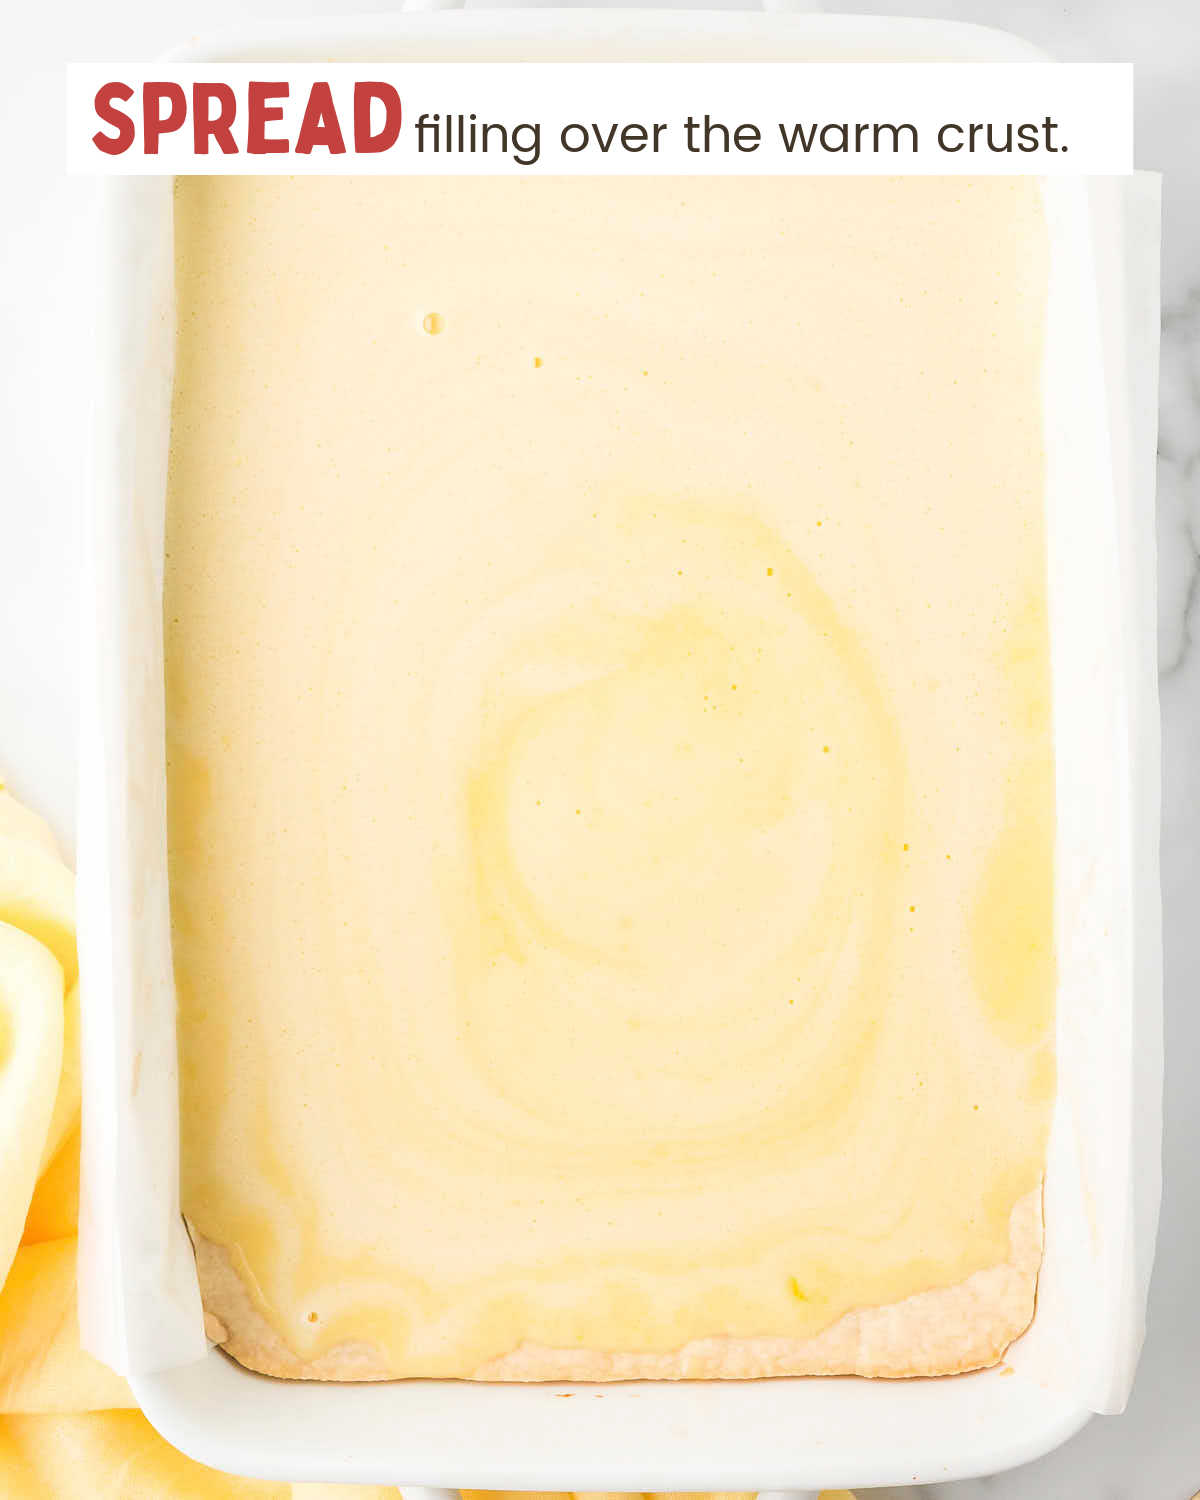
- Whisk sugar, flour, eggs, and lemon juice, then pour over the warm crust.
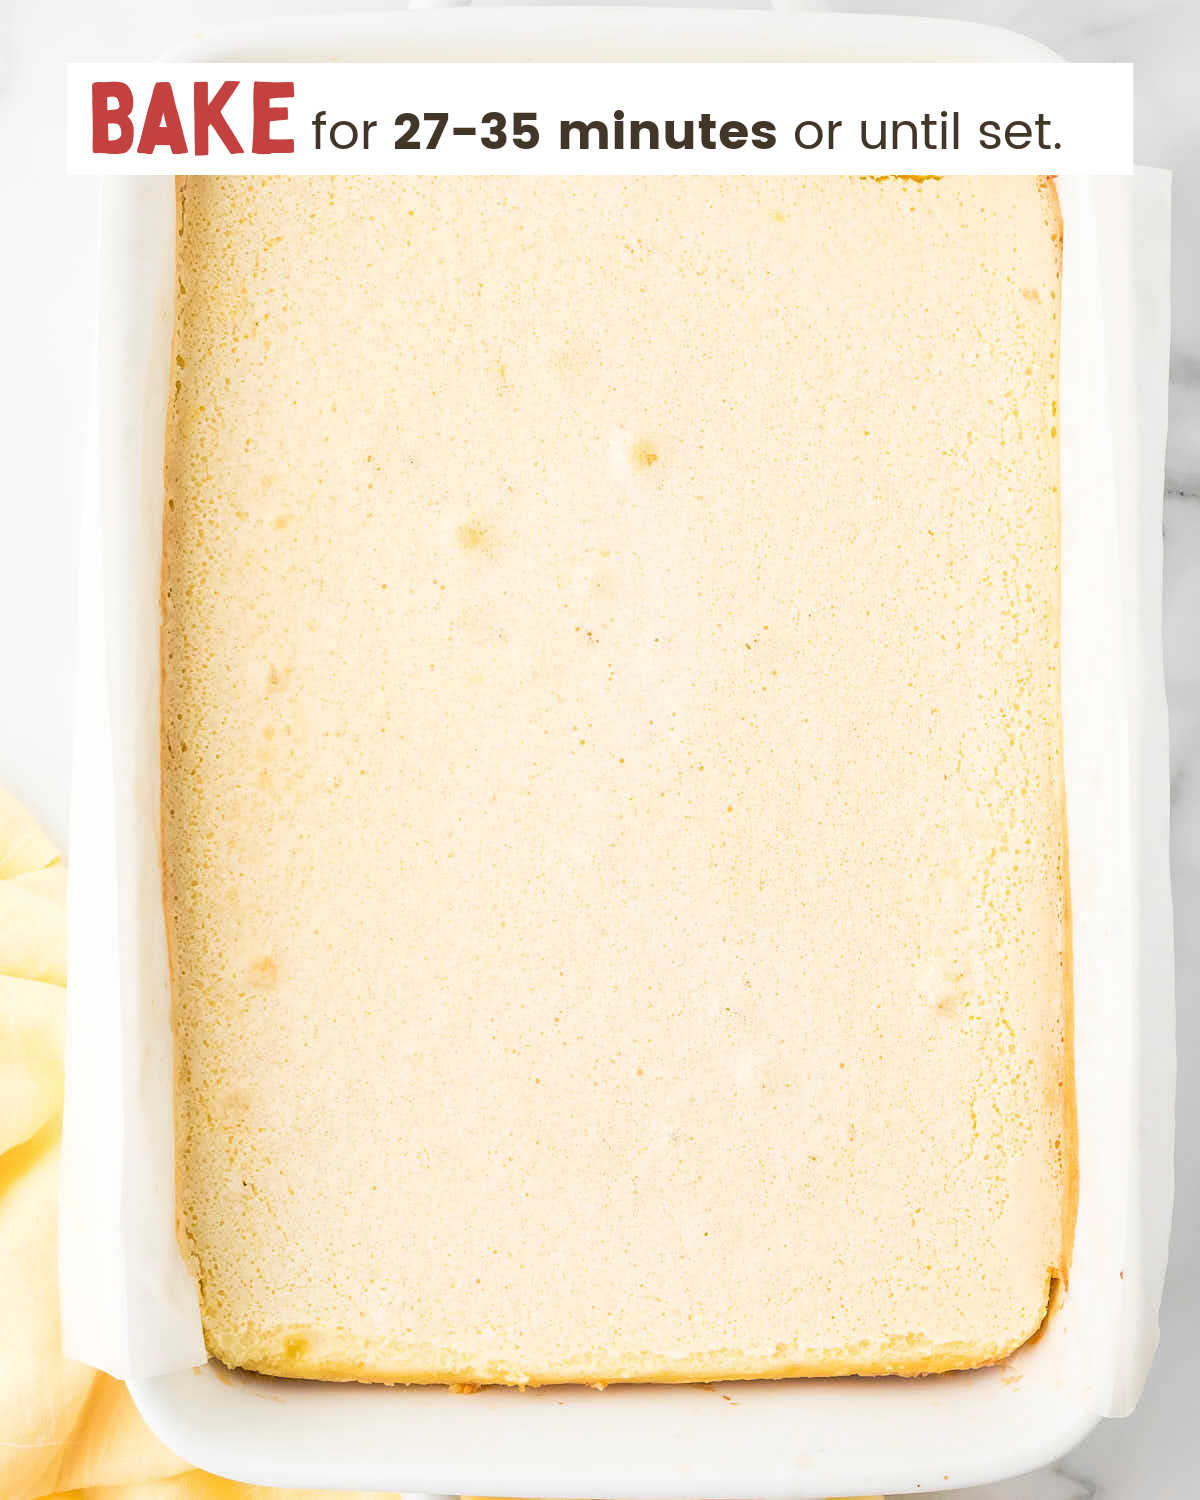
- Bake until set, cool completely, and chill to firm up.
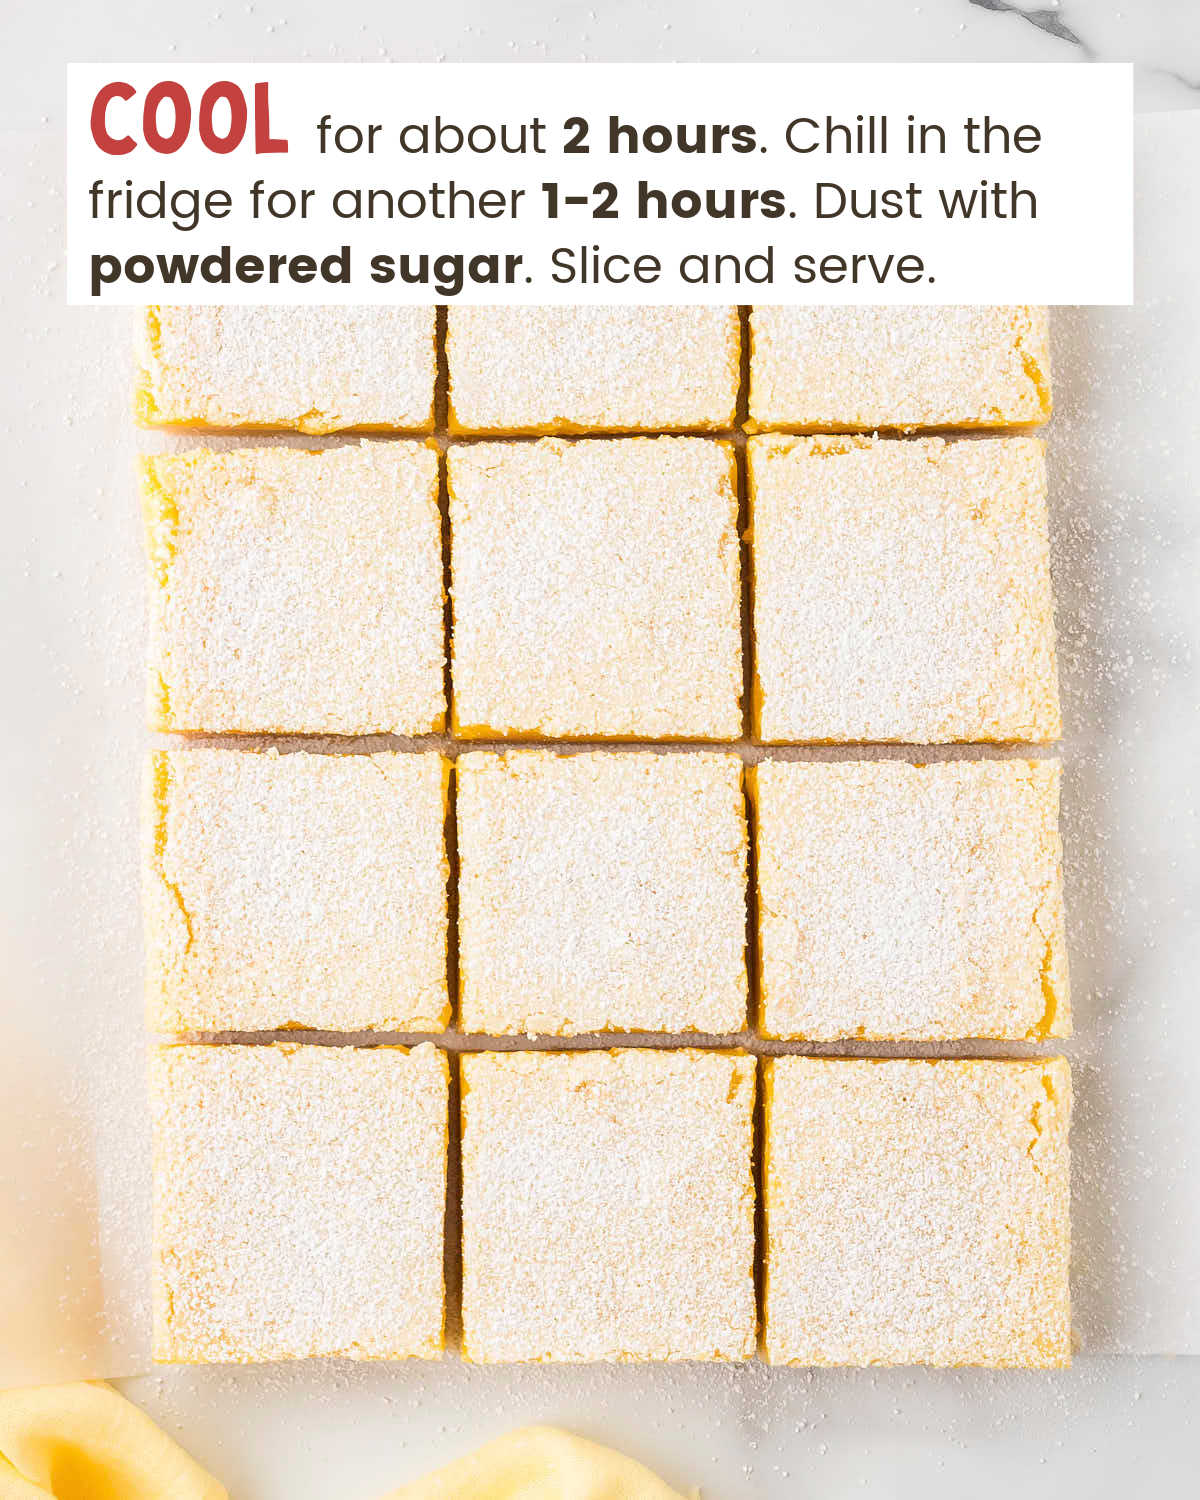
- Dust with powdered sugar, slice, and serve.
Leftovers and Storage
STORE – Store leftover lemon bars in an airtight container in the refrigerator. They’ll keep fresh for up to 4 days. For best results, place parchment paper between layers to prevent sticking.
FREEZE – Yes, lemon bars freeze well! Once cooled, slice the bars and place them on a baking sheet in the freezer. Freeze for 1-2 hours, then wrap them tightly in plastic wrap, then aluminum foil, and place them in a freezer-safe bag or container. They can be frozen for up to 3 months. Thaw in the refrigerator before serving.
REHEAT – Lemon bars are best served chilled or at room temperature. If you want to slightly warm them, let them sit at room temperature for about 30 minutes rather than reheating.
MAKE AHEAD – Yes! Lemon bars can be made in advance. Store them in the refrigerator until you’re ready to serve.
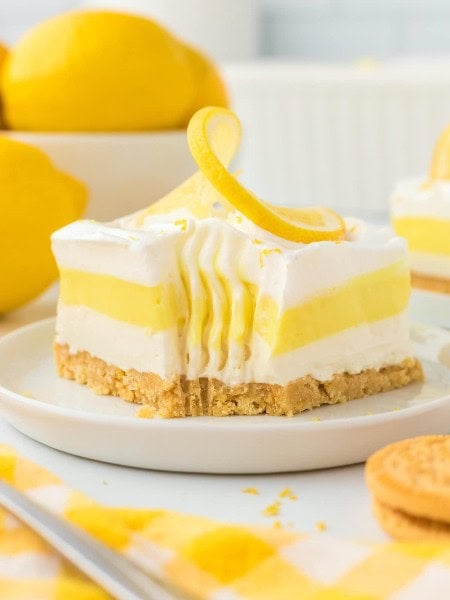
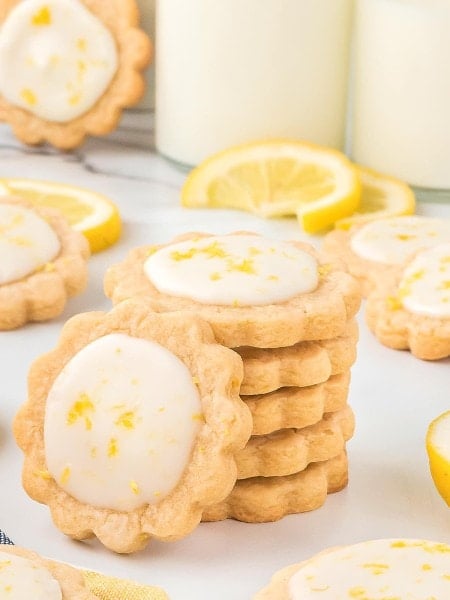
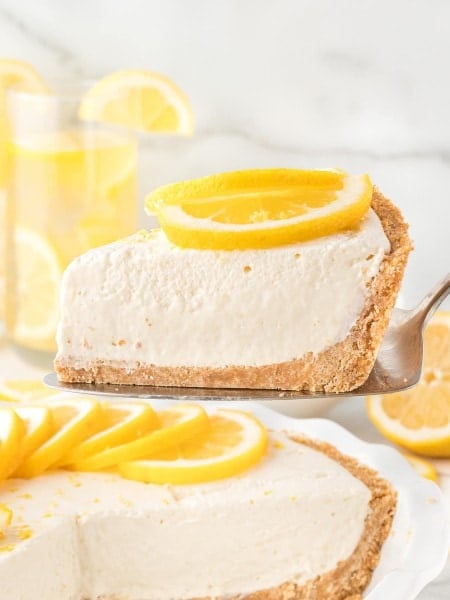
More Easy and Delicious Lemon Desserts
Serving Suggestions
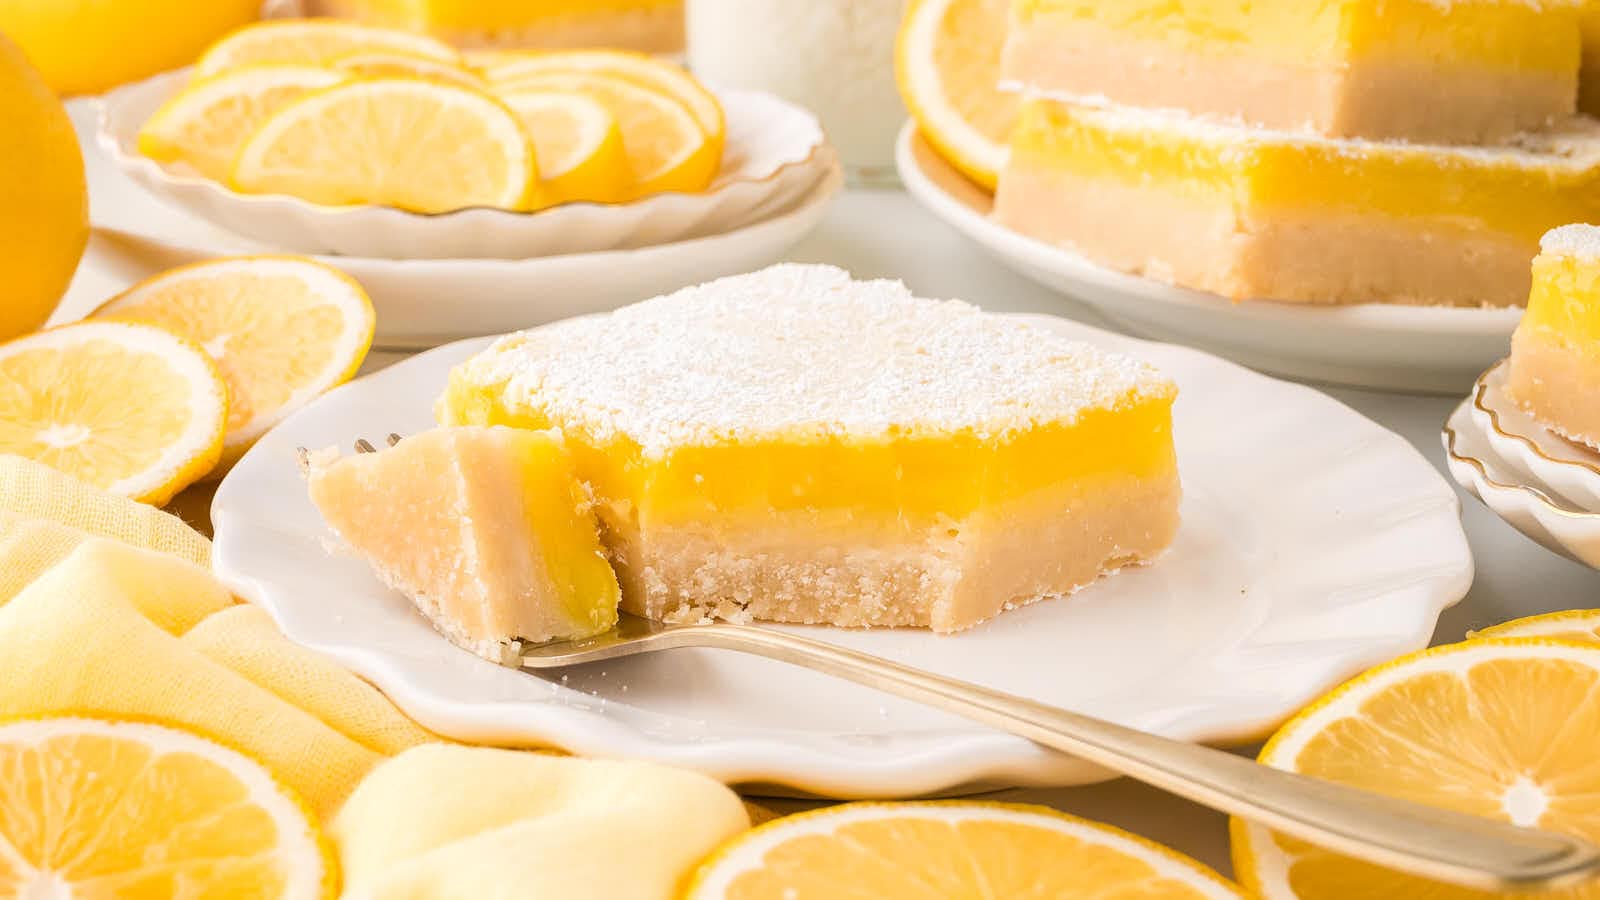
AFTER-DINNER TREAT – Serve these Lemon Bars as a light and refreshing dessert to end a hearty meal. Their bright citrus flavor provides the perfect balance after rich or heavy dishes like pasta or roasted meats. Pair them with a cup of coffee or tea for an extra comforting finish.
PICNIC FAVORITE – These bars are easy to pack and perfect for outdoor gatherings. Slice them into smaller squares for bite-sized treats that travel well in a cooler.
PARTY DESSERT – Add Lemon Bars to a dessert platter alongside classic cookies, brownies, or mini tarts for a well-rounded spread. Their vibrant yellow filling adds a pop of color to your table, and their sweet-tart flavor is a welcome contrast to richer chocolate-based desserts.
BRUNCH – These bars are an unexpected but delightful addition to brunch. Their citrusy flavor complements dishes like quiche, fruit salad, or a smoked salmon spread. Slice them smaller to create a more balanced brunch buffet.

Recipe Success Tips
PRESS THE CRUST FIRMLY – For a thick and sturdy base, press the crust mixture into the pan evenly and firmly. Using the back of a measuring cup or a flat-bottomed glass helps create an even, compact layer.
DON’T SKIP PRE-BAKING THE CRUST – The crust needs to be baked before adding the filling to ensure it stays firm and doesn’t get soggy. Bake it until it’s lightly golden around the edges for the best results.
FRESH LEMONS – Freshly squeezed lemon juice is essential for achieving that bright, zippy flavor. Bottled juice doesn’t have the same freshness, and the zest adds an extra layer of citrusy goodness.
MIX THE FILLING GENTLY – When whisking the filling, avoid overmixing, as this can introduce too much air, leading to bubbles on the surface. Stir just until everything is combined and smooth.
CHECK FOR DONENESS – The filling is done baking when it’s just set in the center and no longer jiggles when gently shaken. Overbaking can result in a rubbery texture, so keep an eye on it.
CHILL BEFORE SLICING – For clean, sharp slices, refrigerate the lemon bars for at least two hours after they cool to room temperature. This helps the filling set completely and makes slicing easier.
USE PARCHMENT PAPER FOR EASY REMOVAL – Lining the pan with parchment paper that overhangs the edges makes it simple to lift the entire slab of bars out of the pan. This avoids any risk of breaking the crust when slicing.
SIFT THE POWDERED SUGAR – For a smooth, even dusting of powdered sugar, sift it over the bars just before serving. If you dust them too early, the sugar may absorb moisture and dissolve.
USE A SHARP KNIFE FOR SLICING – A sharp knife will give you clean edges when slicing the bars. Wiping the blade clean between cuts also helps keep the slices neat.
Commonly Asked Questions
Can I use bottled lemon juice?
I strongly recommend freshly squeezed lemon juice for the best flavor. Bottled lemon juice can taste flat and lack the brightness needed for this recipe.
Why is my filling runny?
If the filling is runny, it’s likely underbaked. Make sure the center is just set and doesn’t jiggle before removing the bars from the oven.
Why did my crust turn out crumbly?
Crumbly crust can happen if the butter wasn’t properly incorporated into the flour mixture or if it wasn’t pressed down firmly enough in the pan.
How do I prevent bubbles in the filling?
Avoid over mixing the filling, as too much air can create bubbles. Stir gently until the ingredients are just combined.
How do I keep the powdered sugar from dissolving?
Dust the powdered sugar on top just before serving to ensure it stays visible and doesn’t dissolve into the filling.
More Easy and Delicious Recipes
Lemon Bars
Ingredients
Shortbread Crust
- 1 ½ cups butter unsalted, melted – 3 sticks
- ¾ cup granulated sugar
- ¾ teaspoon salt
- 3 cups all-purpose flour spooned and leveled
Lemon Filling
- 2 ¼ cups granulated sugar
- ½ cup all-purpose flour
- 7 large eggs
- 1 cup lemon juice fresh lemon juice, about 5 lemons
Optional Topping
- powdered sugar for dusting
Instructions
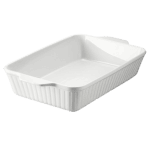
- Preheat the oven to 325º Fahrenheit. Line the bottom and sides of a 9×13-inch baking dish with parchment paper, leaving enough overhang on the sides to easily lift the bars out later. Set aside.
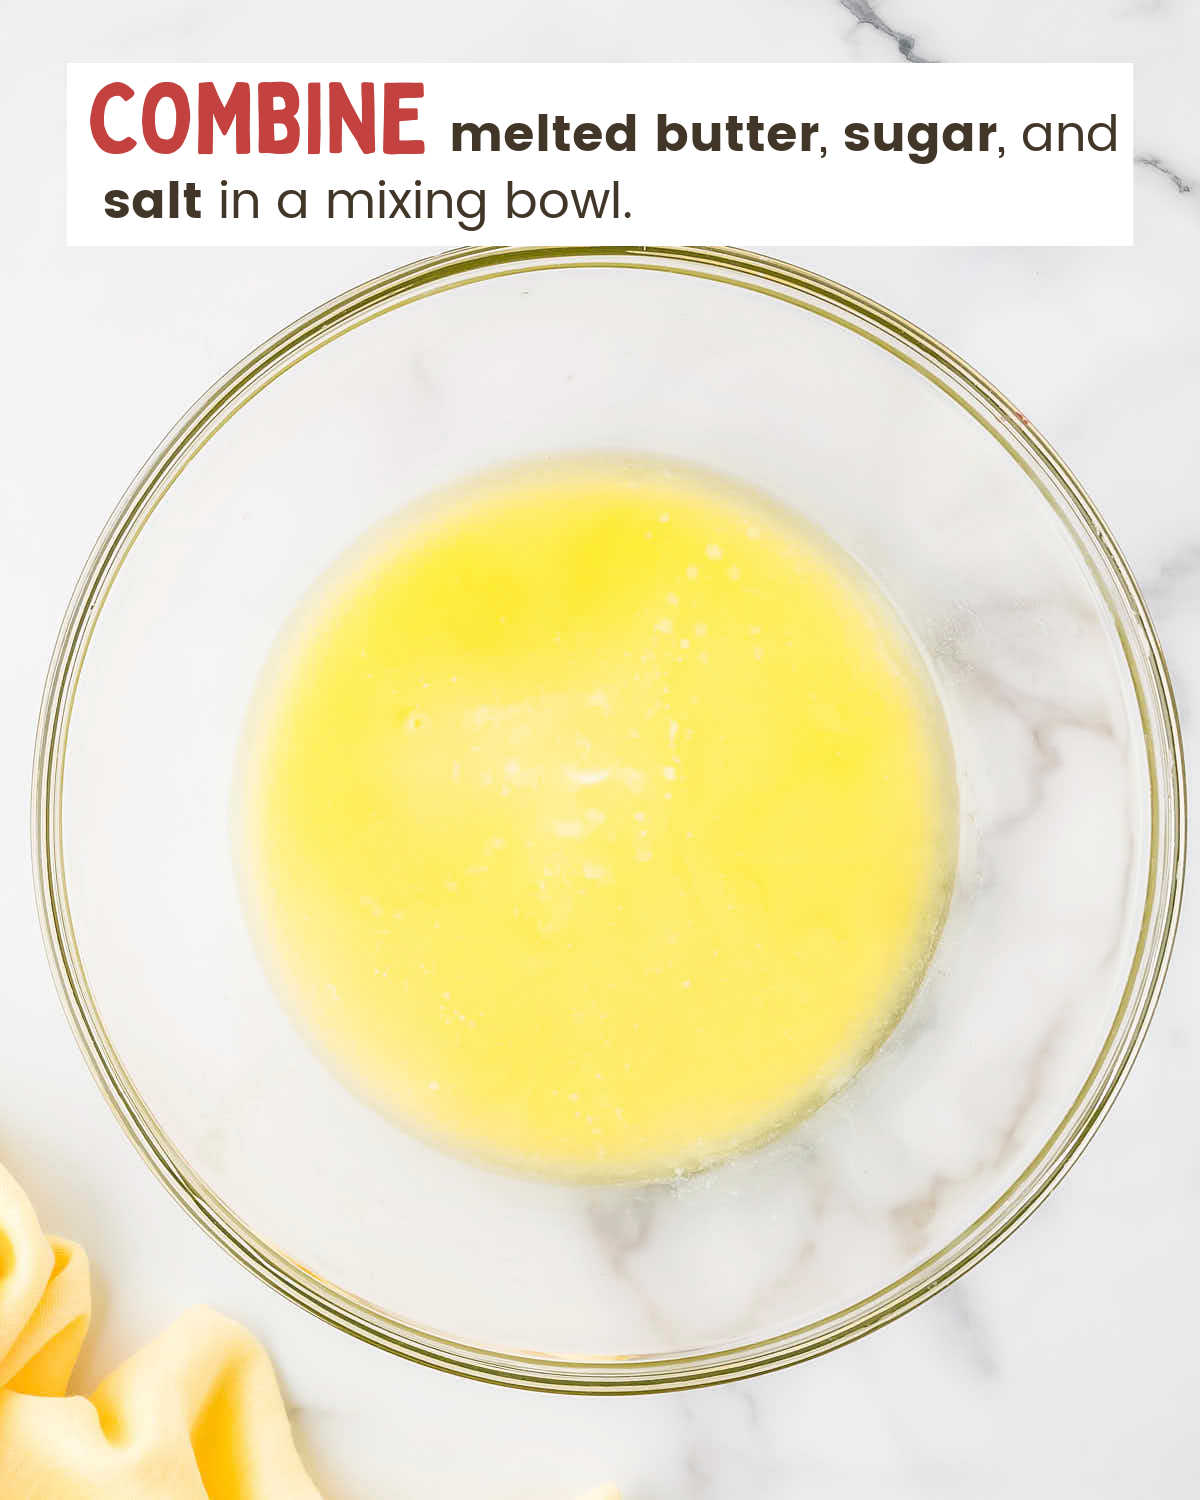
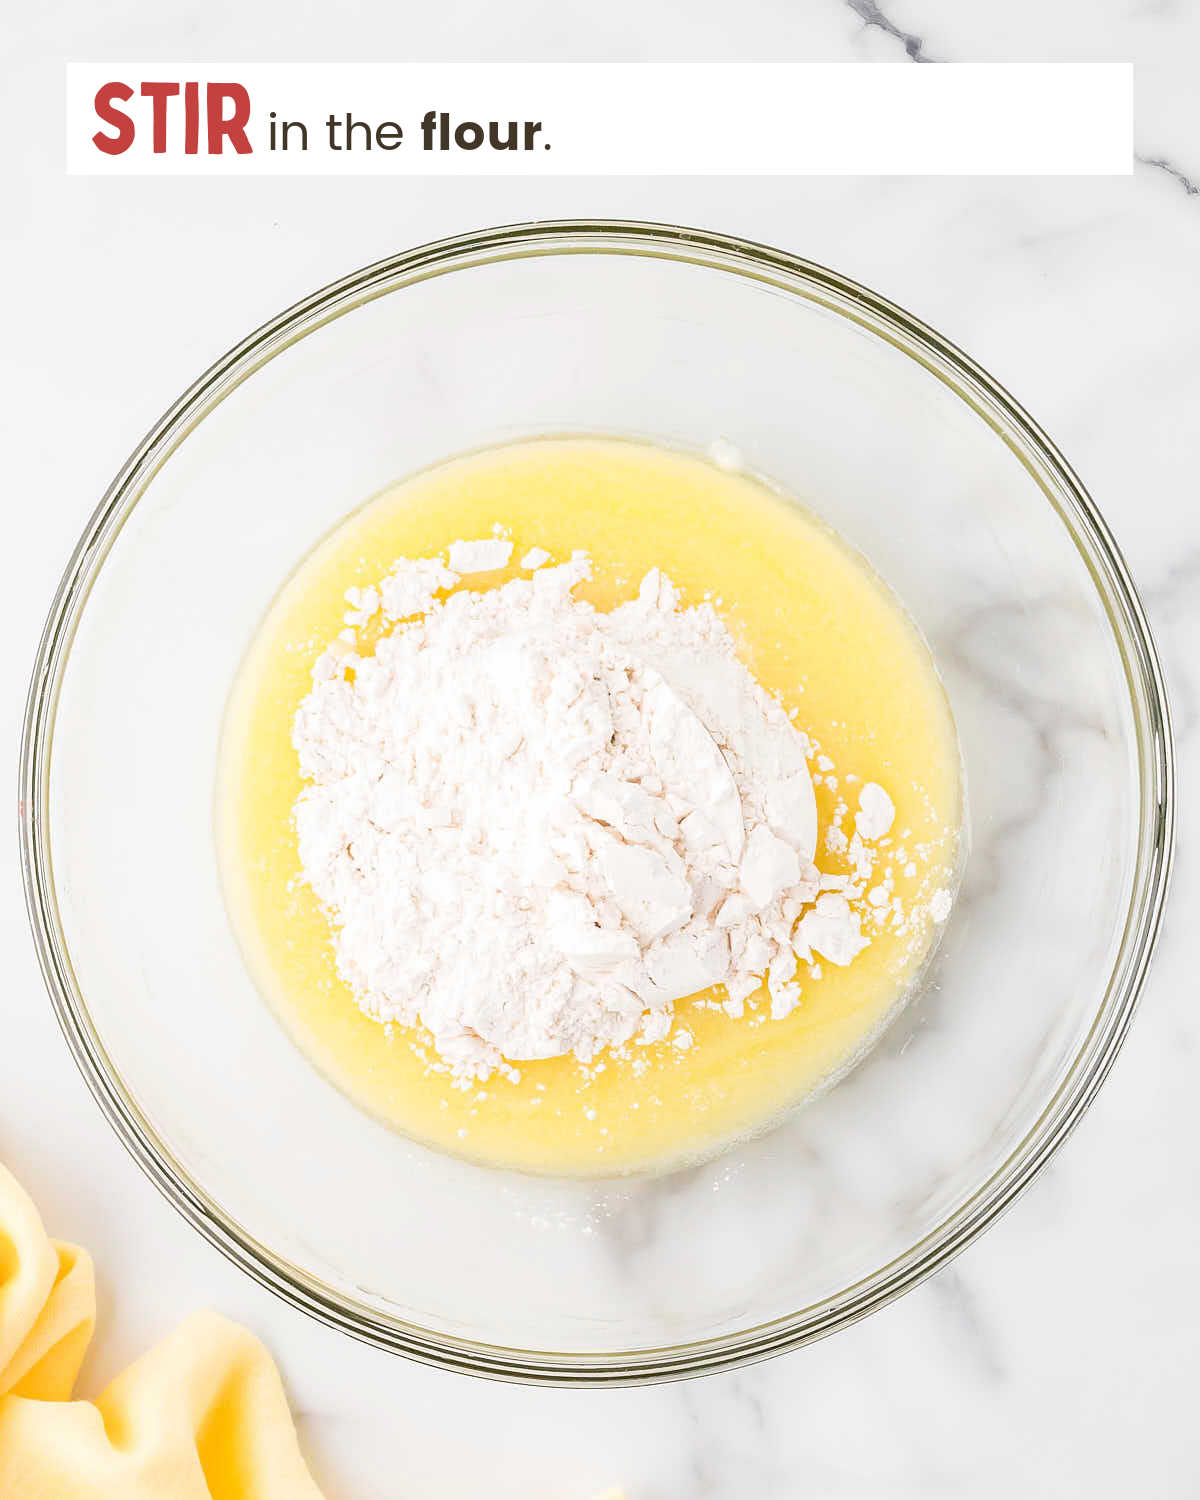
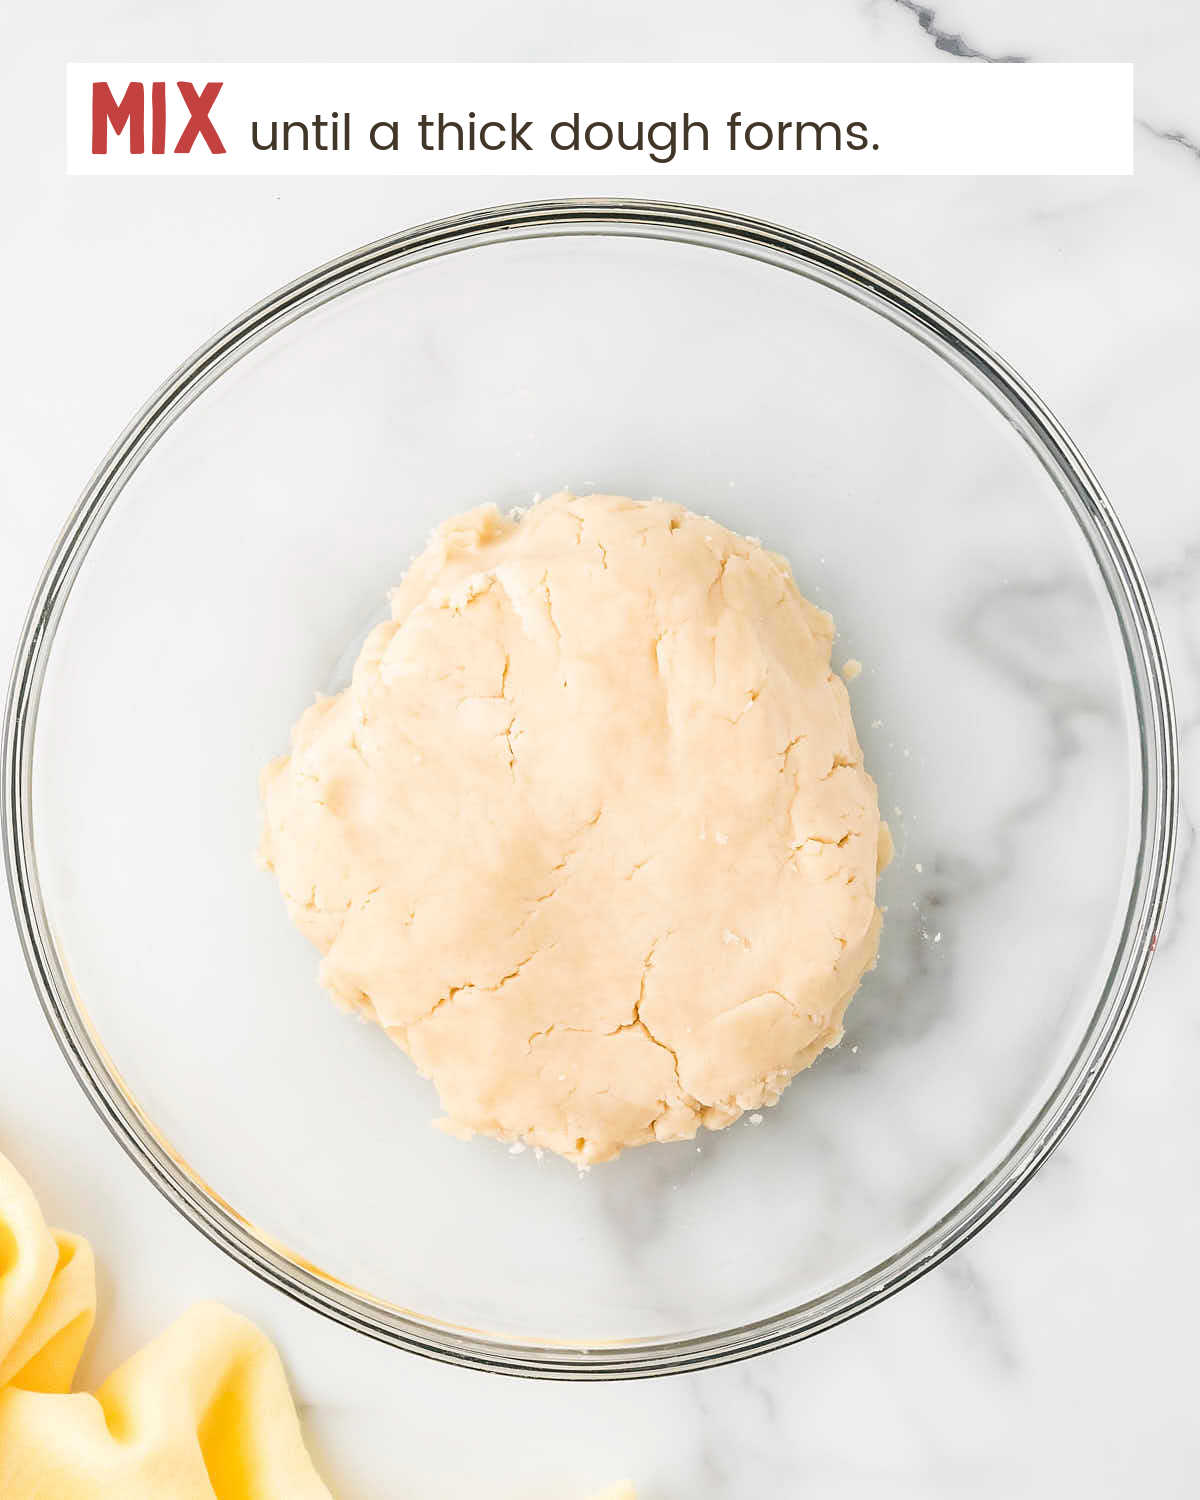
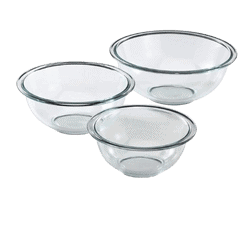
- In a medium mixing bowl, combine the melted butter, sugar, and salt. Stir in the flour until the mixture forms a thick dough.
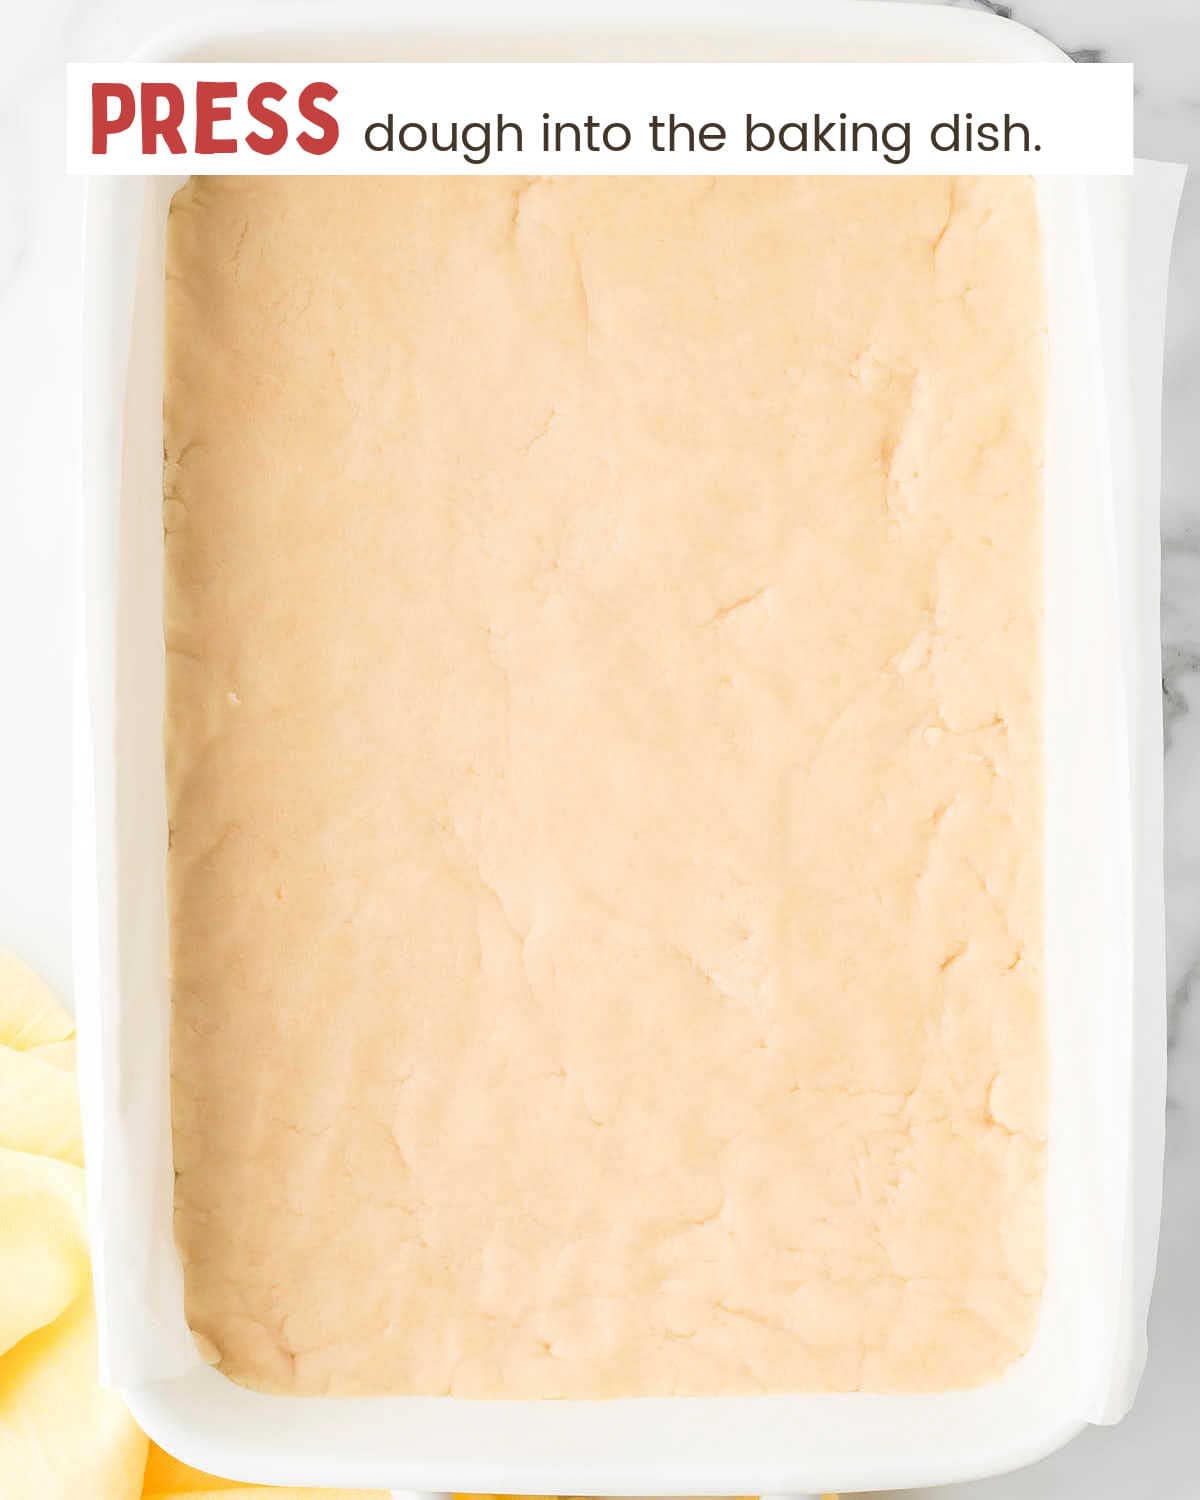
- Press the dough evenly and firmly into the prepared baking dish, aim for a smooth, even layer. Use the back of a spoon or a flat-bottomed glass to press it tightly.
- Bake the crust for 25-30 minutes, or until the edges are lightly golden. Remove it from the oven and, using a fork, poke holes across the surface of the warm crust. Make sure you do not poke all the way. Set aside while you prepare the filling.
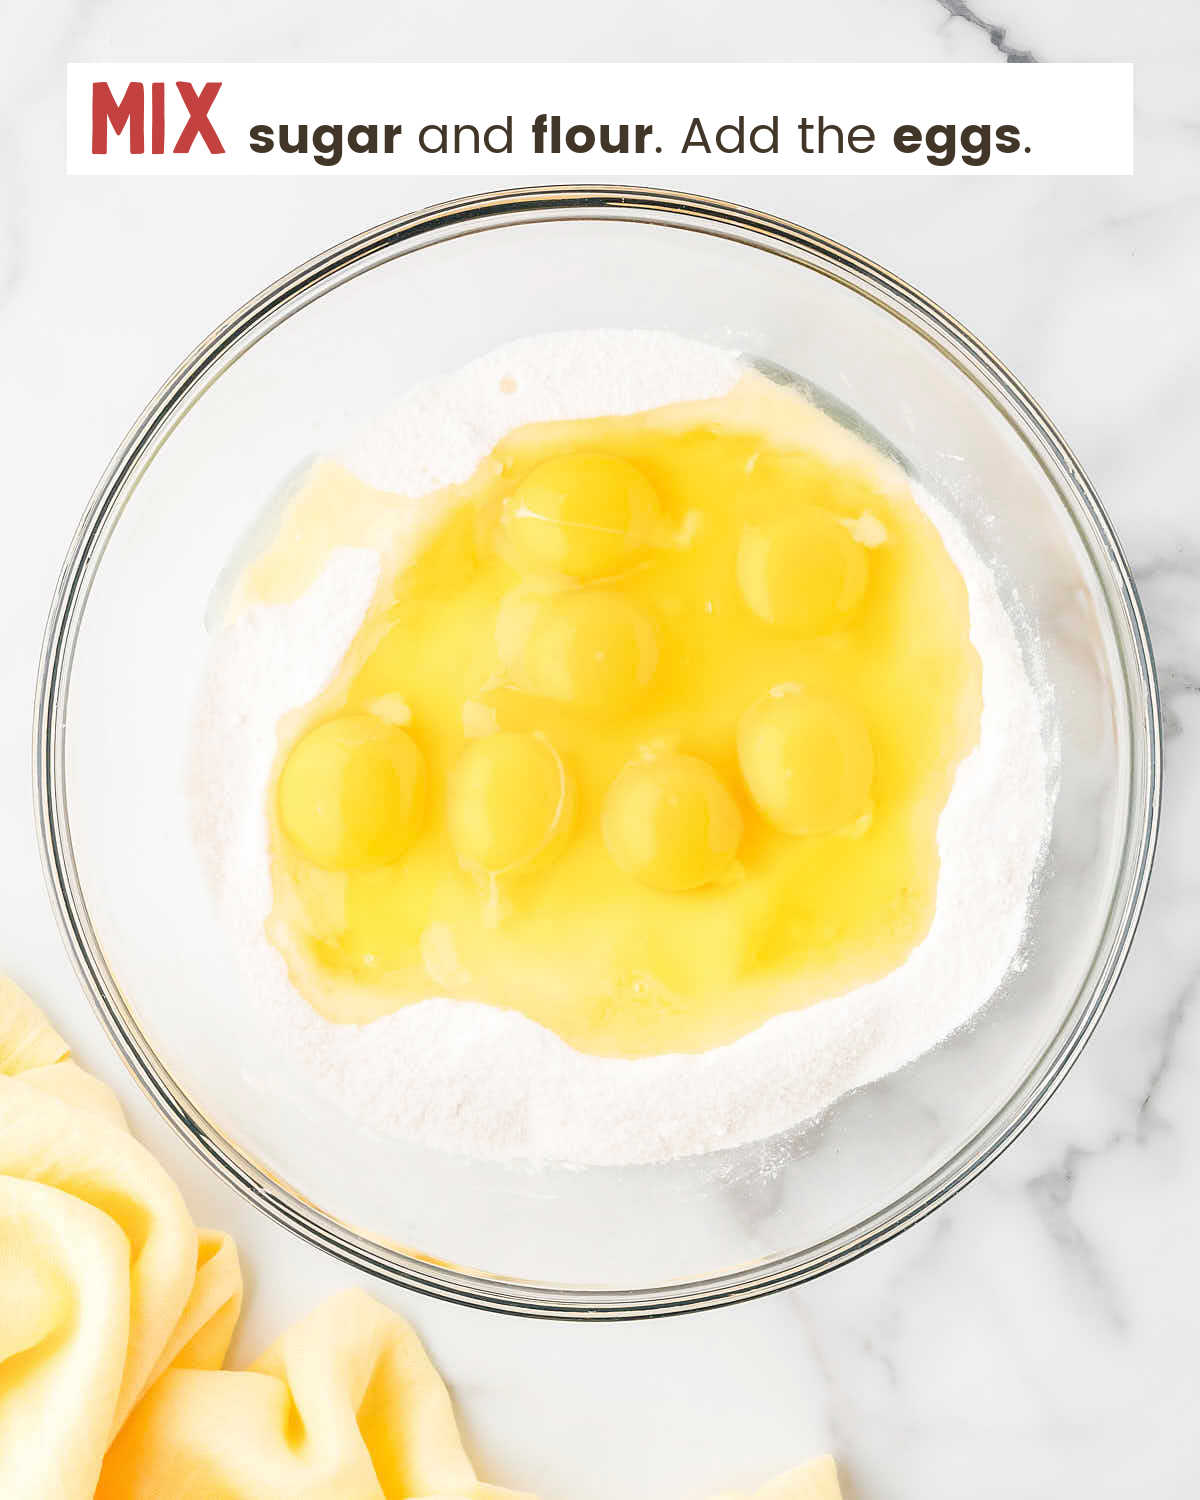
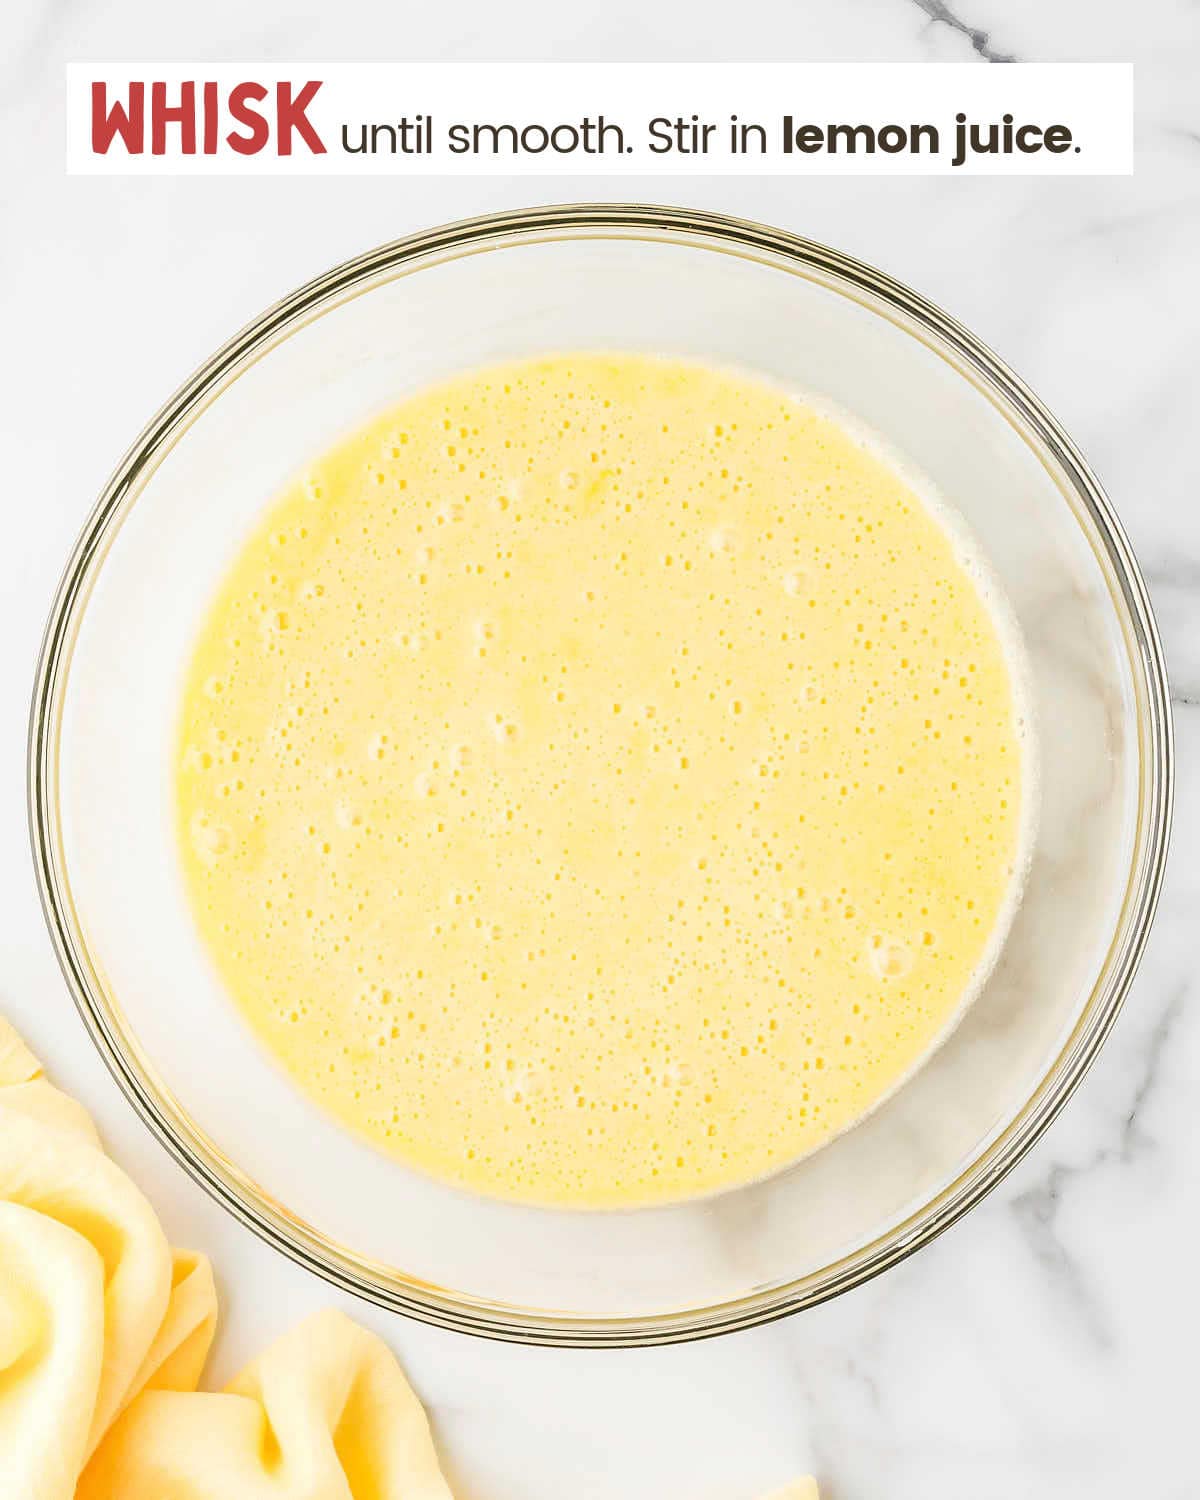
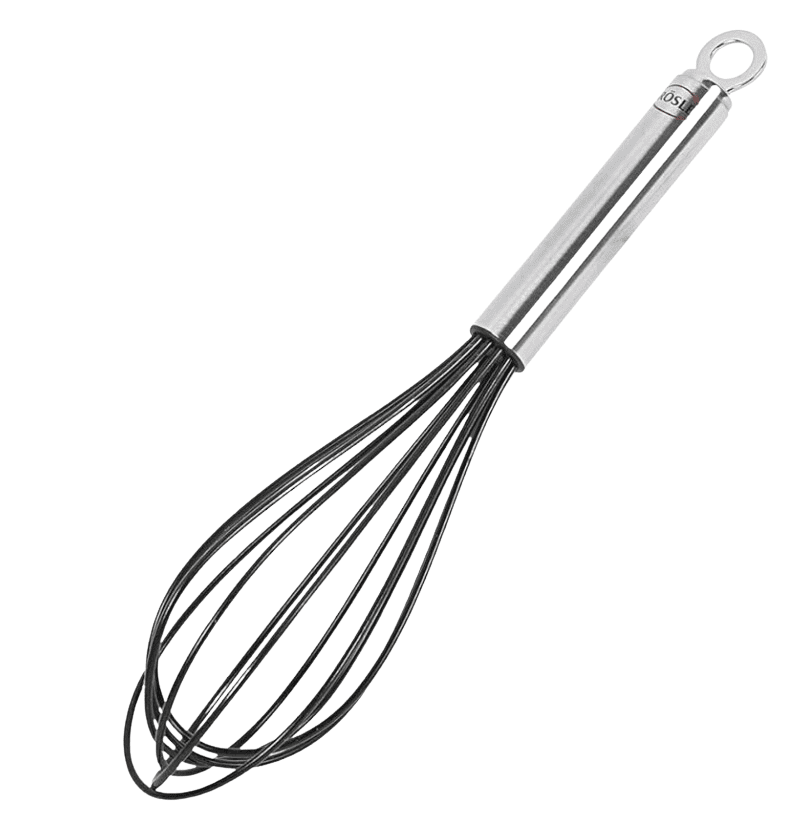
- Whisk the sugar and flour in a large mixing bowl until evenly combined. Add the eggs and whisk until smooth. Gradually stir in the lemon juice. Make sure the mixture is free of lumps.
- Pour the lemon filling over the warm crust. Spread it evenly across the top. Return the pan to the oven and bake for 27-35 minutes, or until the filling is set. The center should no longer jiggle when lightly tapped.
- Allow the lemon bars to cool completely at room temperature for about 2 hours. Once cooled, transfer the pan to the refrigerator and chill for another 1-2 hours to ensure the filling sets firmly.
- Use the parchment paper overhang to carefully lift the bars out of the pan.
- Dust the top with powdered sugar, then slice into squares or rectangles with a sharp knife. Serve chilled or at room temperature.
Equipment
Notes
Cooling Time:
3-4 hoursNutritional Information
Nutritional Disclaimer
Cheerful Cook team members are not trained nutritionists or medical professionals. Calorie information and nutritional values are estimates. If you have nutritional concerns, we recommend using a nutritional calculator.
Maike Corbett grew up in German kitchens learning to cook and bake alongside her Omas before spending over a decade running full-service restaurants in the US. She founded Cheerful Cook in 2017 to share practical, tested comfort food recipes that actually work on busy weeknights, drawing on both her American restaurant experience and her German home-cooking roots. Her work has been featured on MSN, Yahoo, the Associated Press, and other major media outlets.