
Cannoli Delight
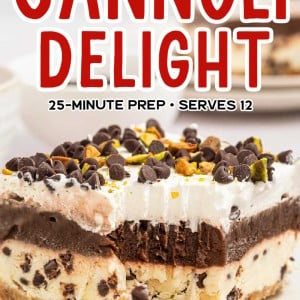
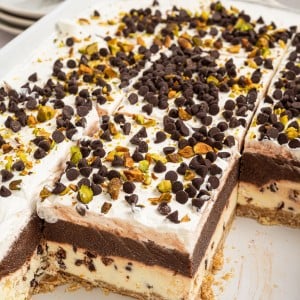
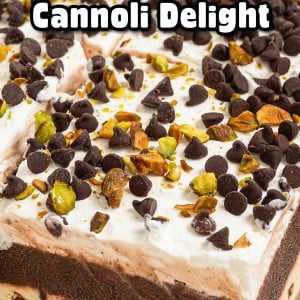
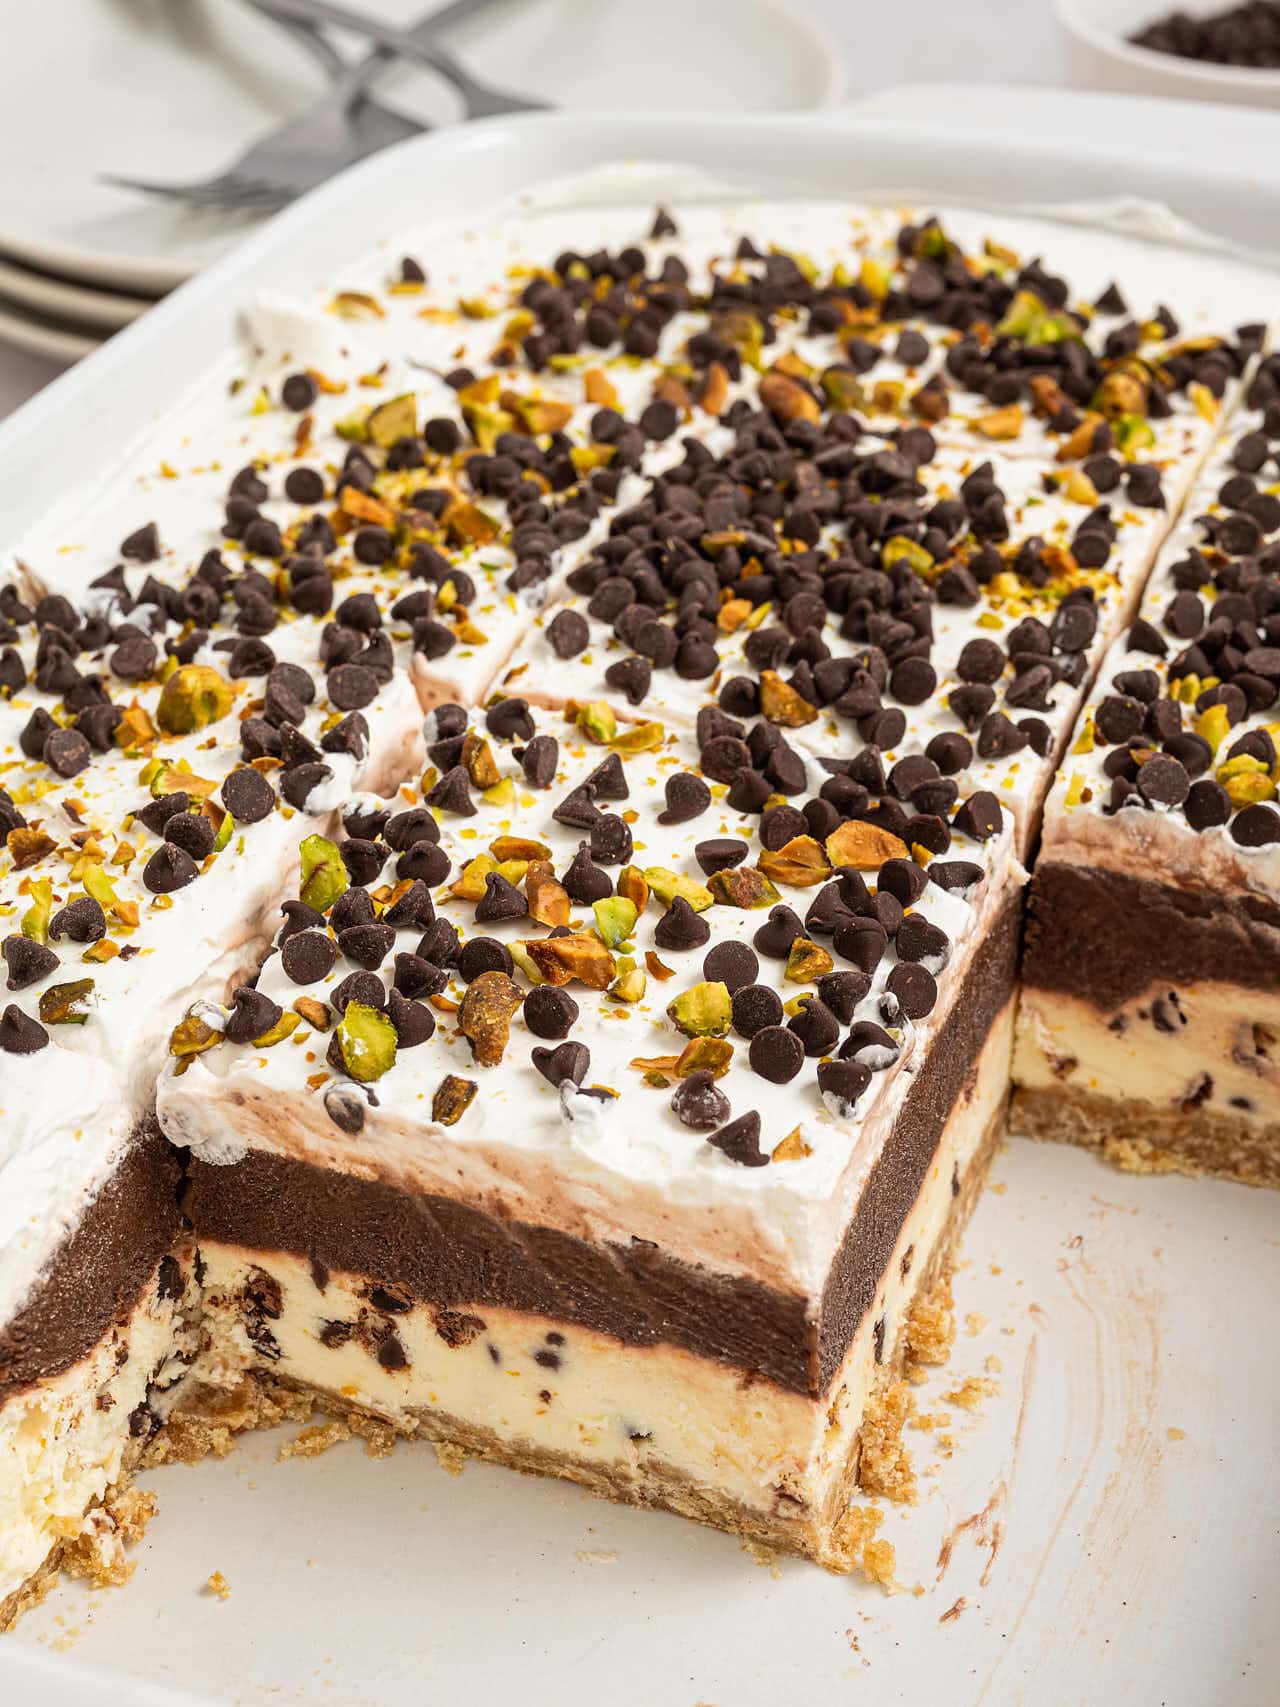
Cannoli Delight is a frozen, no-bake layered dessert with all the flavor of the classic Sicilian treat and none of the frying. One pan, twelve creamy squares, and the freezer does most of the work.
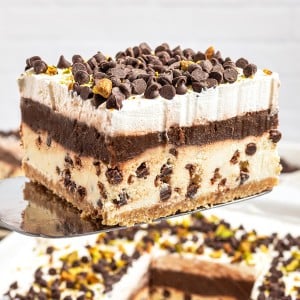
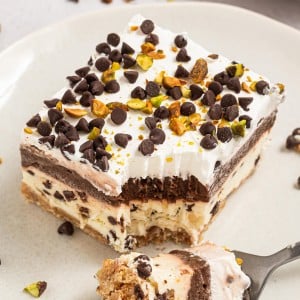
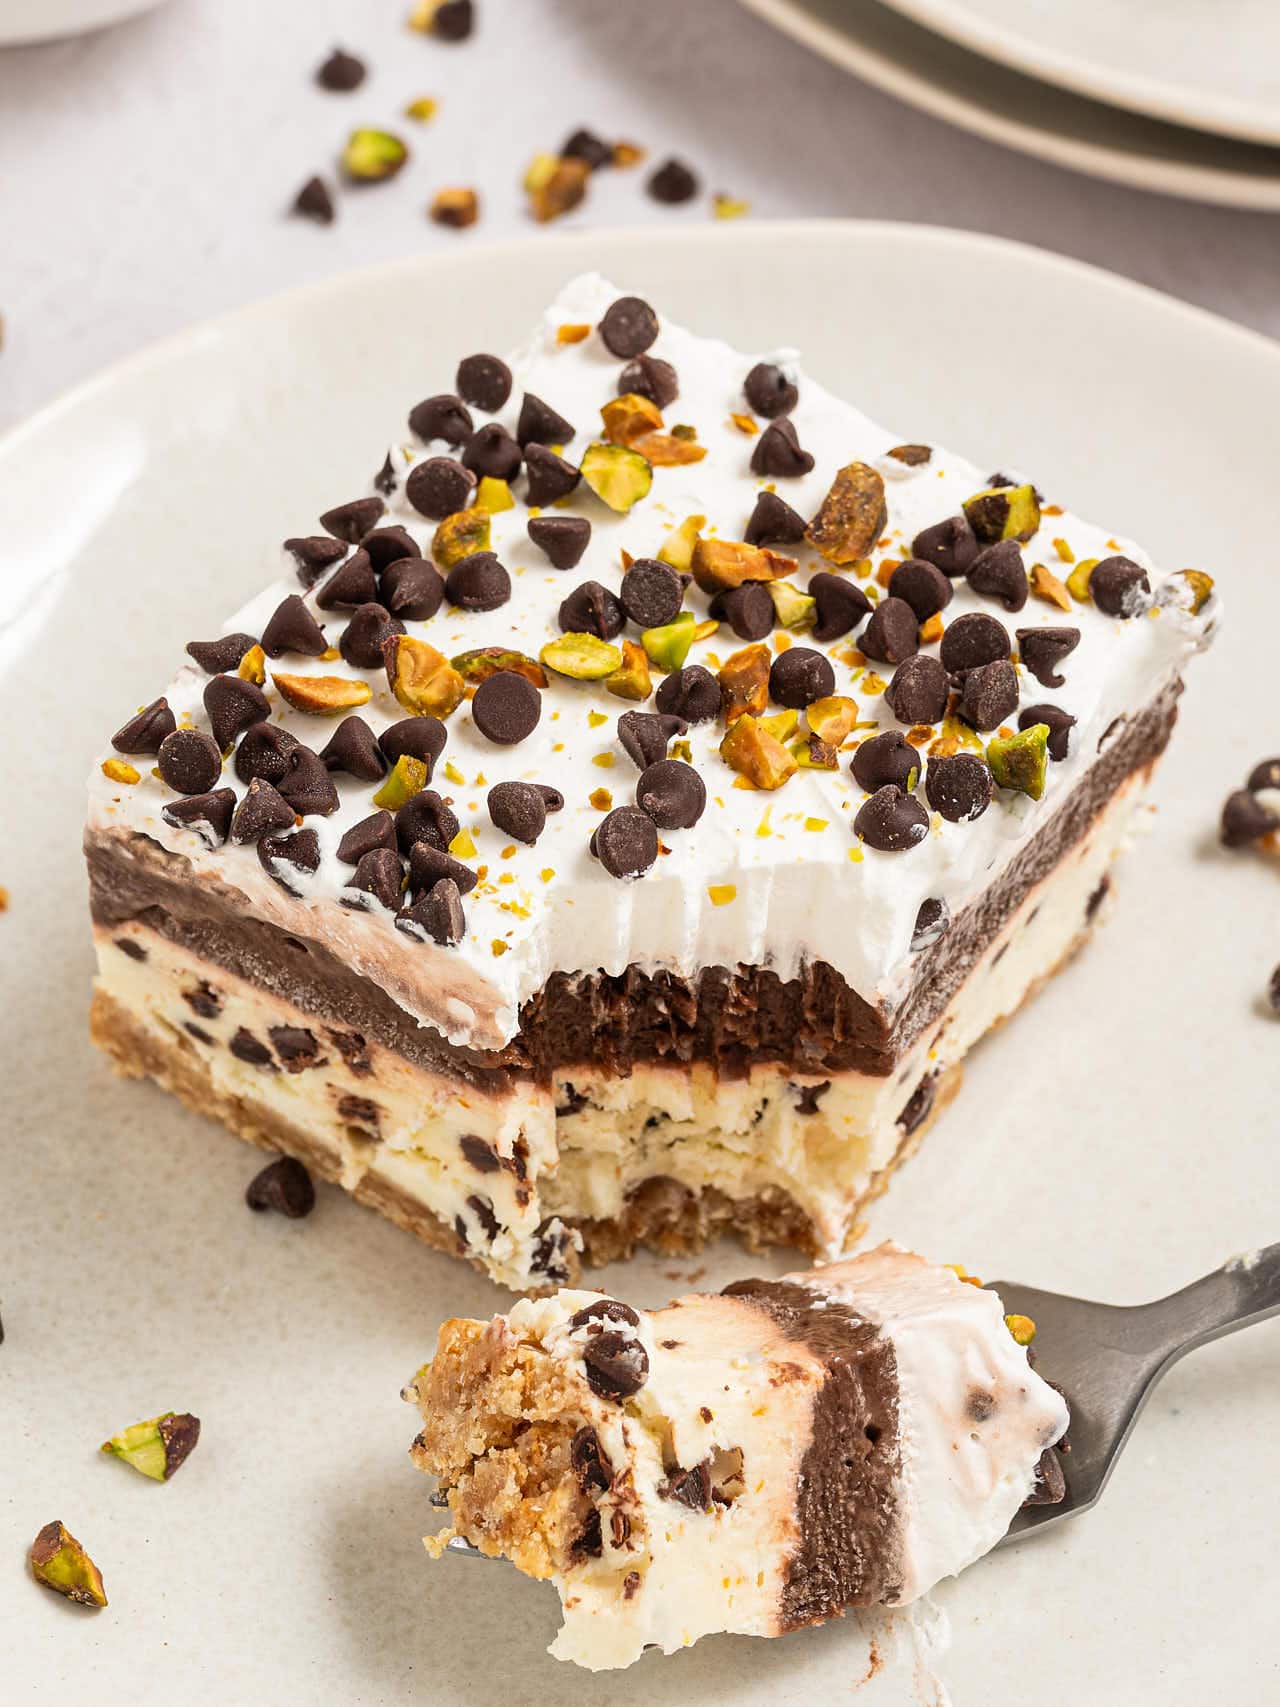
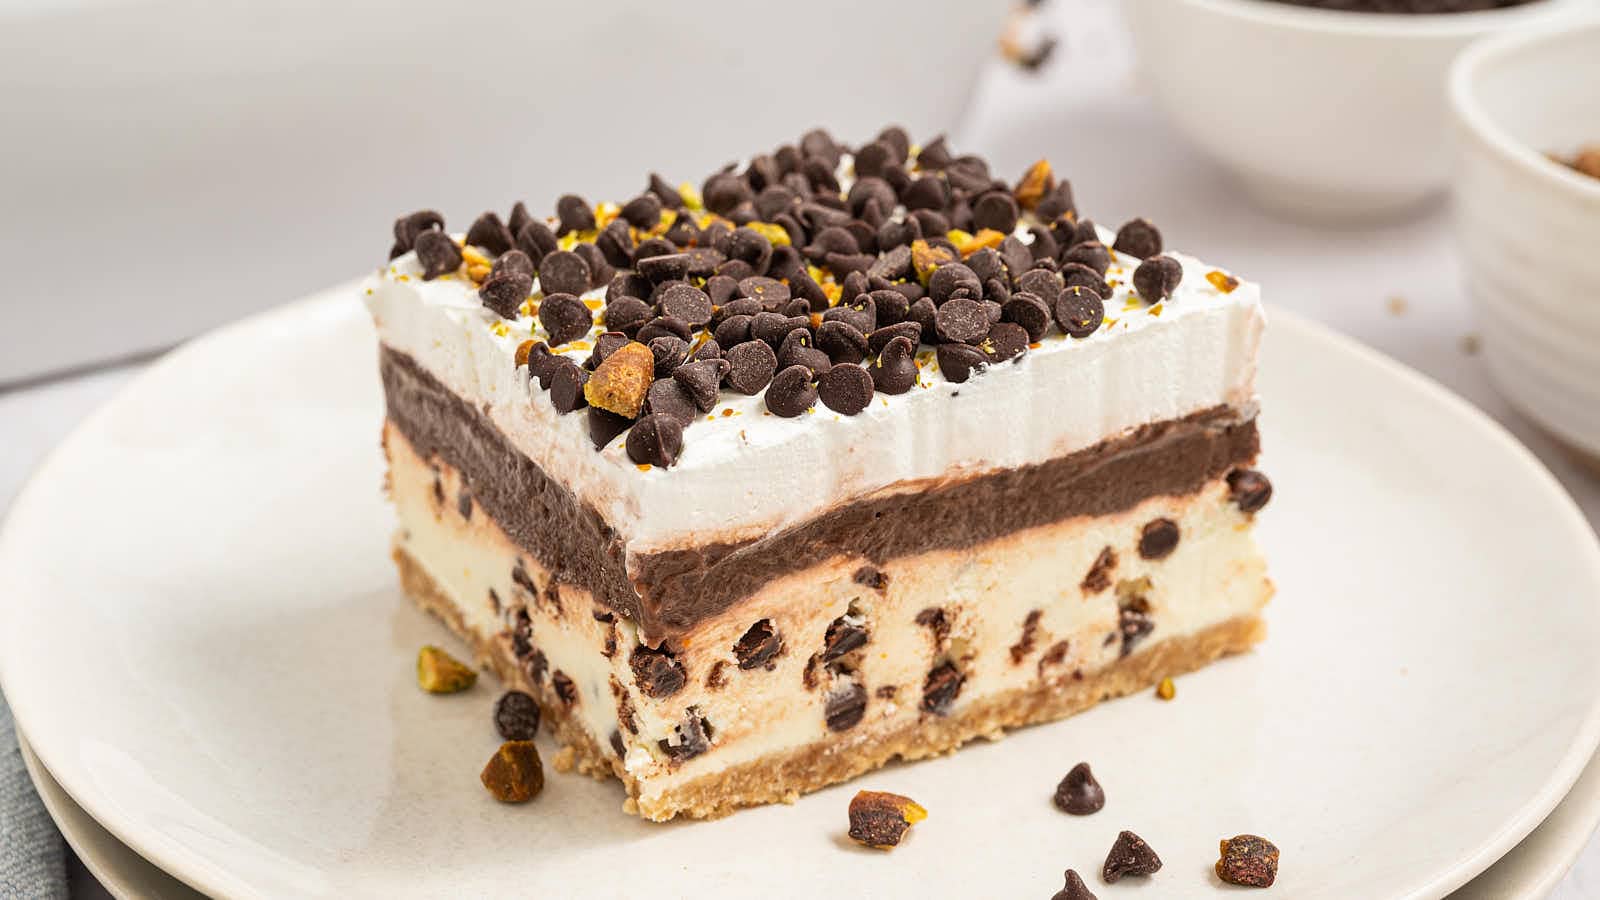
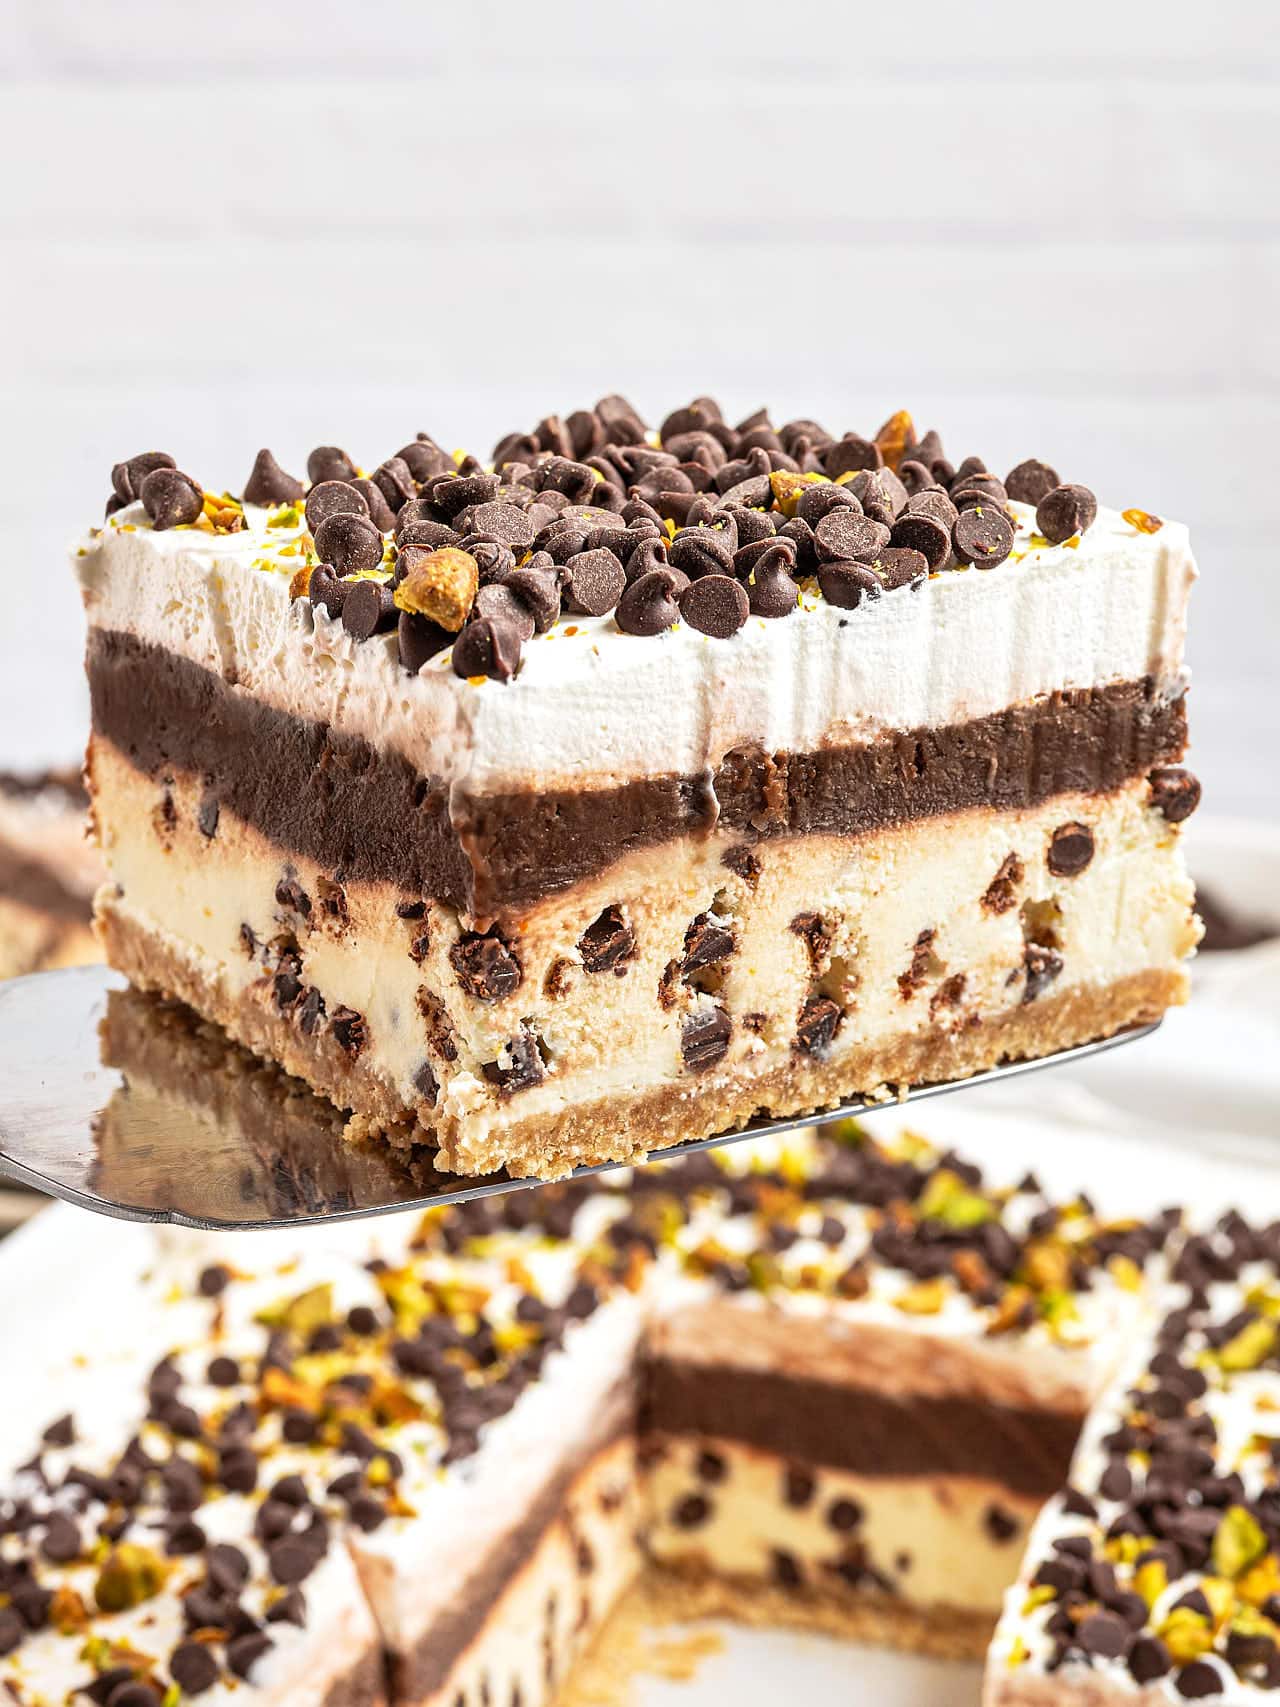
A creamy ricotta and cream cheese filling dotted with mini chocolate chips, layered with rich chocolate pudding on a buttery vanilla wafer crust.
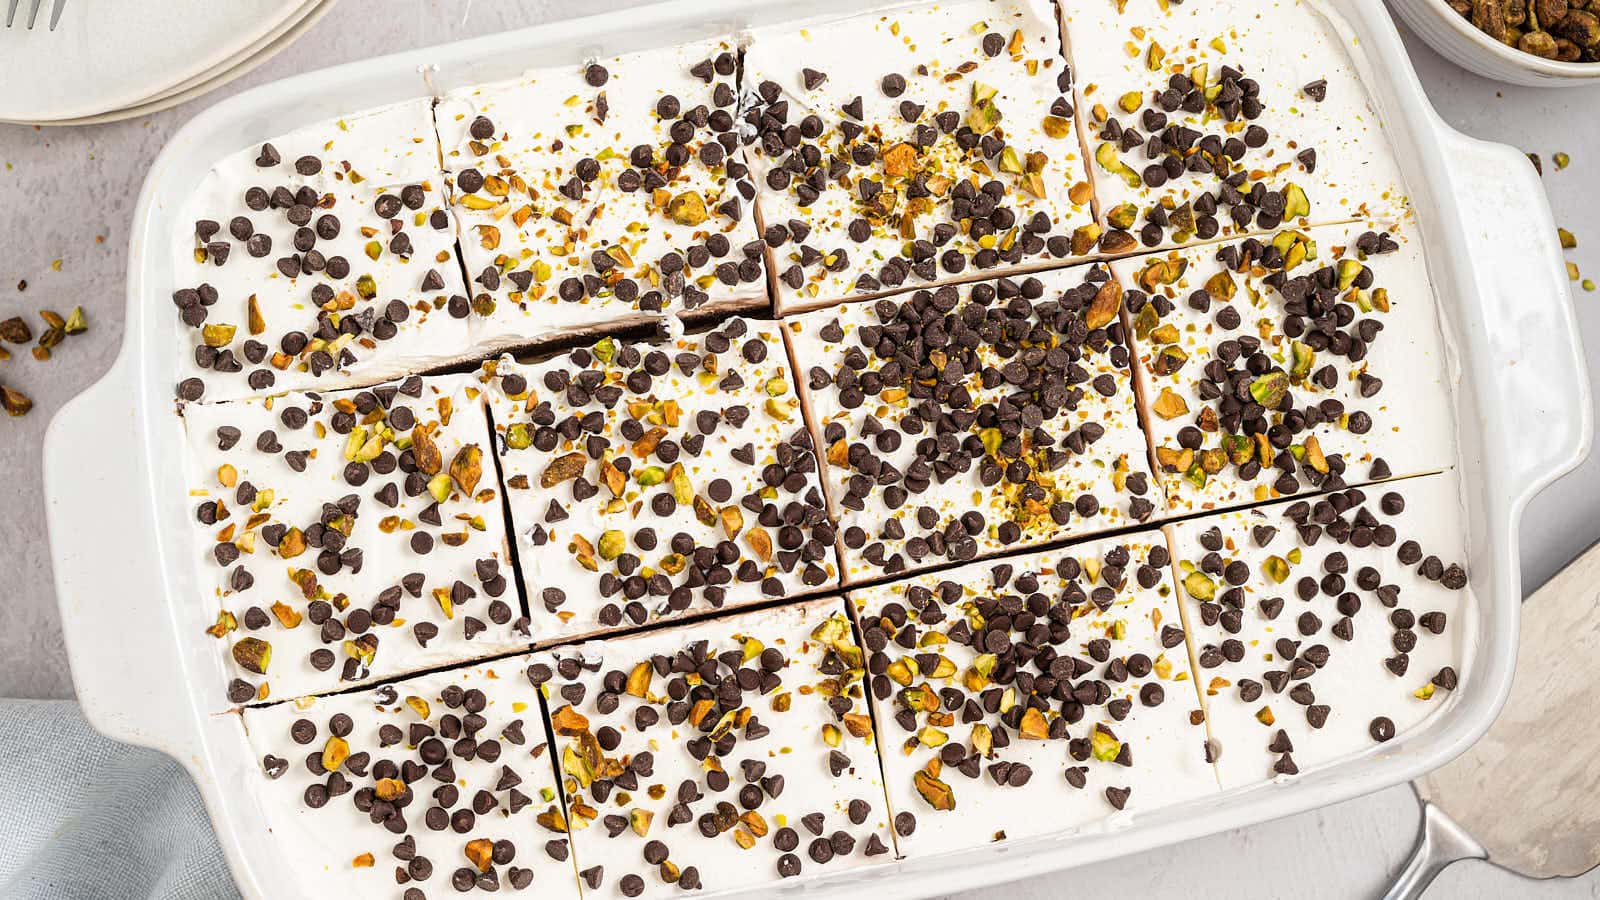
The first pan I made went to a summer potluck and came home scraped clean. Now it’s my standing dessert for family birthdays, because I can make it days ahead and cross dessert off the list early.
Recipe Highlights
- Classic cannoli flavor without frying a shell
- Completely no bake, the freezer does the work
- One 9×13 pan serves a dozen
- Make it days ahead for parties
- 25 minutes of hands-on prep
Ingredient Notes
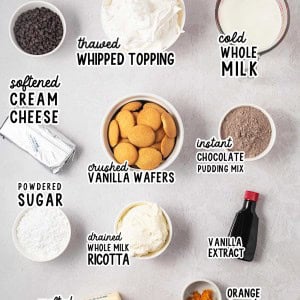
Please check the recipe card below for a detailed, printable ingredient list.
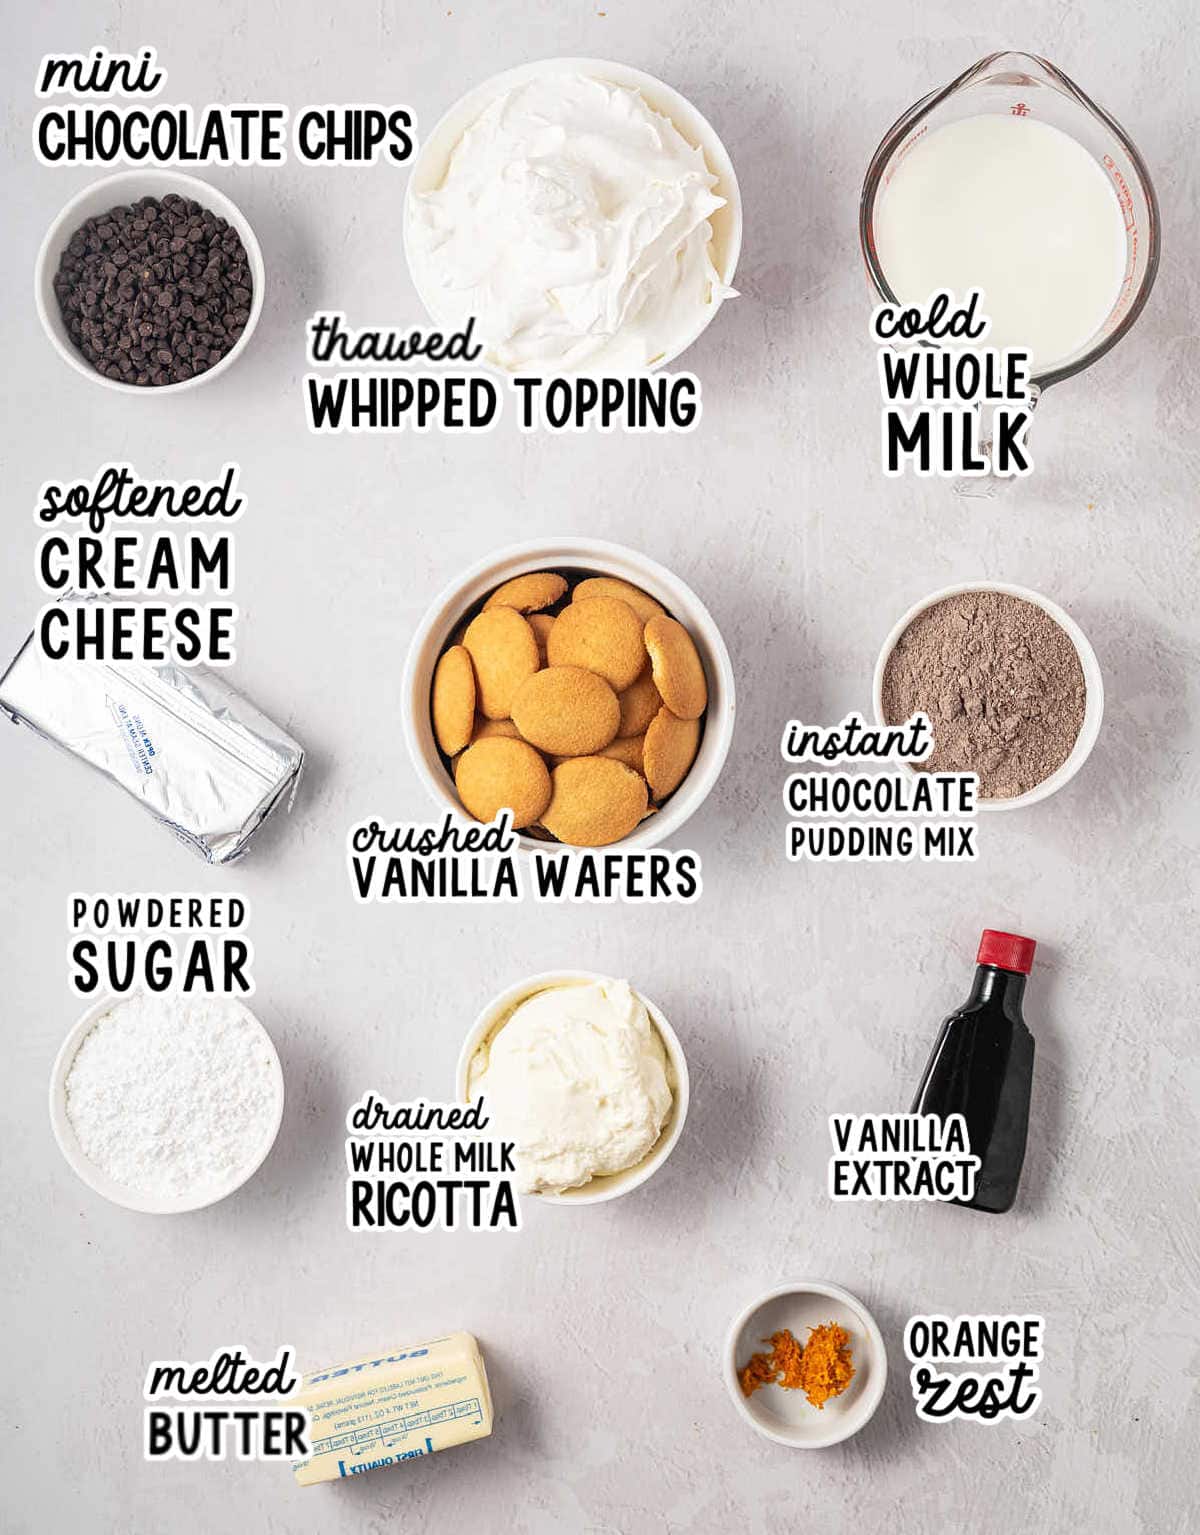
VANILLA WAFERS – Measure 3 cups of whole cookies, about 7 ounces by weight. One 11-ounce box of Nilla Wafers covers it with cookies to spare. If you’d rather use the whole box, add 2 more tablespoons of butter. Graham crackers work too; crush about 15 full sheets.
PUDDING MIX – Grab the 5.9-ounce family-size box of instant chocolate pudding. Instant is the one that sets cold; Cook & Serve is a different product. Whole or 2 percent milk both work.
RICOTTA – Whole milk ricotta makes the thickest filling, and a quick drain makes it even better. Line a fine mesh sieve with paper towels and press the ricotta gently with a spoon.
ORANGE ZEST – One medium navel orange covers the teaspoon this recipe needs. Zest it straight over the bowl so the oils land in the filling.
MINI CHOCOLATE CHIPS – Mini is the size to stick with here. The little chips spread through every bite, and the squares cut neatly around them.
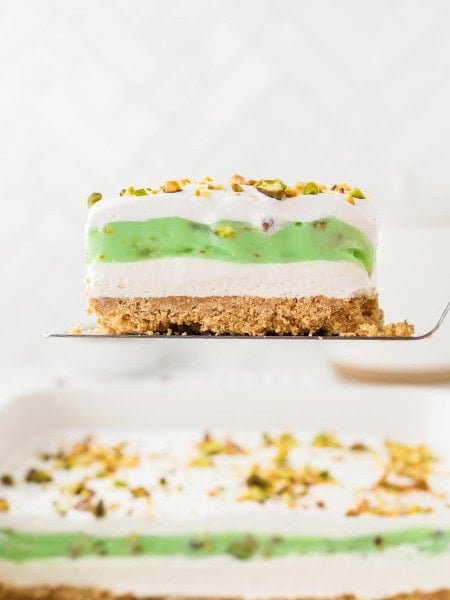
PISTACHIOS – Optional, and they give the top its classic cannoli look. I use unsalted, roughly chopped, the same way I finish my Pistachio Lush. Extra mini chips on top work just as well.
|
Dessert |
The Build |
Best For |
|
Cannoli Delight (this recipe) |
Layered in a 9×13 pan, frozen firm |
Crowds and make-ahead plans |
|
Classic Cannoli |
Fried shells piped with ricotta cream |
A special-occasion pastry |
|
Creamy filling with dippers |
Fast party snacking |
How To Make Cannoli Delight
Please check the printable recipe card below for more detailed instructions.
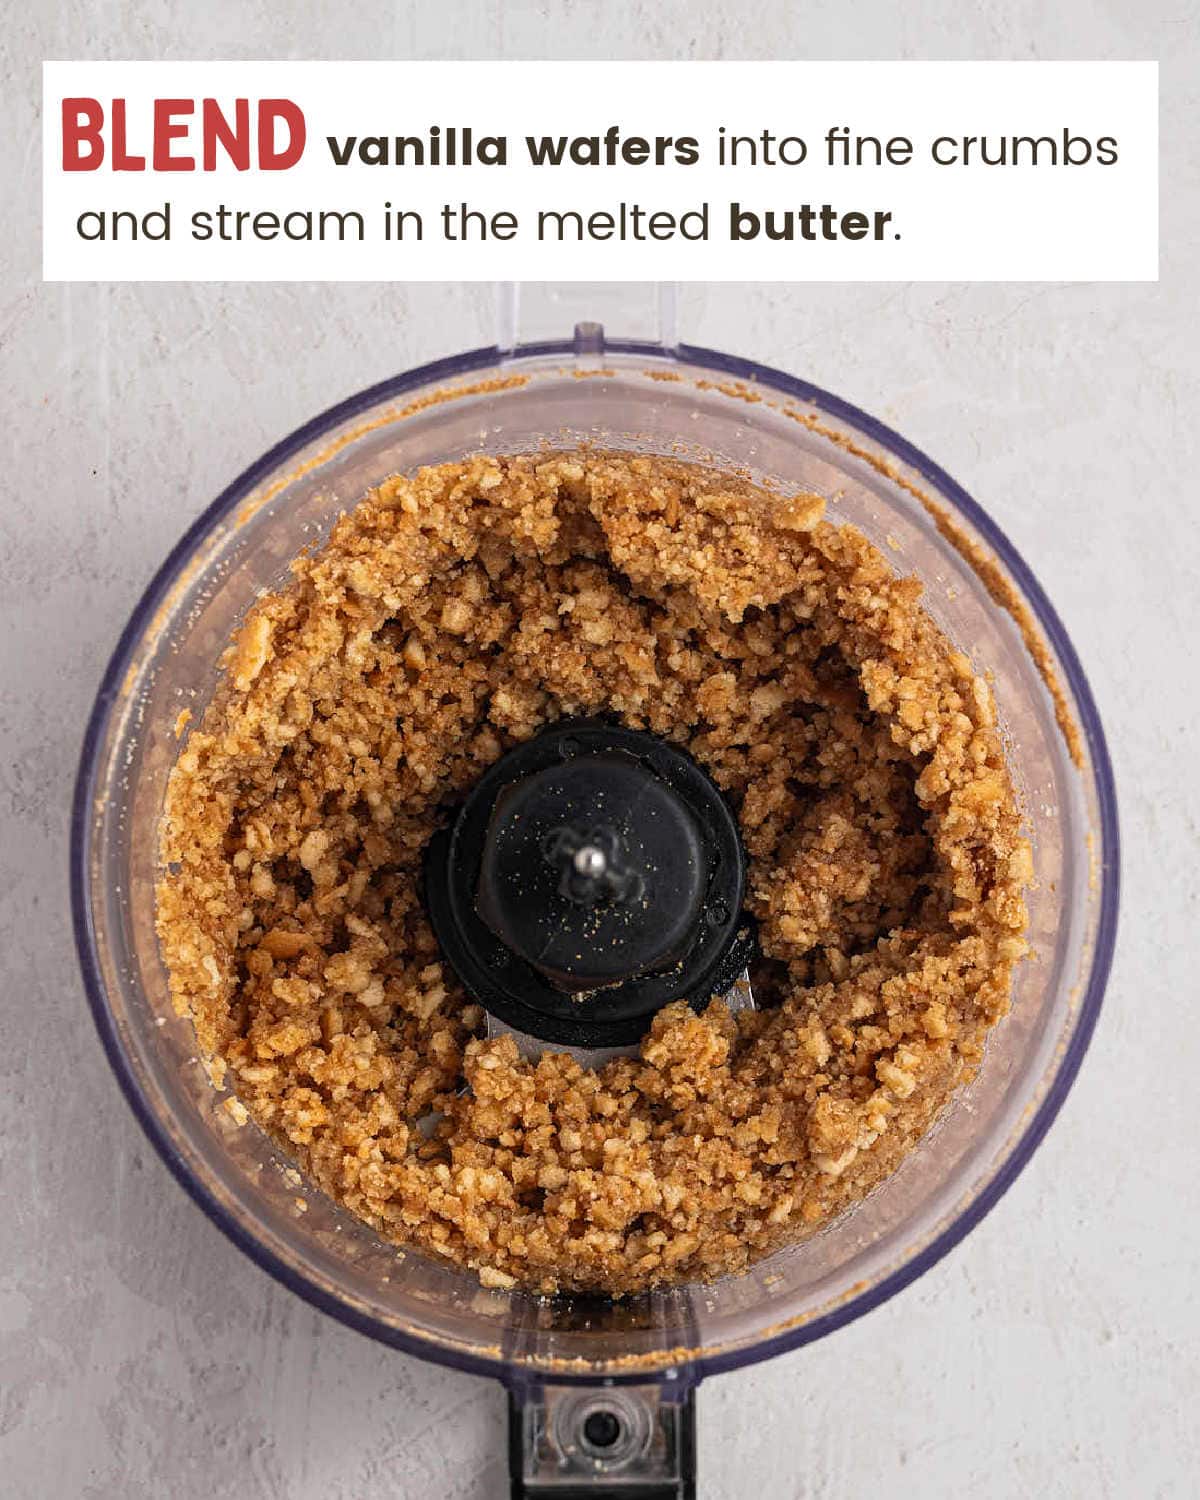
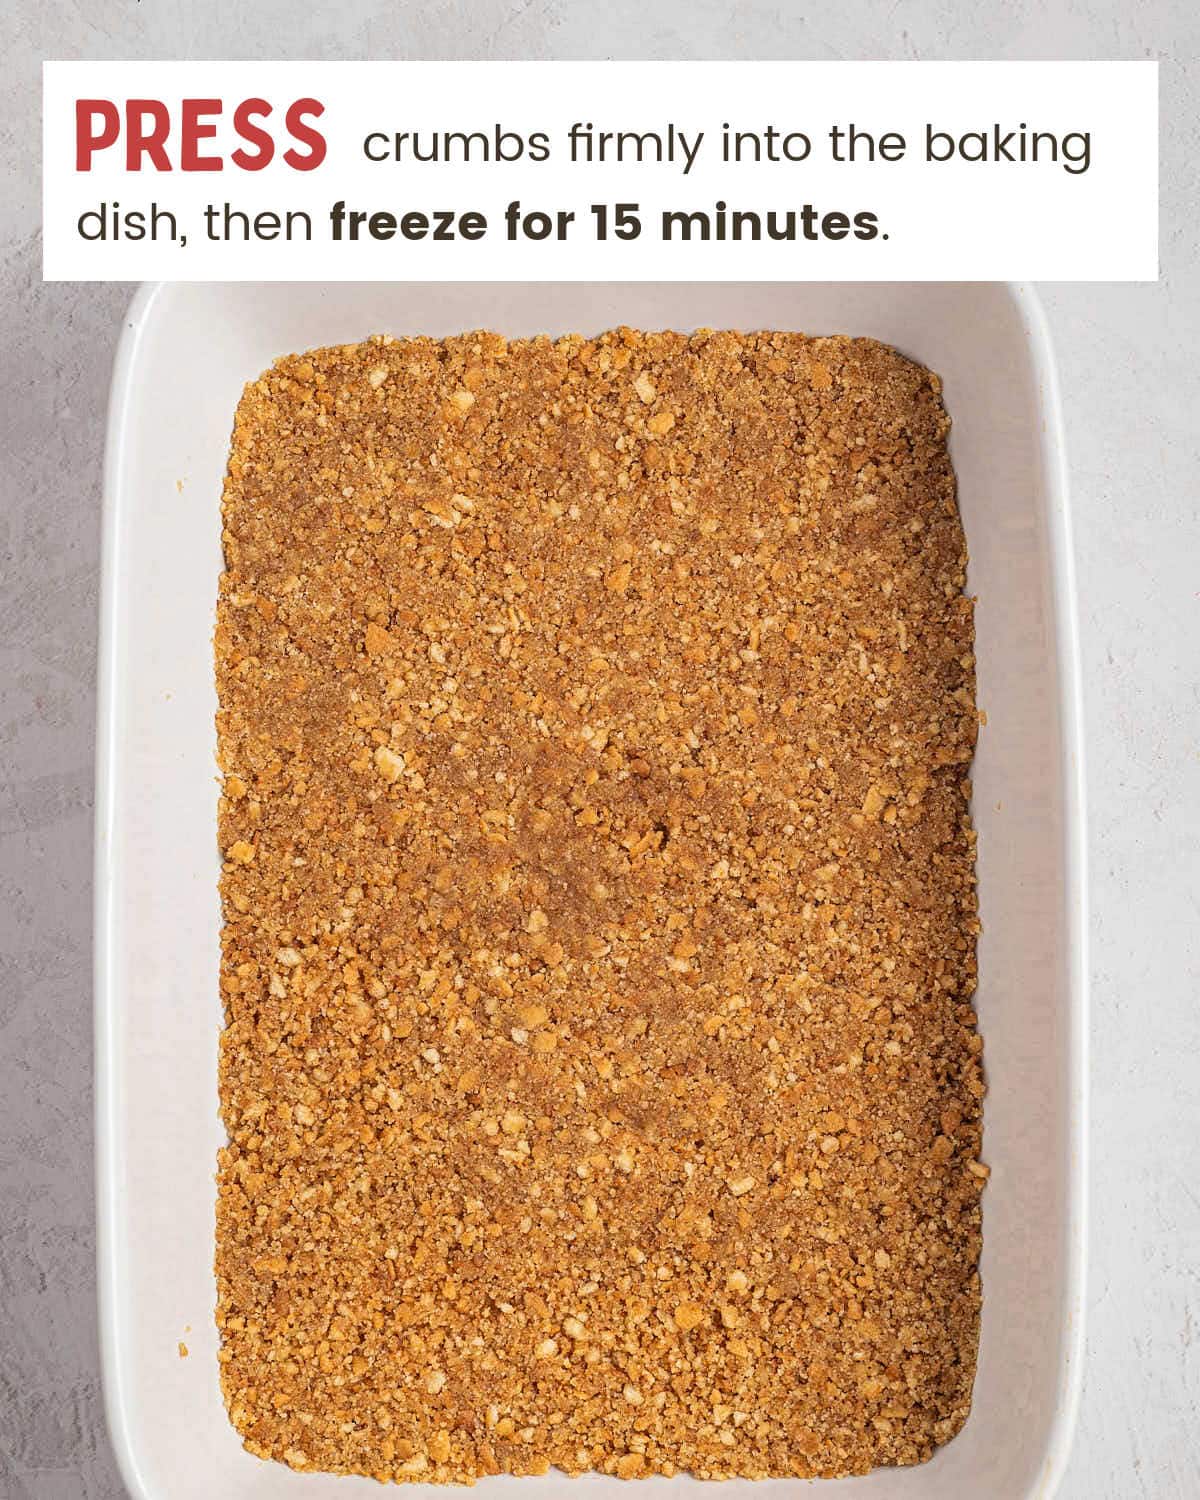
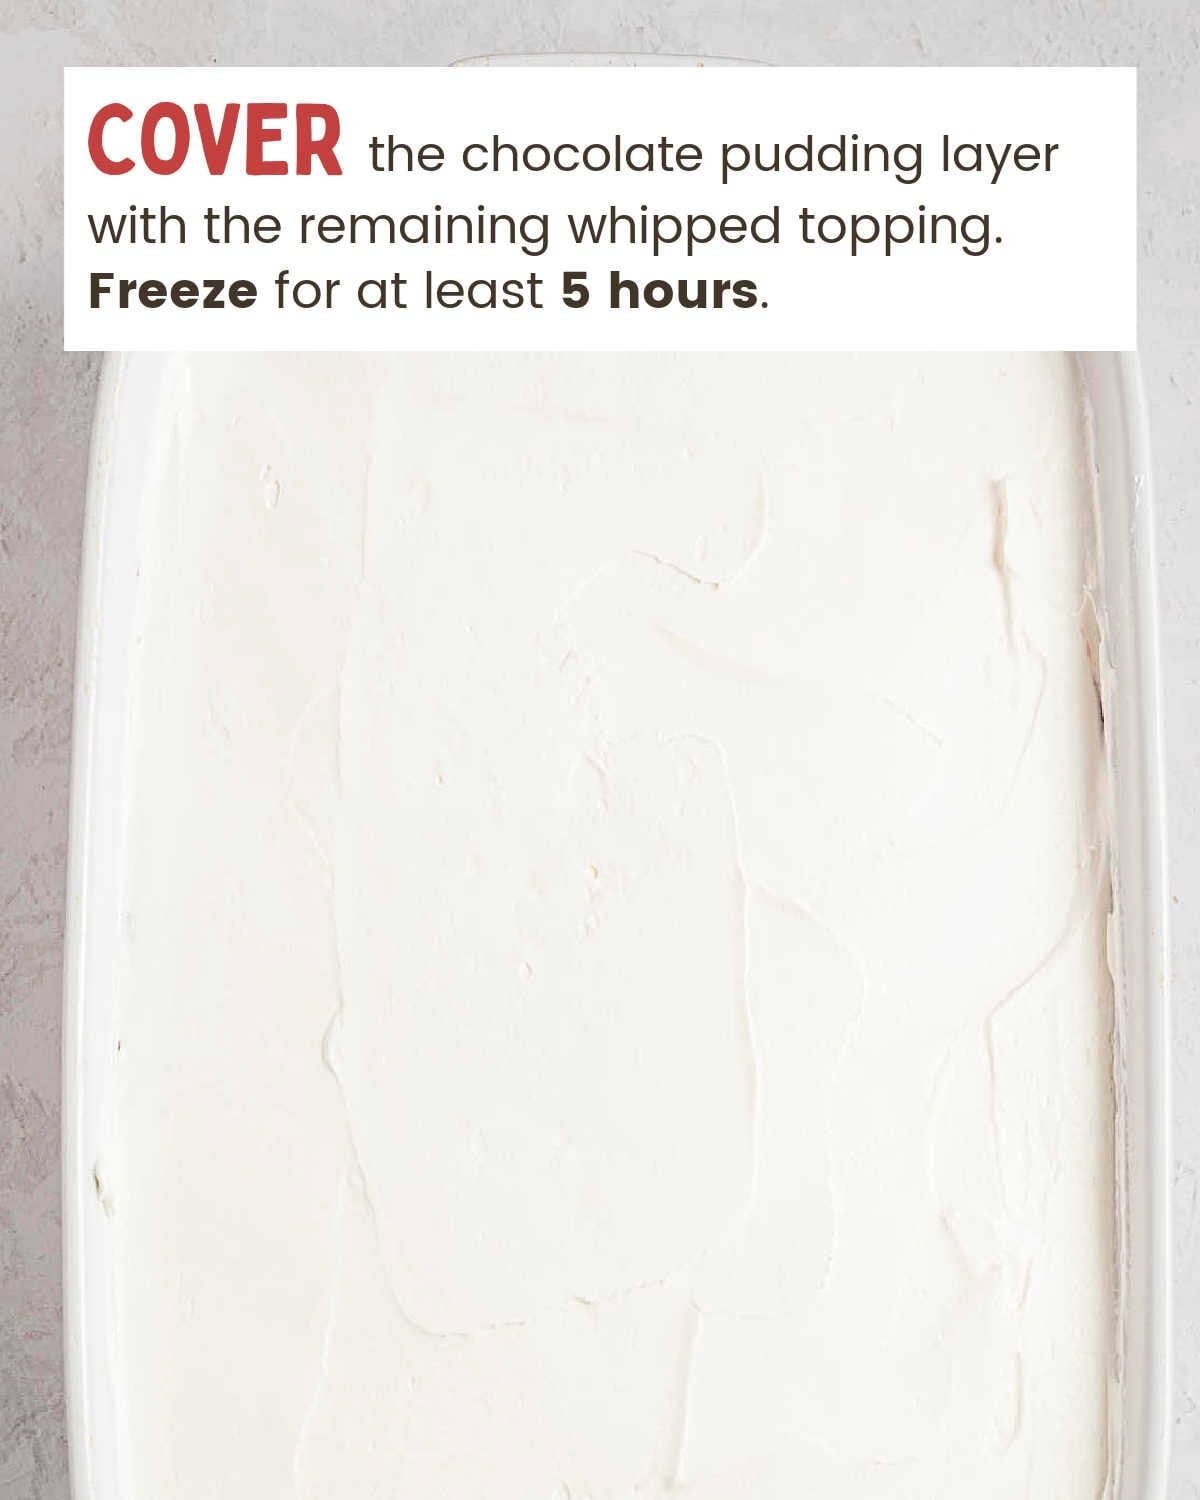
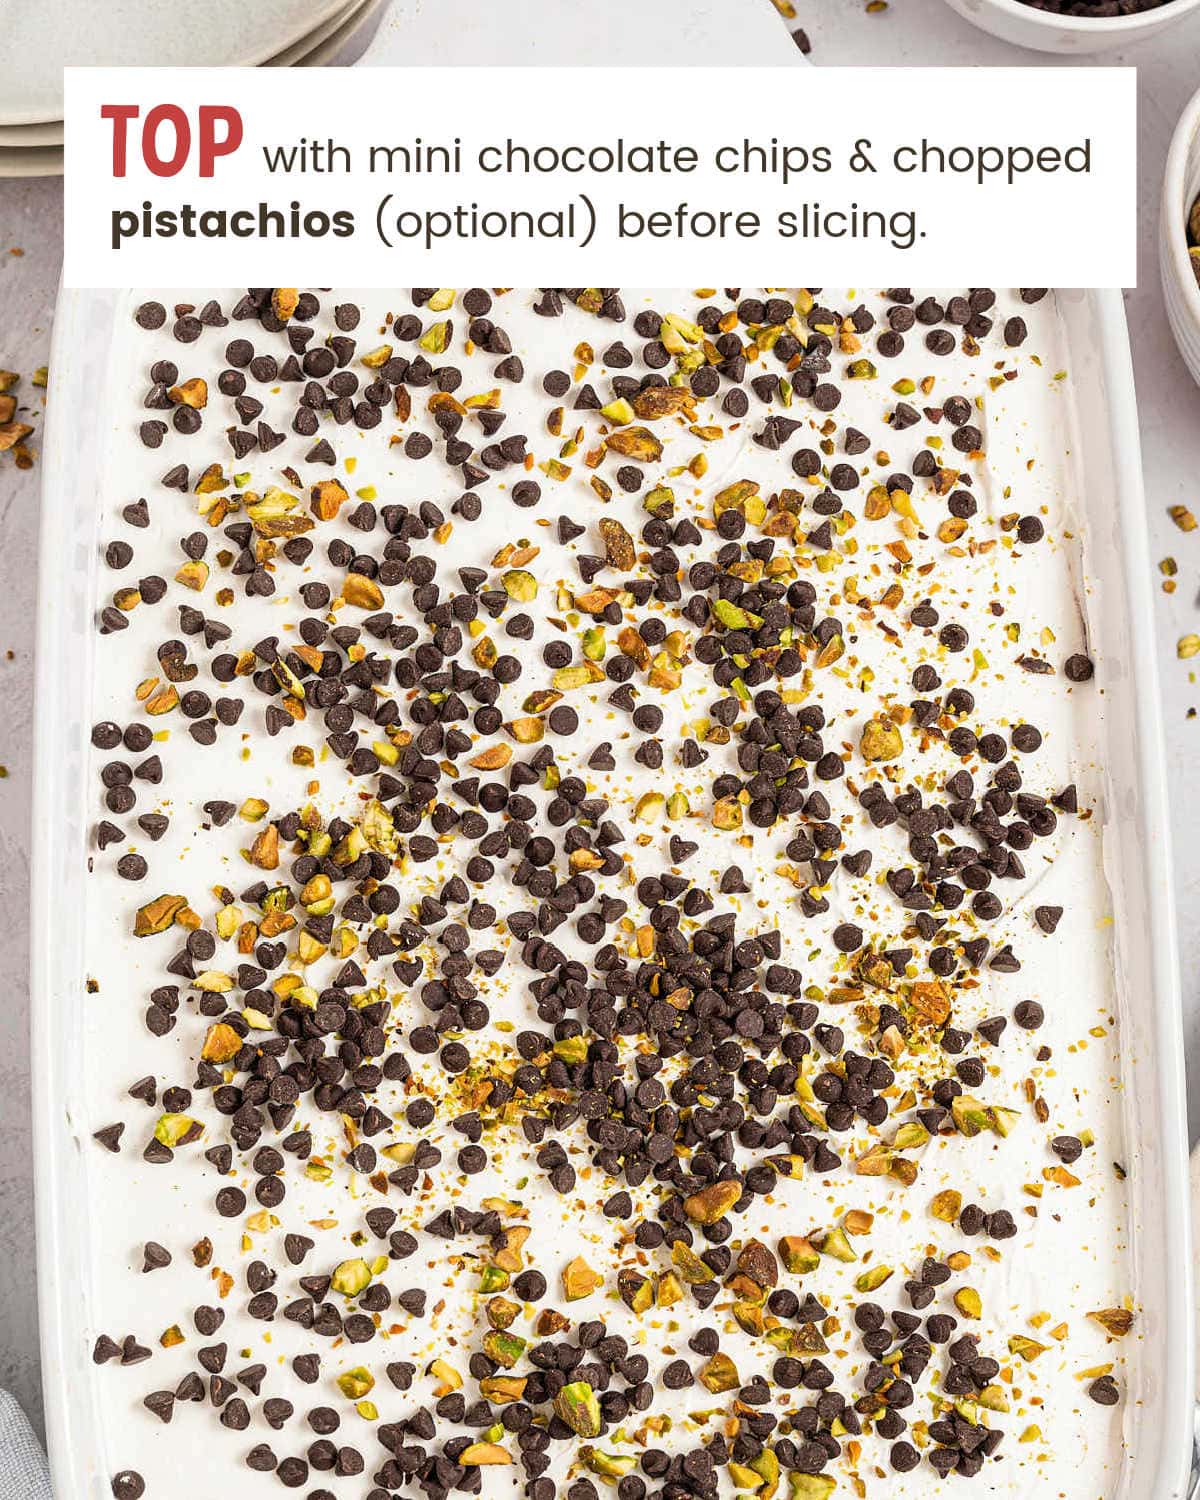
- Pulse the vanilla wafers into fine crumbs, mix with the melted butter, and press into a 9×13-inch baking dish.
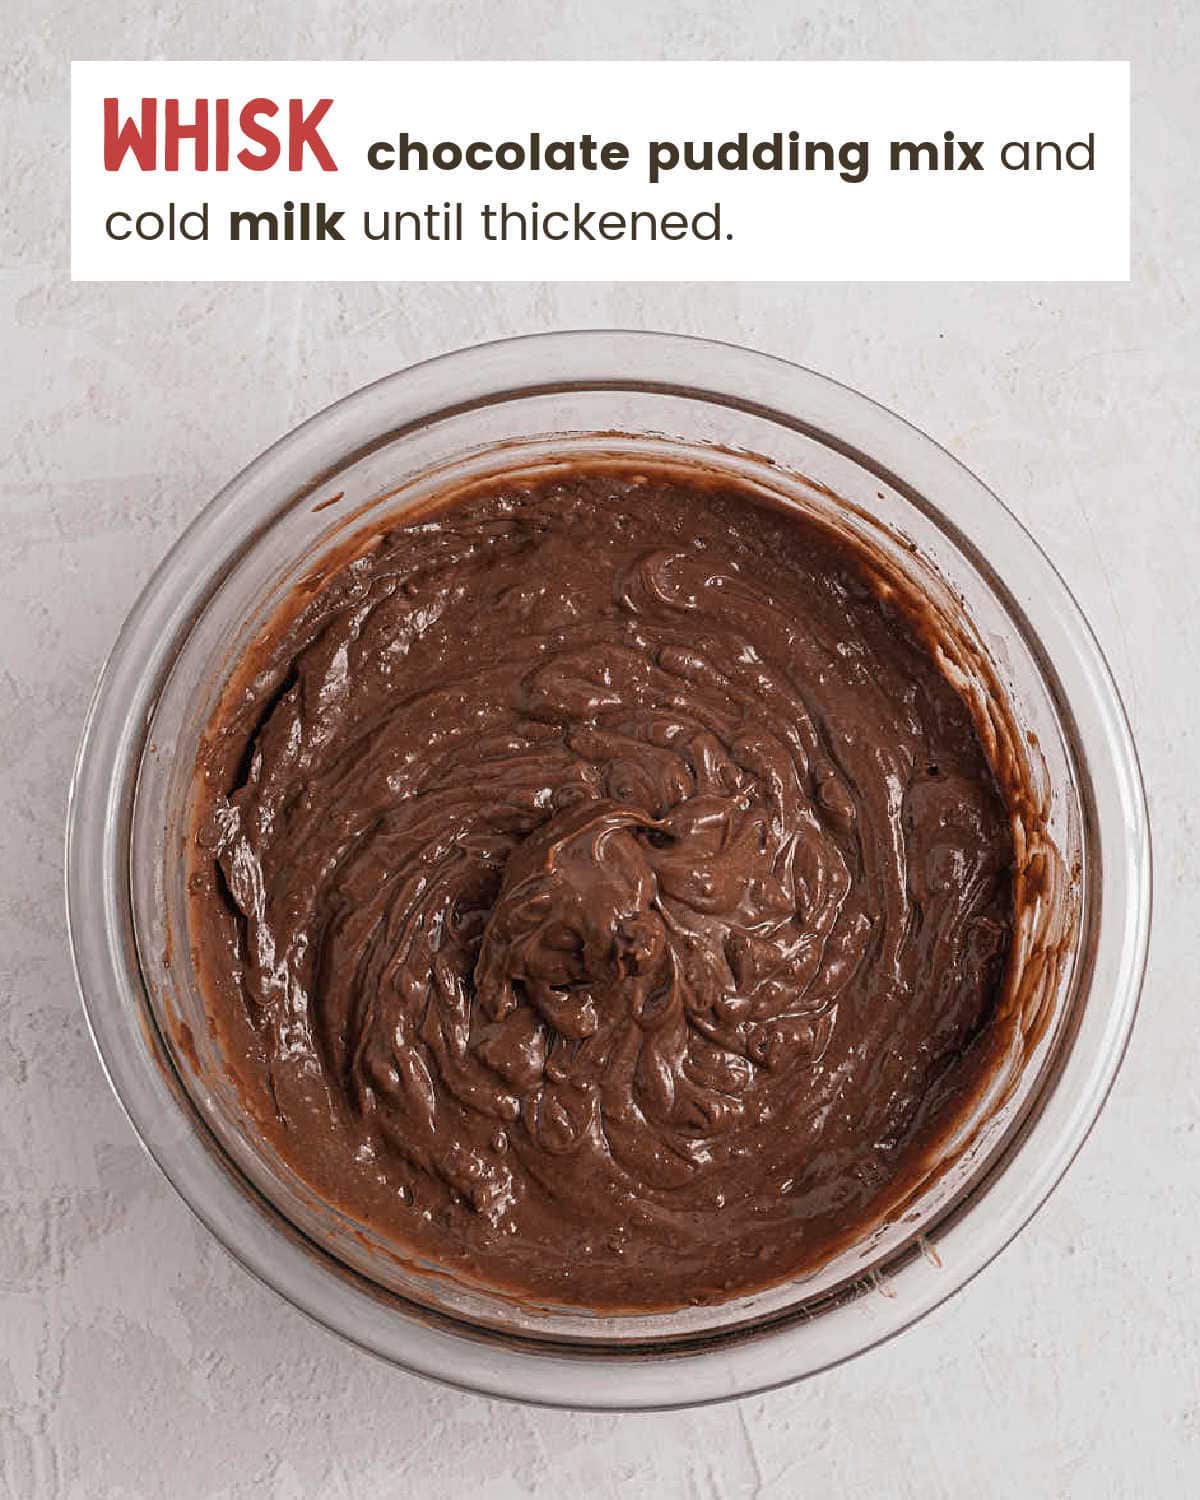
- Whisk the pudding mix and cold milk until thickened, then set aside.
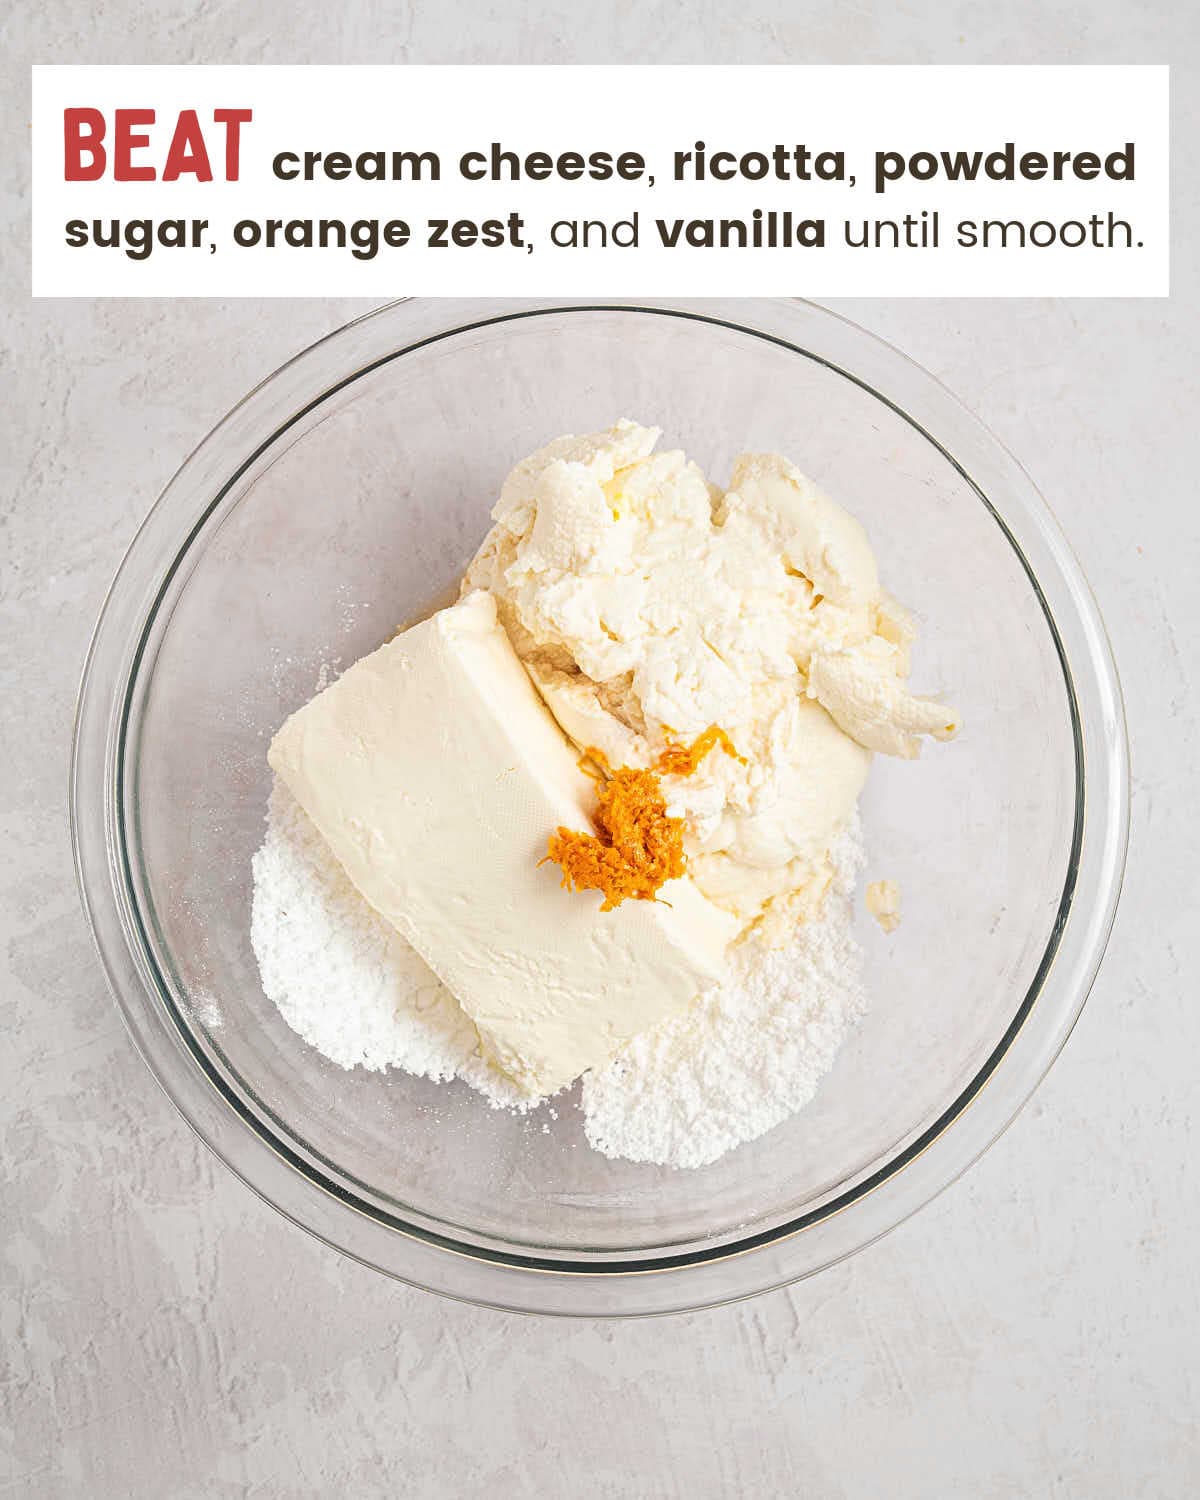
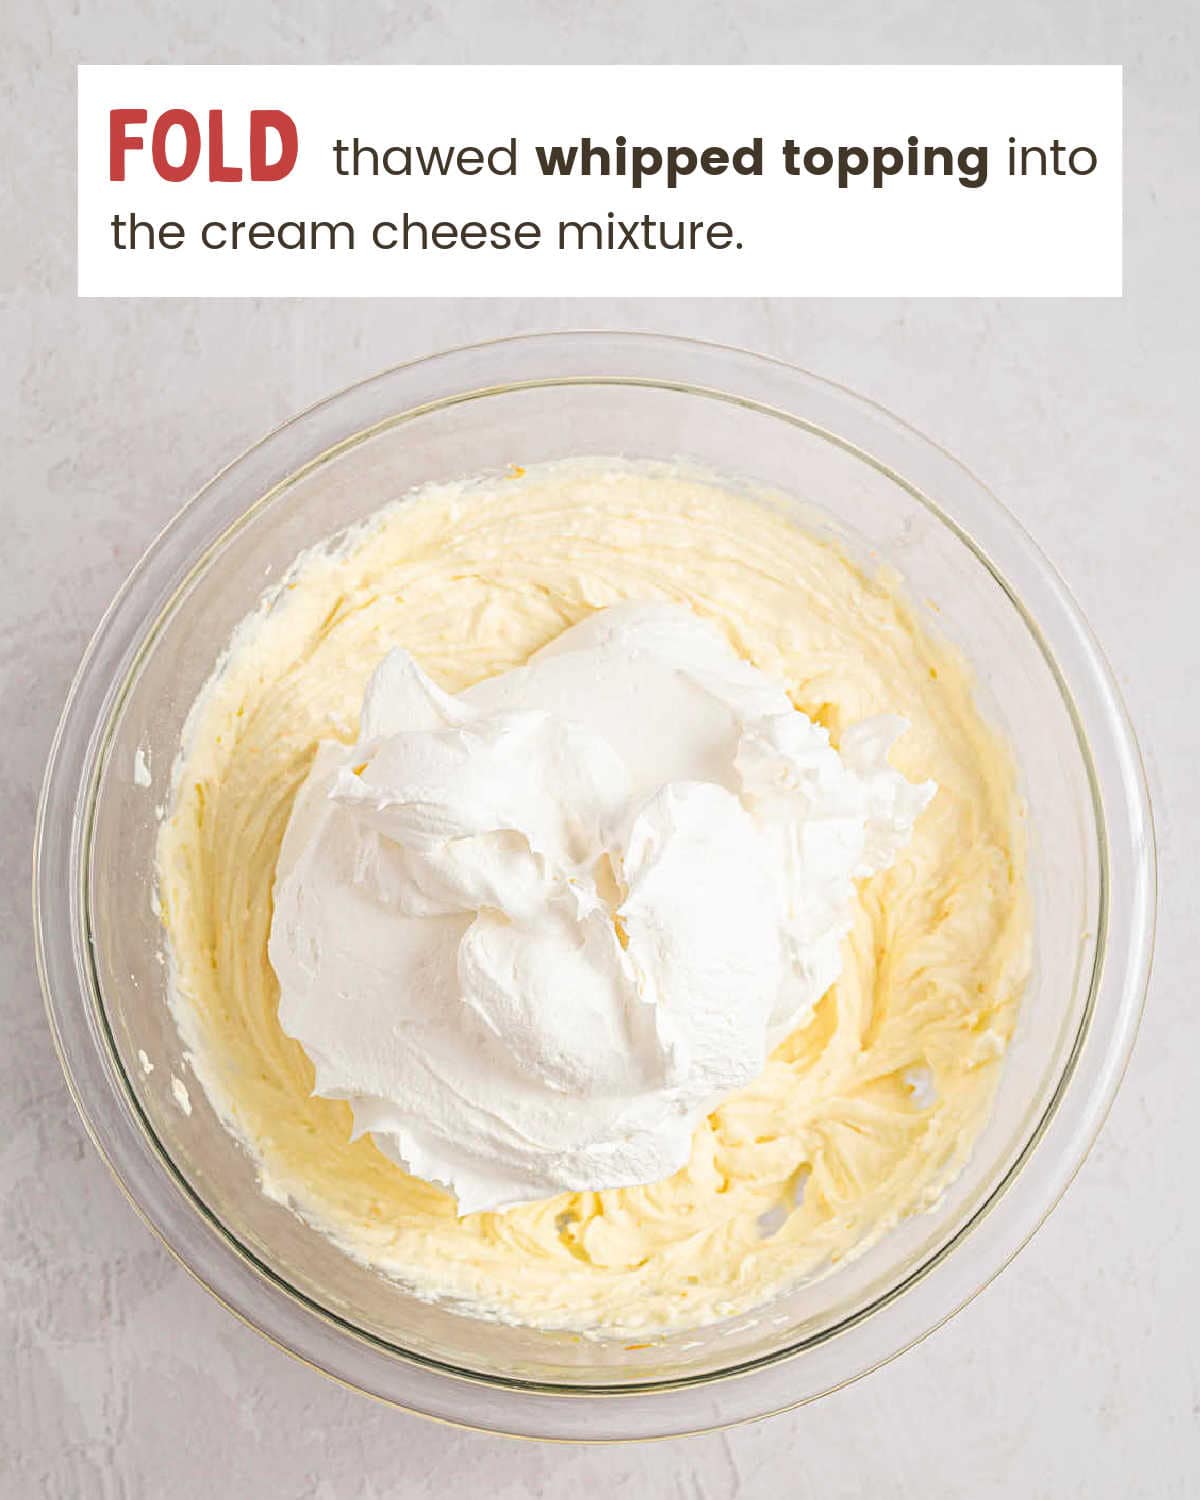
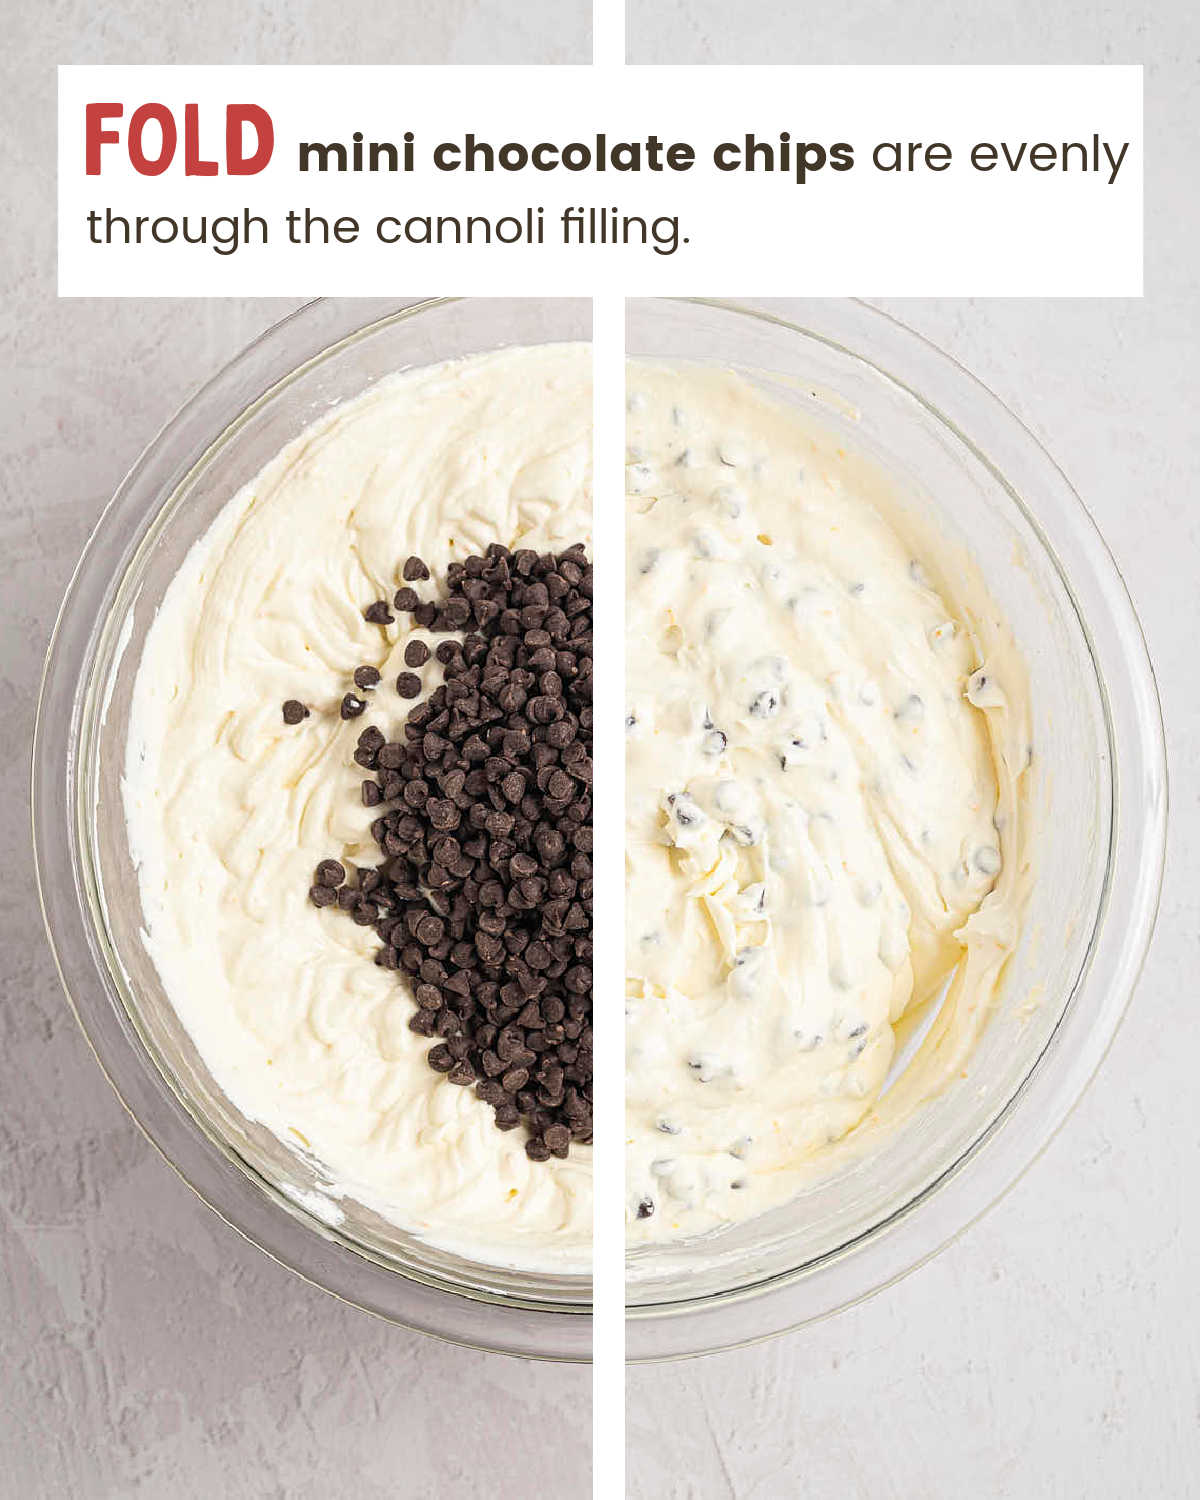
- Beat the cream cheese, ricotta, and powdered sugar until smooth, then fold in the whipped topping and chocolate chips.
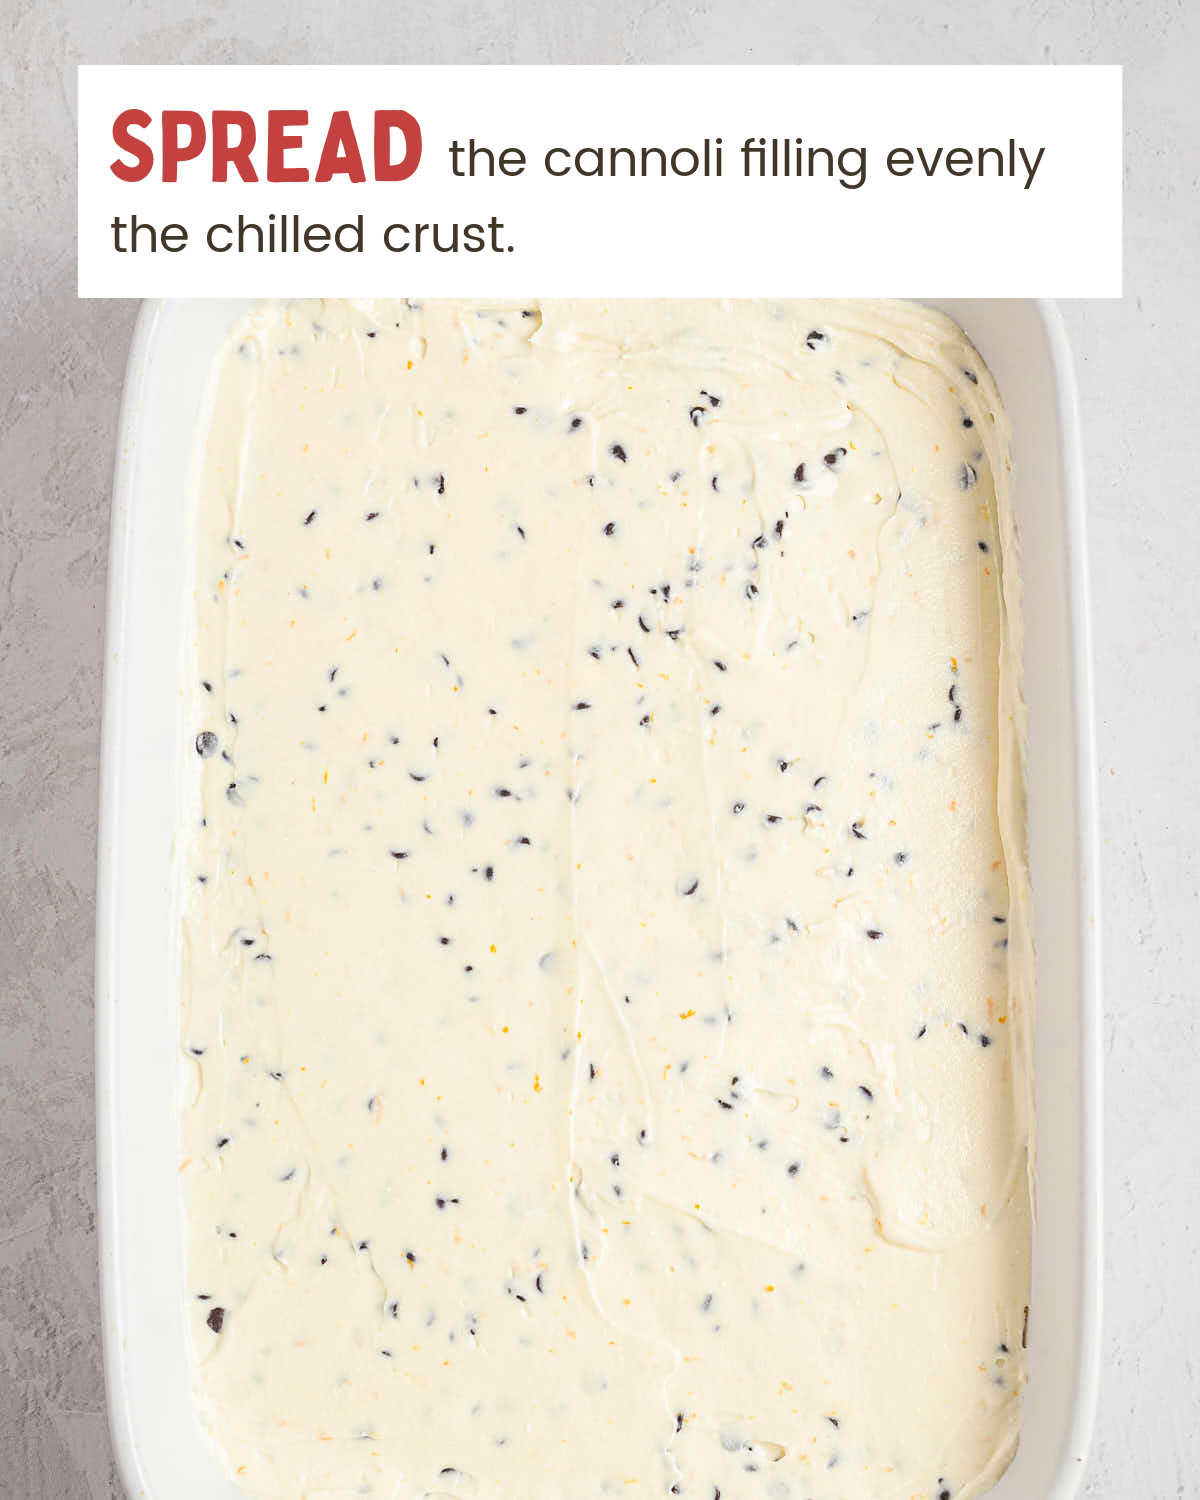
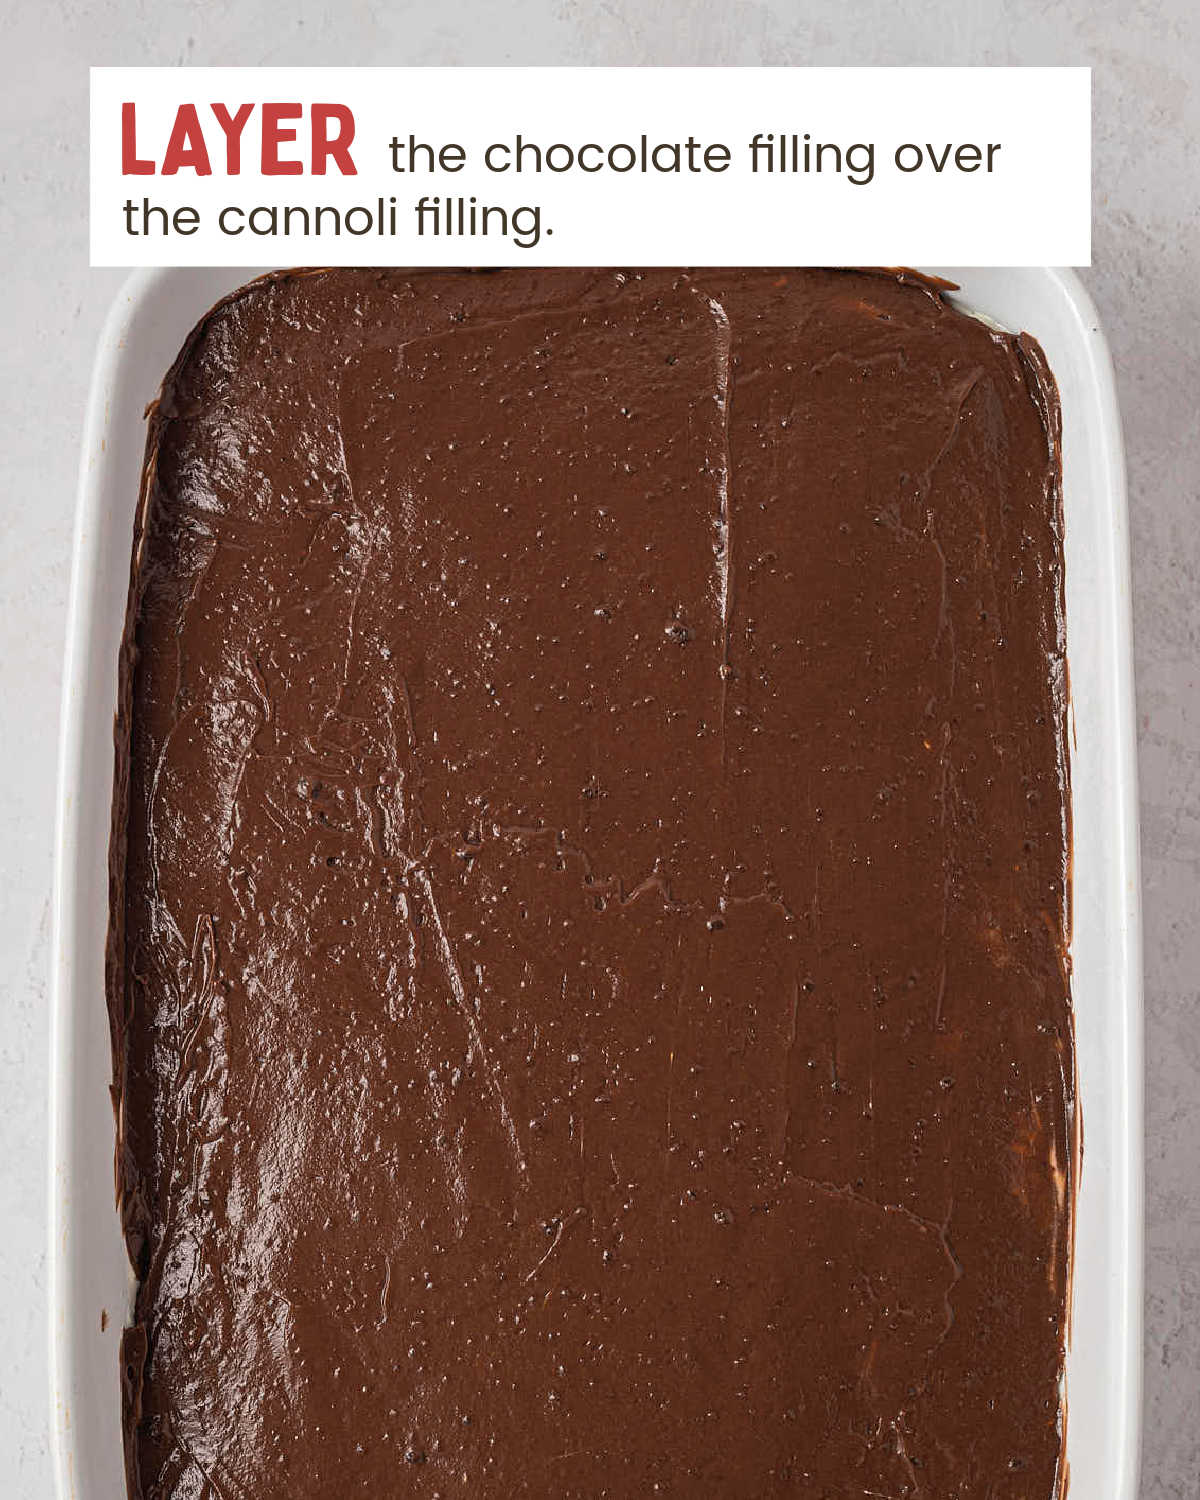
- Layer the filling, pudding, and remaining whipped topping over the crust, then freeze until firm and top before serving.
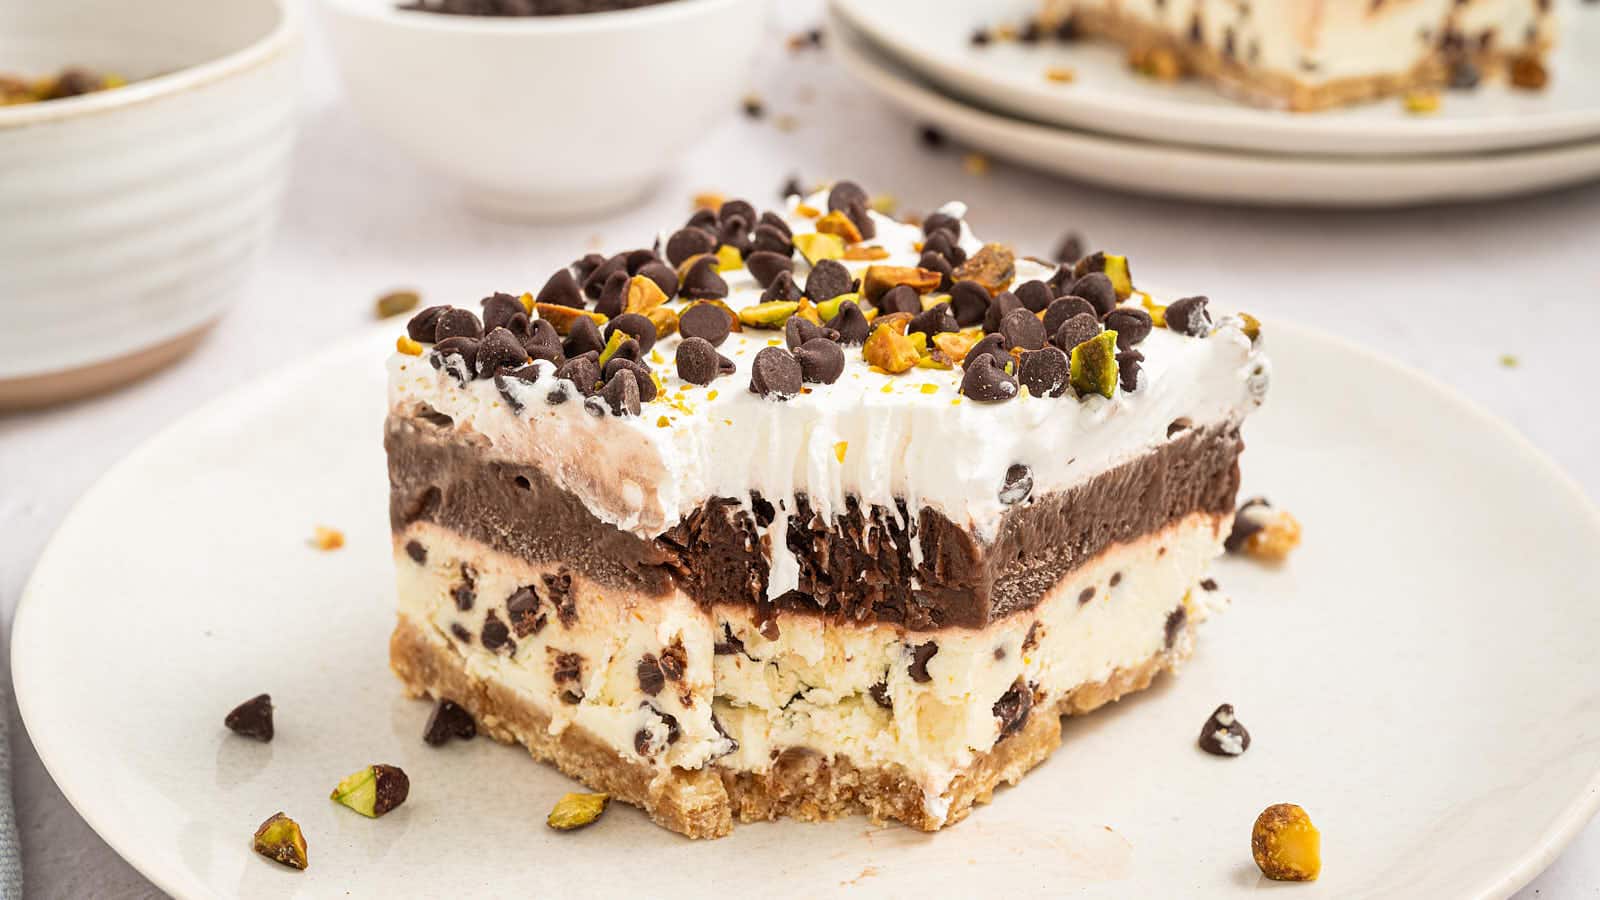
Leftovers and Storage
STORE – Leftover squares keep in an airtight container in the refrigerator for up to 2 days. They soften into a cool, spoonable dessert.
FREEZE – The freezer is home base for this one. Cover the dish with plastic wrap and a layer of foil, and it keeps for up to 2 months.
THAW – Rest the pan on the counter for 20 to 30 minutes before slicing. That short rest gives you clean squares without any melting.
MAKE AHEAD – This one waits for you. Assemble it up to 2 days ahead, keep it frozen, and pull it out about 30 minutes before dessert.
More No-Bake Layered Desserts

Serving Suggestions
ITALIAN DINNER NIGHT – End a red-sauce dinner the right way. Serve it after Spaghetti and Meatballs or Crockpot Lasagna, and dessert is already waiting in the freezer.
SUMMER COOKOUTS – A frozen dessert earns its spot in July. Pull it out while everyone finishes the Slow Cooker Pulled Pork, and it slices right on time.
POTLUCKS AND PARTIES – A cannoli lush travels in the pan it set in, twelve clean squares ready to go. Keep it in a cooler until dessert time.
CHRISTMAS EVE – Cannoli belong on an Italian holiday table. This pan version feeds the whole family alongside a Christmas Dump Cake, with no pastry bag in sight.
Recipe Success Tips
CRUST – Pack the crumbs down firmly with the flat bottom of a measuring cup. A tightly packed crust slices into neat squares. King Arthur turns any crunchy cookie into a crust with this same press-and-chill method.
FILLING – Beat the cream cheese and ricotta completely smooth before the whipped topping goes in. Smooth at this stage means a silky filling at the table.
SPREADING – An offset spatula makes even layers easy. Dollop each layer in spoonfuls first, then smooth from the center out.
EXPERT TIP: Warm the knife under hot water and wipe it between cuts. Every square comes out with sharp, clean layers.
Commonly Asked Questions
Do I Have to Freeze This Dessert?
Yes, the freezer is what turns Cannoli Delight into clean, sliceable squares. The full-milk pudding layer and the soft ricotta filling both need the deep chill to firm up. Skip the freeze and you get a spoonable dessert that still tastes wonderful, just not one that cuts into neat pieces.
Can I Use Homemade Whipped Cream Instead of Whipped Topping?
You can, as long as you sweeten it and whip it to stiff peaks. Firm whipped cream stands up to the freezer just fine. Whipped topping is the easier route because it thaws and refreezes without fuss, which is why I use it here. Swap in 3 cups of whipped cream for each 8-ounce tub.
Can I Skip the Orange Zest?
You can, though the zest is what gives the filling its classic cannoli character. One teaspoon is all it takes, and one medium navel orange covers it. If citrus isn’t your thing, leave it out or swap in lemon zest. The filling still tastes rich and creamy either way.
What Is the Difference Between Cannoli Delight and Classic Cannoli?
Cannoli Delight delivers the flavor of the Sicilian pastry in one easy, no-fry pan. Classic cannoli are fried shells piped with sweetened ricotta, best eaten the day they’re filled. This icebox-style version skips the frying, feeds twelve, and waits in the freezer. If you want the fastest route to the flavor, my Cannoli Dip is the quickest way there.
More Chocolate Desserts
Chocolate runs through every one of these reader favorites.
Chocolate Cheesecake – A rich, no-bake cheesecake that sets in the refrigerator.
Eclair Cake – Graham crackers and vanilla pudding stack into a classic icebox dessert.
Boston Cream Poke Cake – Cream-filled, chocolate-topped, and made in one easy sheet pan.
Black Forest Dump Cake – Chocolate and cherries with a five-minute prep.
Chocolate Chip Muffins – Soft, buttery muffins with chips in every bite.
Cannoli Delight
Ingredients
Crust
- 3 cups vanilla wafers about 7 ounces
- ½ cup butter melted (salted or unsalted)
Chocolate Pudding Layer
- 1 5.9-ounce box instant chocolate pudding mix family-size box
- 3 cups milk cold
Cannoli Filling
- 1 8-ounce package cream cheese softened
- 15 ounces whole milk ricotta drained
- 1 cup powdered sugar
- 1 teaspoon orange zest
- 1 teaspoon vanilla extract
- 1 8-ounce container whipped topping thawed
- 1½ cups mini chocolate chips
Topping
- 1 8-ounce container whipped topping thawed
- ½ cup mini chocolate chips
- ¼ cup pistachios chopped – optional
Instructions
Make the Crust
- Pulse the vanilla wafers in a food processor until finely ground. Stream in the melted butter with the processor running until the crumbs look like damp sand.
- Press the crumbs firmly into the bottom of a 9×13-inch baking dish. Freeze for 15 minutes.
Mix the Pudding
- Whisk the pudding mix and cold milk in a medium bowl for 2 to 3 minutes until thickened. Set aside.
Make the Cannoli Filling
- Beat the cream cheese, ricotta, powdered sugar, orange zest, and vanilla in a large bowl until smooth.
- Fold in the whipped topping, then stir in the mini chocolate chips.
Layer and Freeze
- Spread the cannoli filling evenly over the crust.
- Spread the chocolate pudding over the filling, then spread the remaining whipped topping on top.
- Cover the dish and freeze for at least 5 hours or until firm.
Slice and Serve
- Rest the dessert on the counter for 20 to 30 minutes. Scatter the mini chocolate chips and pistachios over the top, then cut into 12 squares.
Notes
FREEZE TIME
Plan on at least 5 hours in the freezer. Overnight is even easier and slices just as clean.Nutritional Information
Nutritional Disclaimer
Cheerful Cook team members are not trained nutritionists or medical professionals. Calorie information and nutritional values are estimates. If you have nutritional concerns, we recommend using a nutritional calculator.

Maike Corbett grew up in German kitchens learning to cook and bake alongside her Omas before spending over a decade running full-service restaurants in the US. She founded Cheerful Cook in 2017 to share practical, tested comfort food recipes that actually work on busy weeknights, drawing on both her American restaurant experience and her German home-cooking roots. Her work has been featured on MSN, Yahoo, the Associated Press, and other major media outlets.