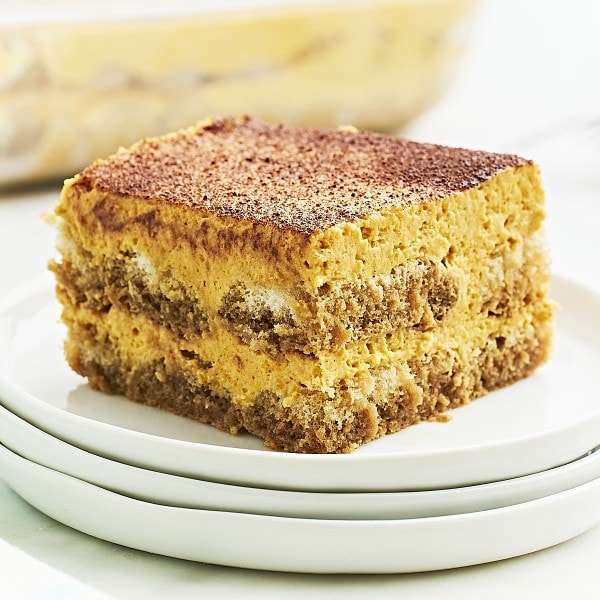
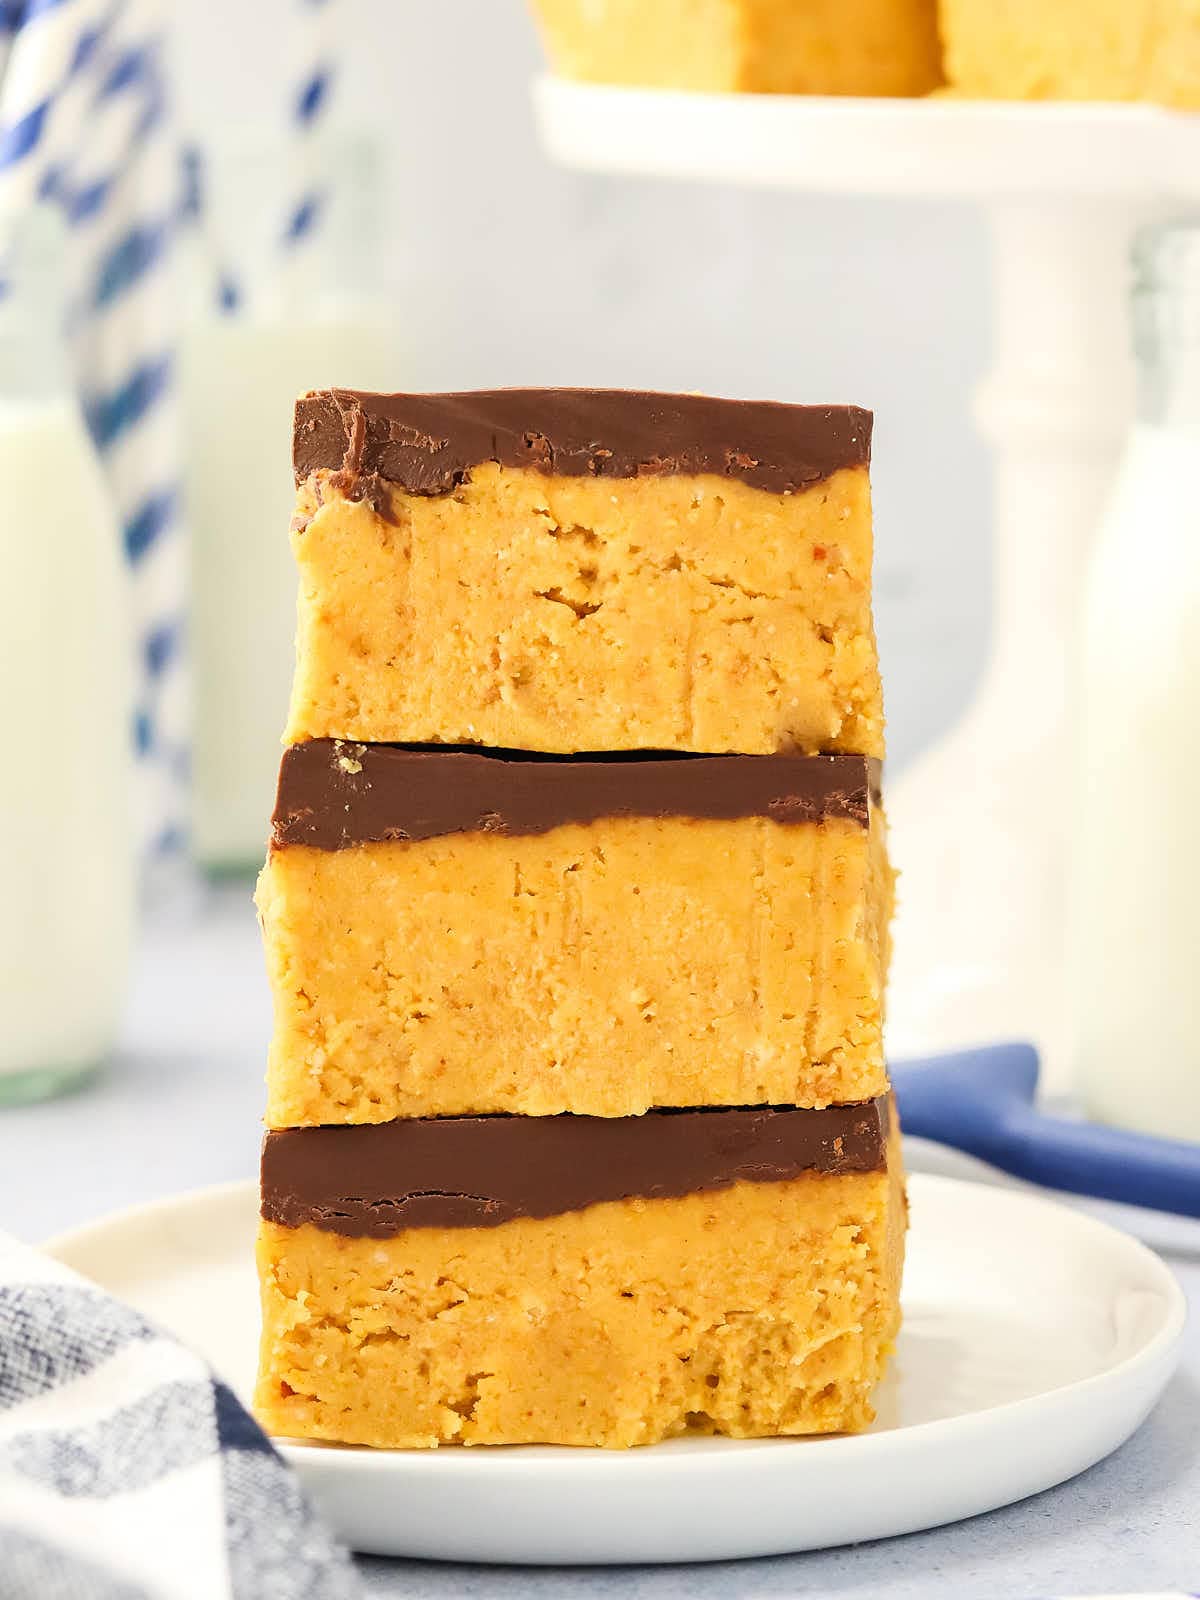
Peanut Butter Bars
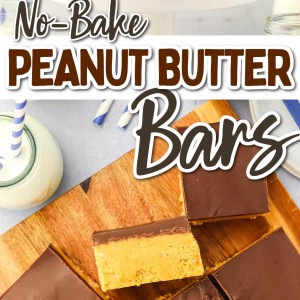
No-Bake Peanut Butter Bars are a quick and satisfying treat that combines smooth peanut butter with rich chocolate.
Made with a simple blend of smooth peanut butter, rich chocolate, and a buttery graham cracker crust, these bars deliver a delightful combination of flavors and textures.
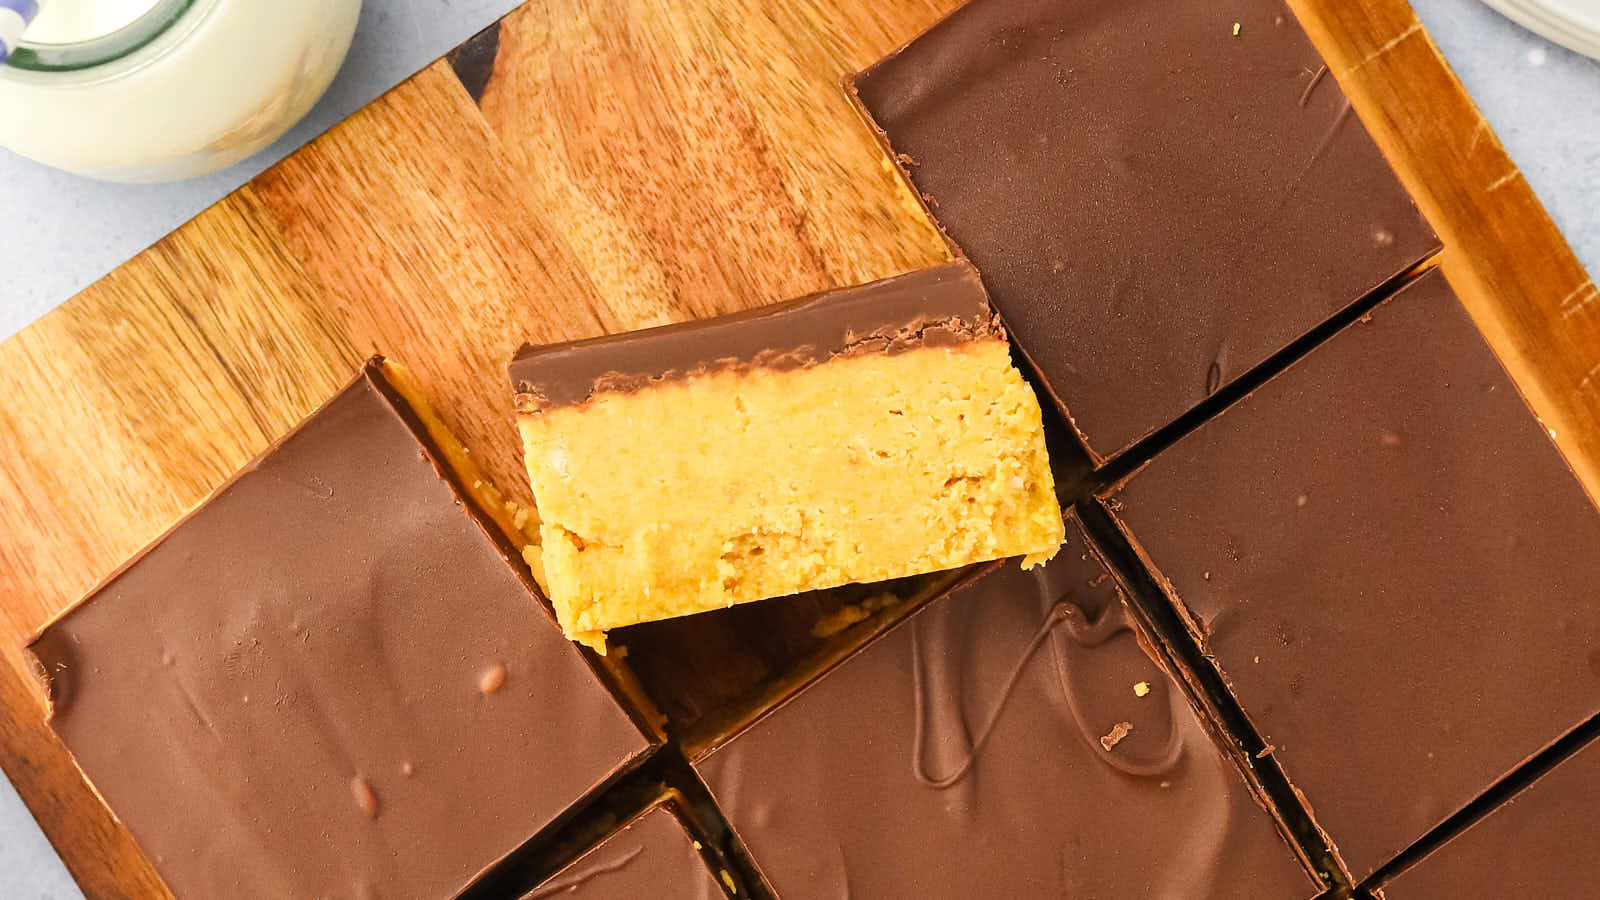
Our No-bake Peanut Butter Bars are a quick, easy treat that delivers big flavor with minimal effort. The combination of the smooth peanut butter base and the rich, chocolate topping makes them a go-to dessert for any occasion.
No-Bake Peanut Butter Bars Recipe Highlights
- Simple prep, with only 15 minutes of prep time
- A creamy, spiced filling that’s perfectly sweetened
- Uses basic pantry ingredients, making it accessible for anyoneIdeal for fall holidays and family gatherings
- Easily customizable with decorative crust options
Ingredient Notes
Please check the recipe card below for a detailed, printable ingredient list.

BUTTER – I use unsalted butter for this recipe because it provides rich flavor without adding any extra salt. It helps hold the base together, creating a soft, sturdy layer that complements the sweetness of the other ingredients.
SUGAR – I use powdered sugar here because it blends smoothly with the other ingredients, giving the bars a soft, even texture. Unlike granulated sugar, powdered sugar won’t leave any grittiness behind, which is perfect for no-bake desserts like these.
CRACKER CRUMBS – Graham cracker crumbs are my go-to for creating the perfect base. They add a slight crunch and stability without being too heavy. You can either crush whole graham crackers at home or use pre-made crumbs for convenience.
PEANUT BUTTER – Creamy peanut butter is key for achieving a smooth texture. You’ll divide it into two parts: one for the base and another for the chocolate-peanut butter topping. I find creamy peanut butter blends more easily, making the bars silky and rich.
CHOCOLATE CHIPS – I prefer milk chocolate chips for this recipe because they melt into a glossy, sweet topping that pairs perfectly with peanut butter. If you like a more intense flavor, you can swap them for dark chocolate chips, but milk chocolate keeps it a bit more classic and sweet.
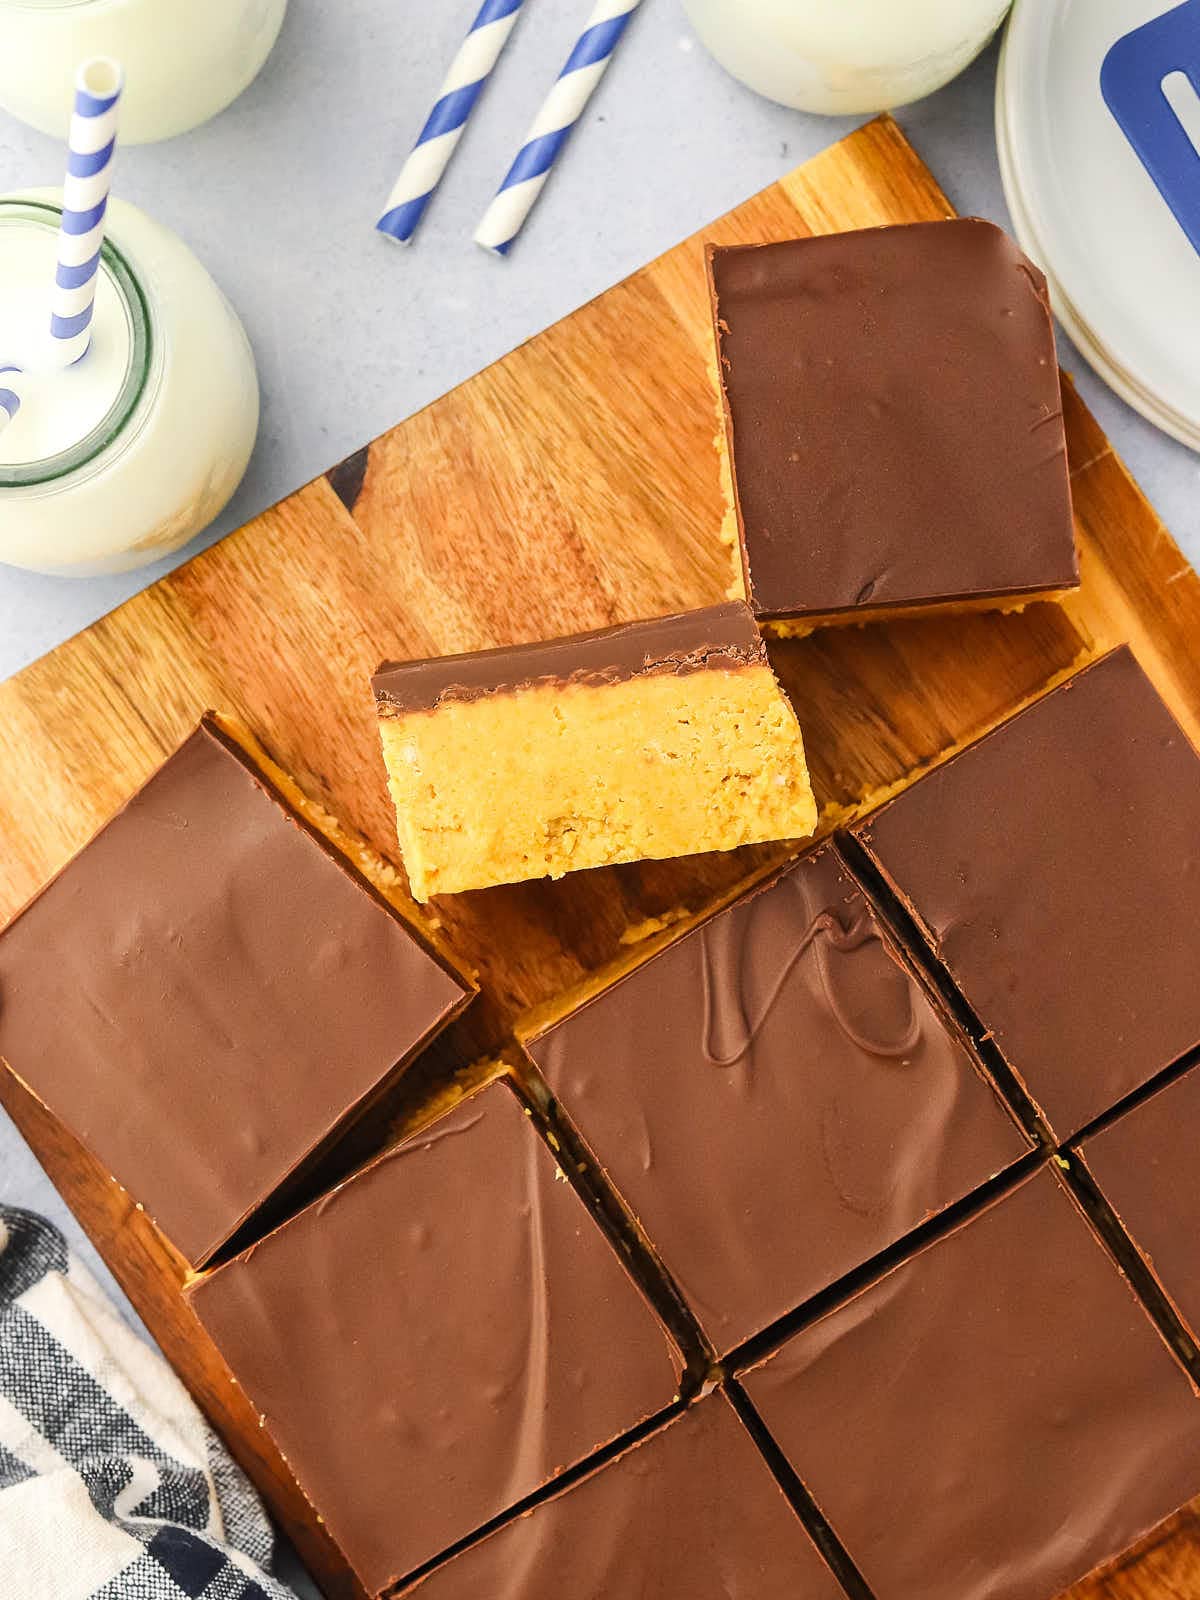
How To Make No-Bake Peanut Butter Bars
Please check the printable recipe card below for more detailed instructions.

- Mix together the melted butter, graham cracker crumbs, powdered sugar, and 1 cup of peanut butter until smooth.
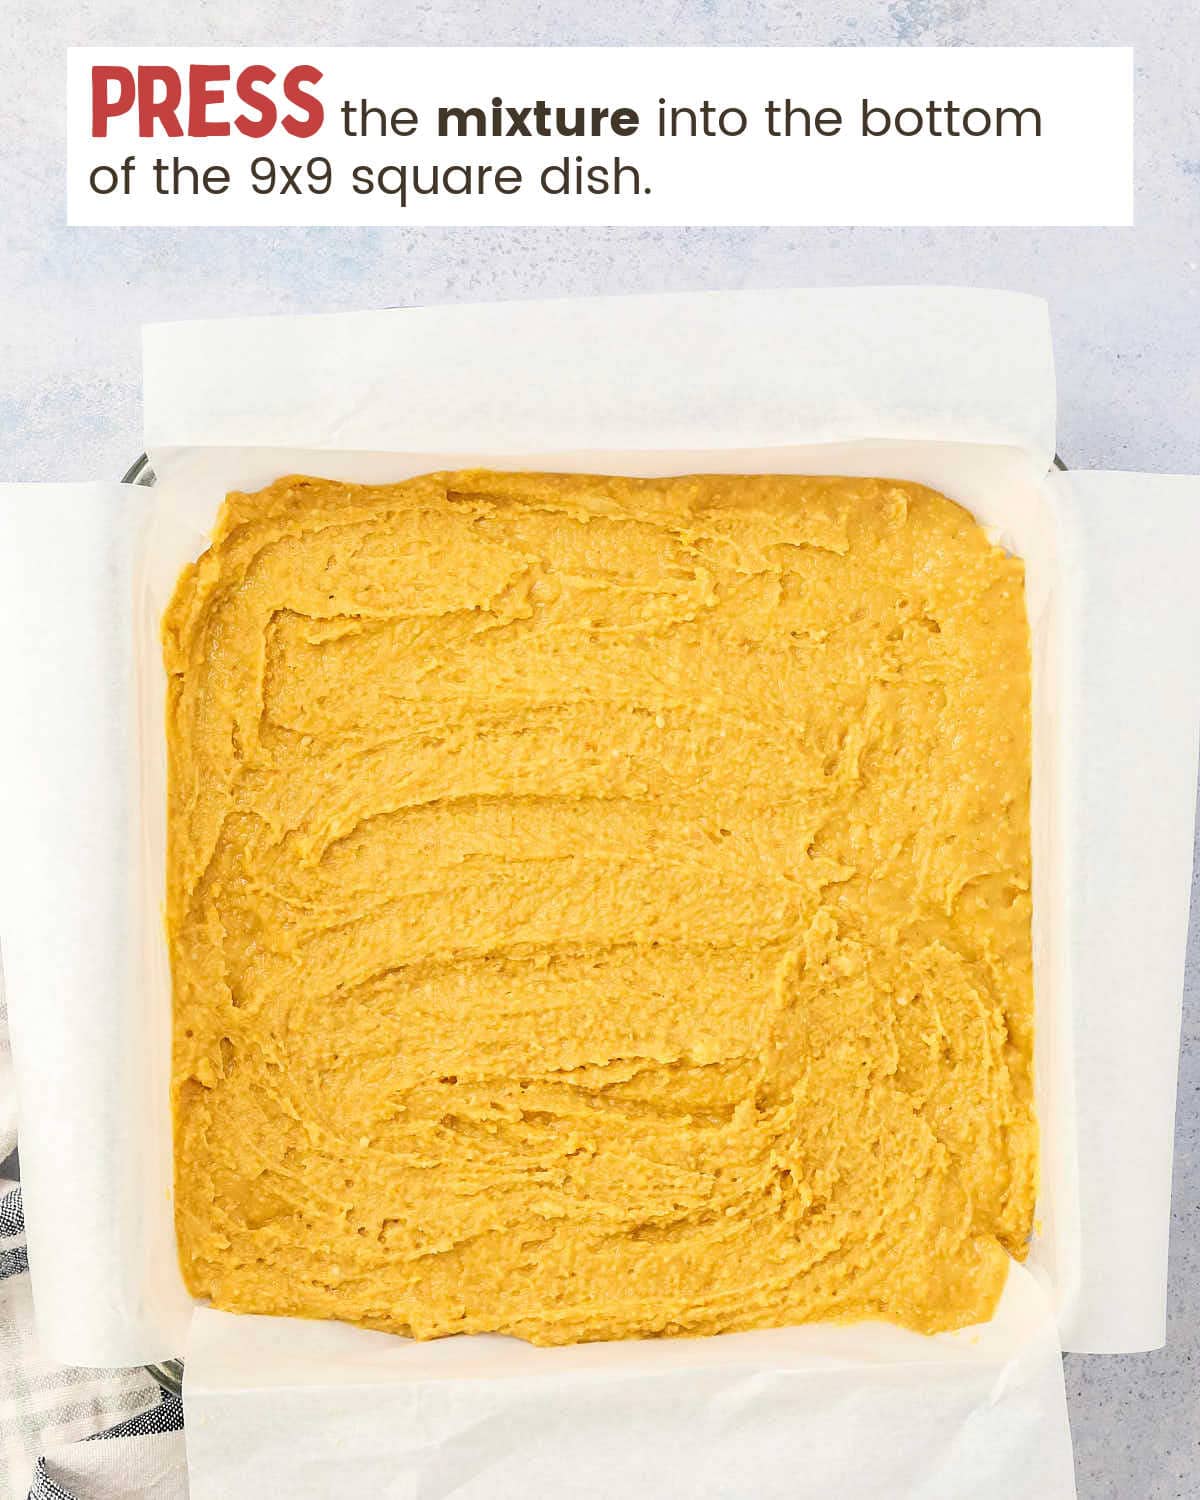
- Press the mixture evenly into the bottom of a parchment-lined 8×8 baking dish.
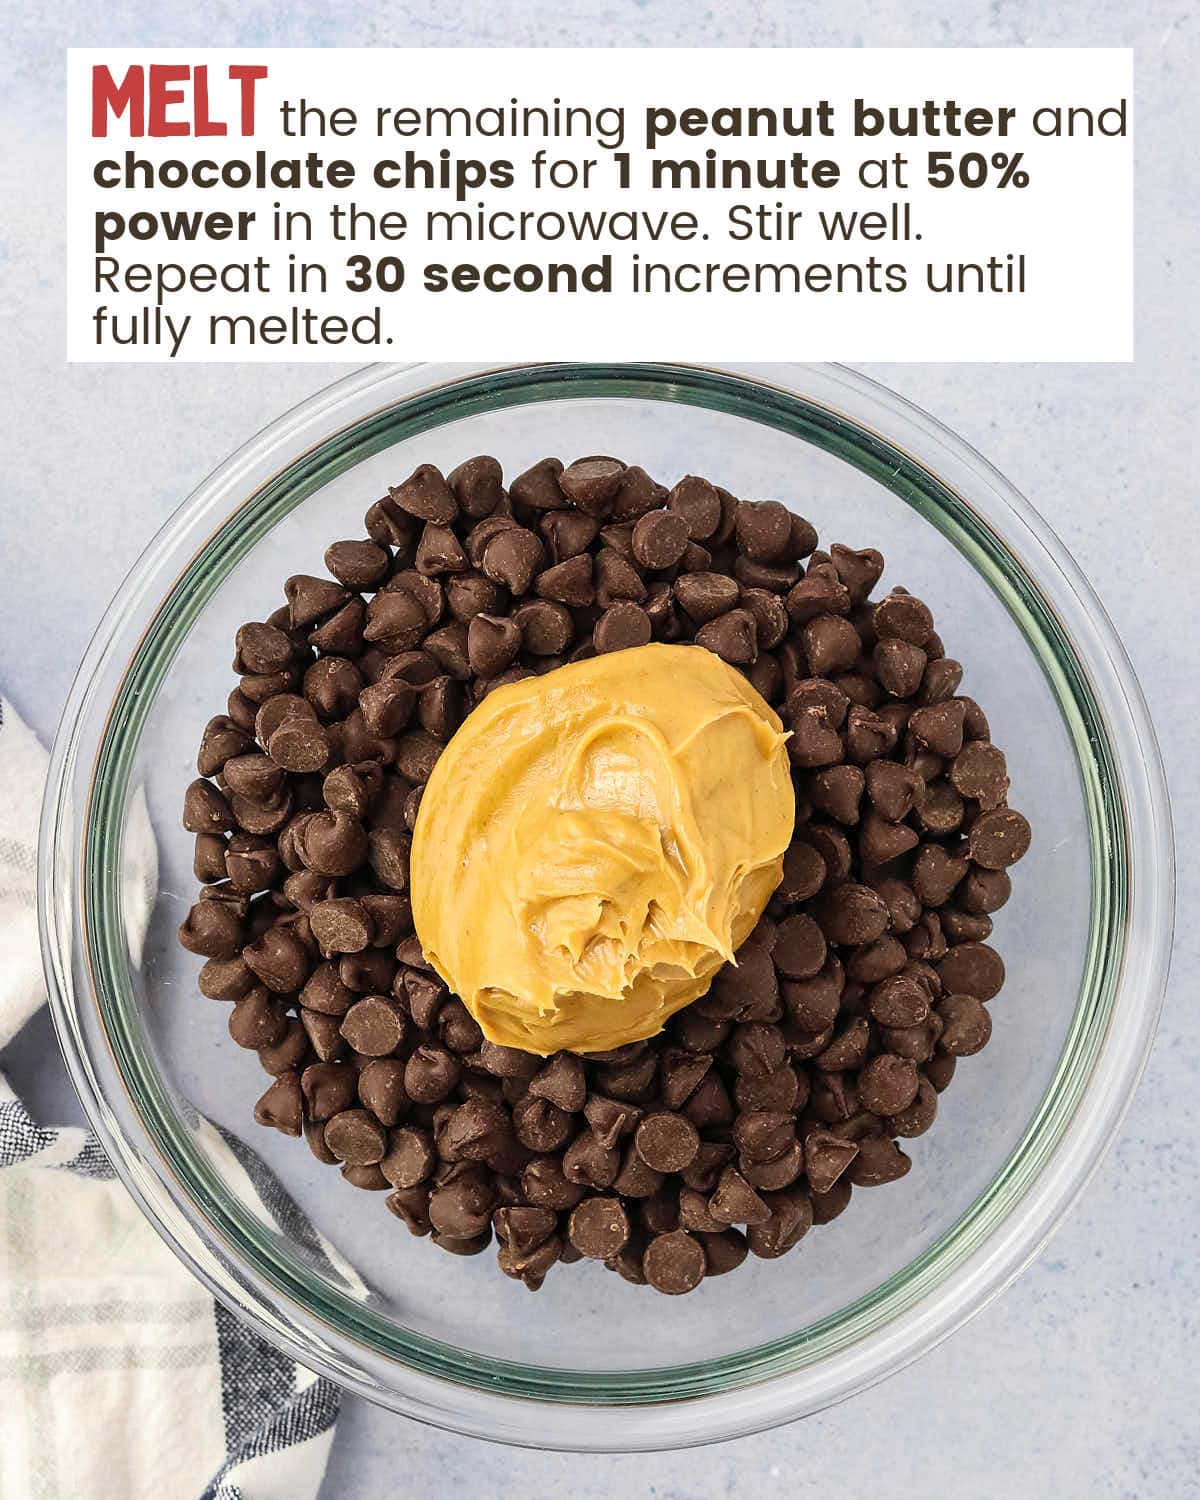
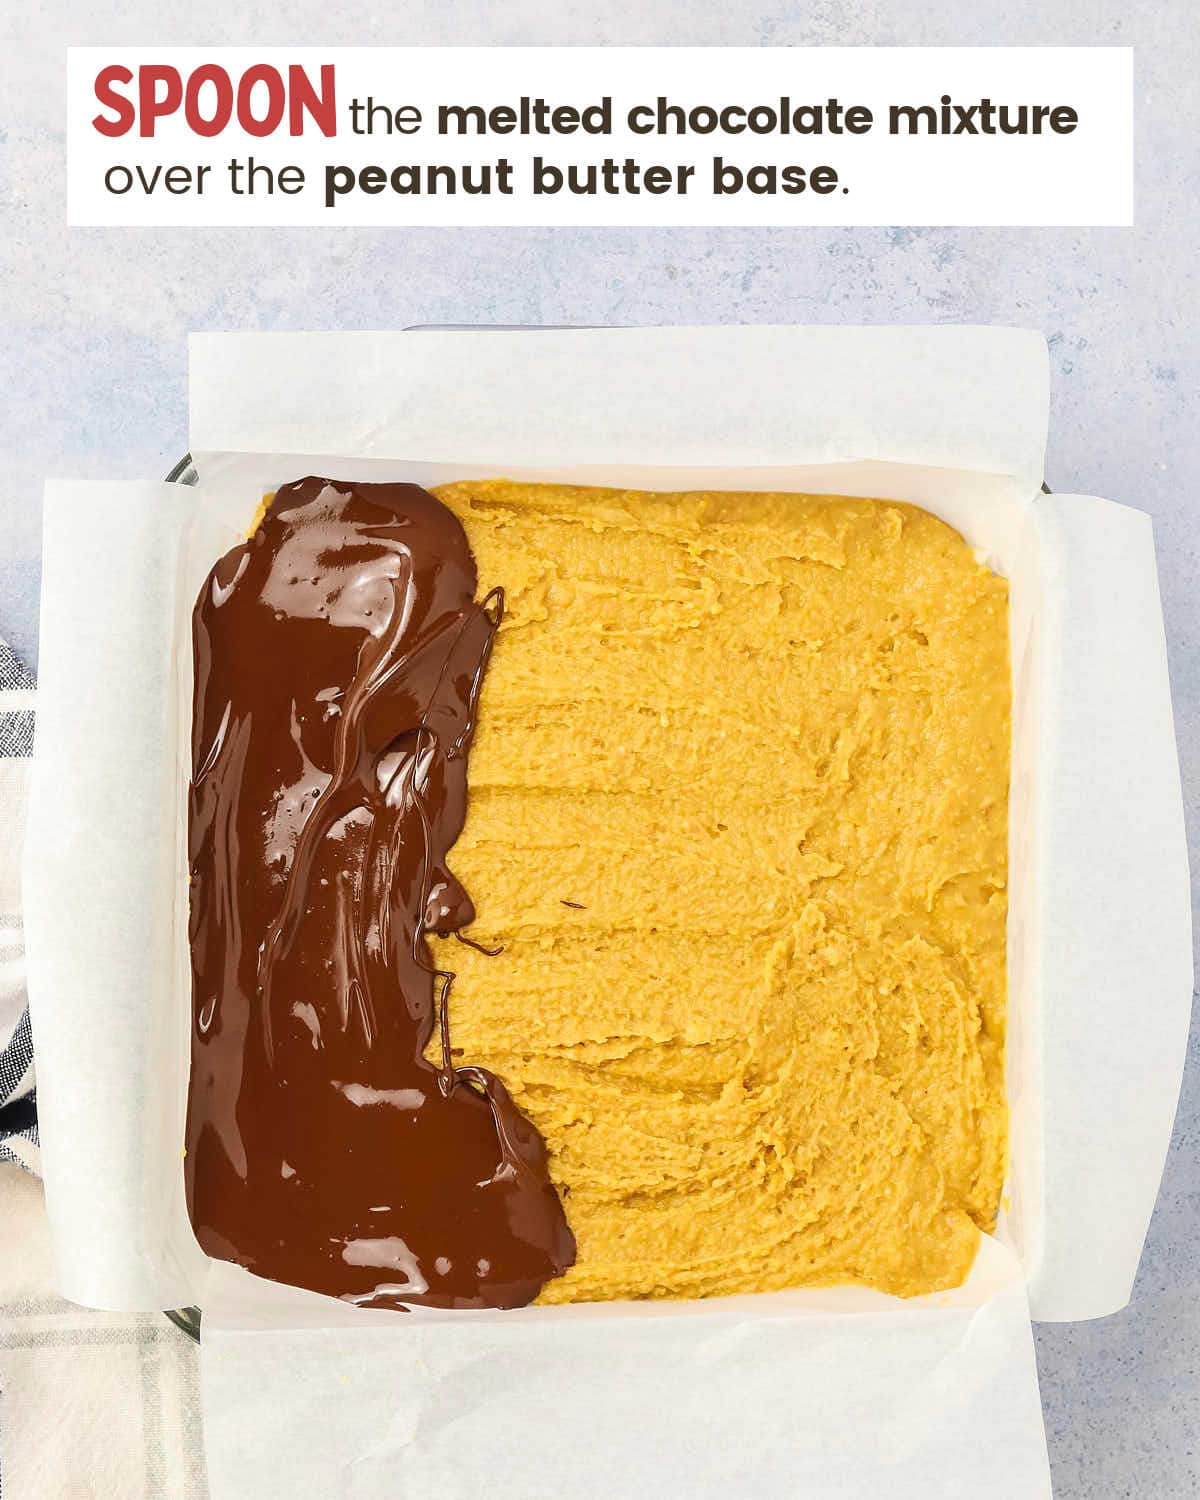
- Melt the remaining peanut butter and chocolate chips in the microwave, stirring until smooth.
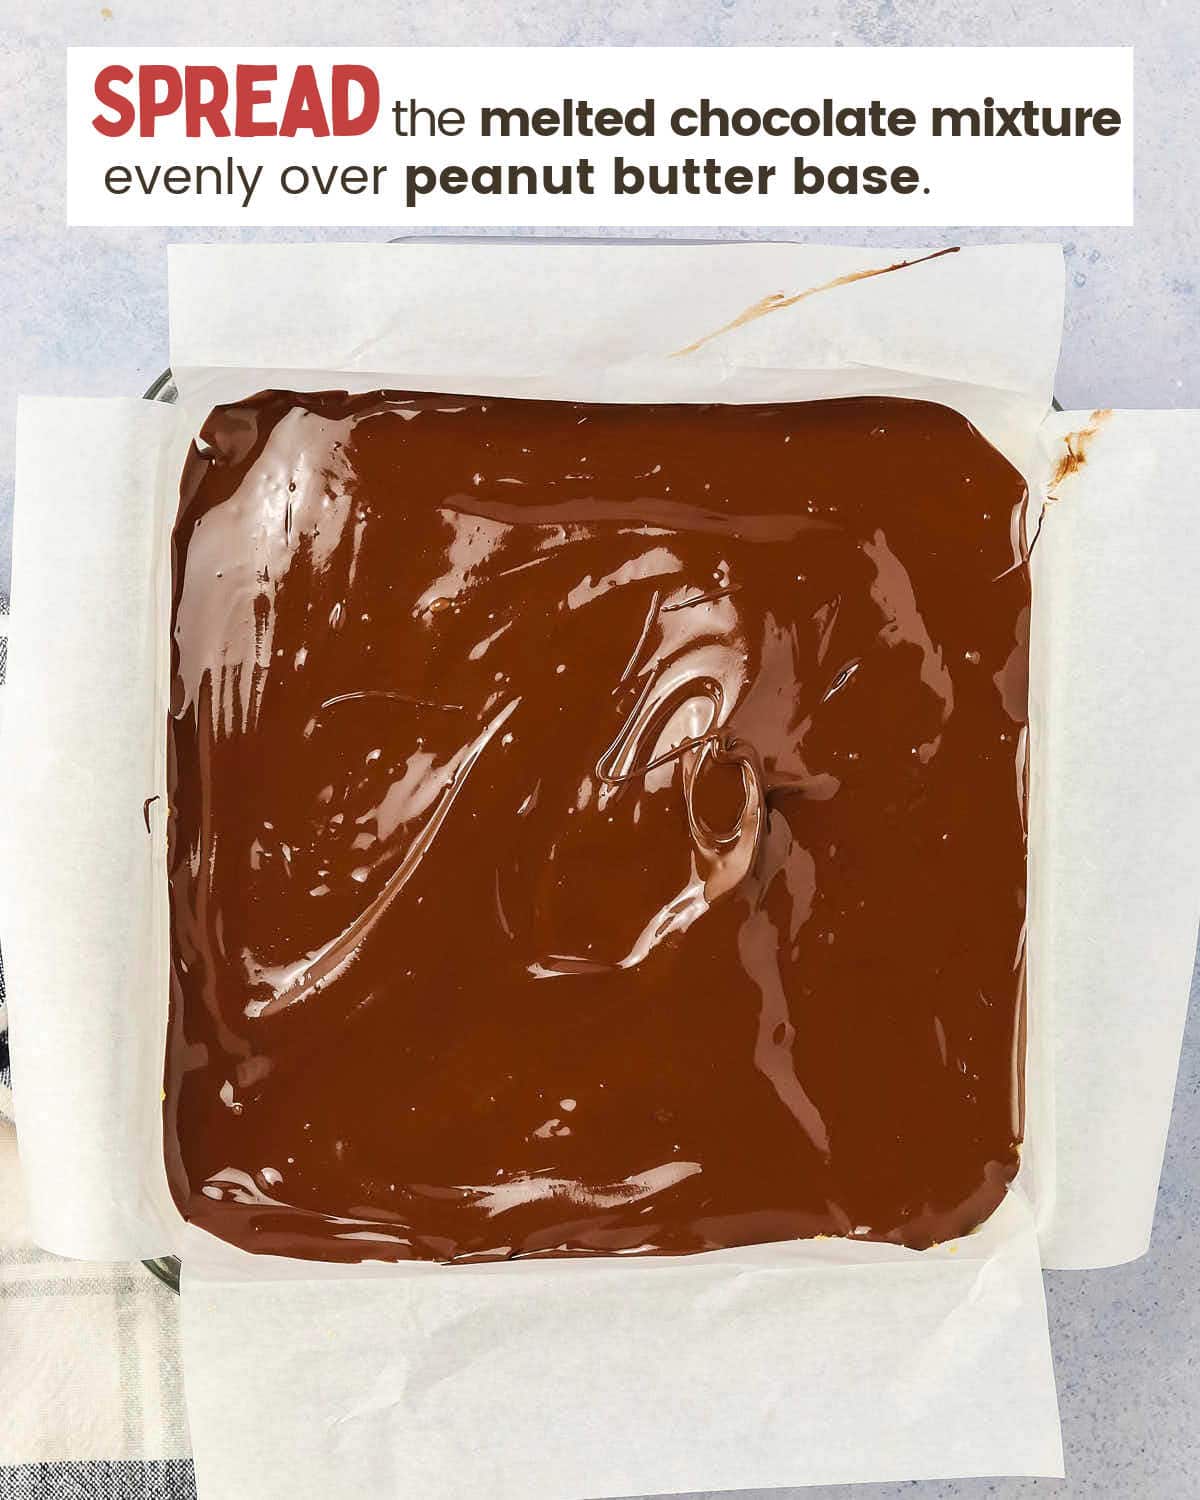
- Spread the chocolate mixture over the peanut butter base, then refrigerate for at least 1 hour before slicing and serving.
Leftovers and Storage
STORE – You can keep any leftover bars in the fridge, covered, for up to 7 days, or leave them on the counter for up to 4 days if you prefer them at room temperature. I recommend storing them in an airtight container to lock in their freshness and keep the layers just as delicious as the day you made them.
FREEZE – You can also freeze these bars either whole or pre-sliced. I like to slice them before freezing, so they’re easy to grab when needed. Place them in an airtight container, and they’ll keep well in the freezer for up to 3 months. When you’re ready to enjoy them, just let them thaw on the counter or in the fridge.
STACKING TIP – If you’re stacking the bars in a container, placing a sheet of parchment paper between each layer will keep them from sticking together. It’s a small step, but it makes a big difference.
REHEAT – No reheating necessary—these bars are perfect straight from the fridge or once they’ve thawed after freezing.

Serving Suggestions
VANILLA ICE CREAM – The cold, creamy texture of vanilla ice cream pairs perfectly with the richness of these peanut butter bars. A scoop on the side enhances the peanut butter and chocolate flavors, making each bite even more satisfying.
WHIPPED CREAM – A generous dollop of freshly whipped cream adds a light, airy touch that balances the sweet, dense layers of the bars. It gives a smooth contrast that makes each bite feel a bit more indulgent.
FRESH FRUIT – Serve these bars alongside sliced strawberries, bananas, or even tart raspberries. The fresh fruit provides a bright, refreshing balance to the rich peanut butter and chocolate.
COFFEE – A hot cup of coffee or espresso pairs wonderfully with the sweetness of the bars, offering a slightly bitter contrast that complements the dessert.
SALTED PEANUTS – For an added crunch and extra burst of peanut flavor, sprinkle a few salted peanuts on top. The salty contrast really elevates the overall experience.
CARAMEL DRIZZLE – A light drizzle of caramel adds an extra layer of sweetness and works beautifully with the peanut butter and chocolate combination.
More Easy and Delicious Recipes

Recipe Success Tips
STACKING – If you plan to stack the bars in a container, place a piece of parchment paper between each layer. This keeps them from sticking together and makes them easier to grab when you’re ready to enjoy them.
COVER – If you’re chilling the bars for more than an hour, cover the dish with plastic wrap to keep them fresh and prevent any unwanted moisture from forming on the chocolate layer.
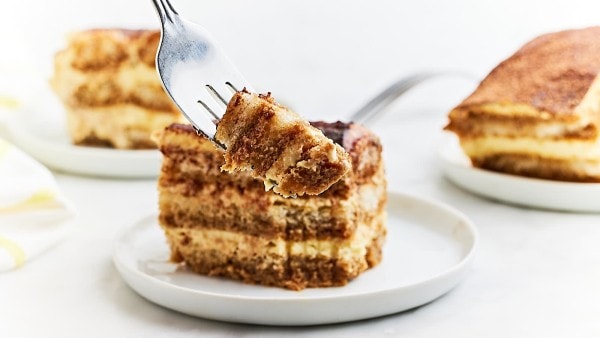
SLICING – When it’s time to slice the bars, warming your knife under hot water and wiping it clean between each cut will give you smooth, even slices without any messy edges. It’s a small extra step that makes your bars look perfect!
THAWING – If you’ve frozen the bars, you can thaw them on the counter or in the fridge when you’re ready to serve. They’ll be just as delicious once they’ve come back to room temperature.
Commonly Asked Questions
Can I use Natural Peanut Butter
No, please do not use natural peanut utter for these bars as it is too oily and will fall apart.
Can I make this is in a larger baking dish?
If you want to use a larger baking dish such as a 9×13″, please double the recipe.
Can I use crunchy peanut butter?
You can try these bars with crunchy peanut butter just for added texture. It is a bit tougher to slice and the edges of the bars will be a little more jagged if you decide to try it.
More Easy and Delicious Fall Dessert Recipes
No-Bake Peanut Butter Bars
Ingredients
- 1 cup butter unsalted, slightly cooled
- 2 ½ powdered sugar
- 2 ½ graham cracker crumbs
- 1 ½ peanut butter creamy, divided
- 1 ½ milk chocolate chips
Instructions
- Line a 8×8 square baking dish with parchment paper.
- Combine and stir the melted butter, graham cracker crumbs, powdered sugar, and 1 cup of the peanut butter in a large bowl.
- Press the mixture into the bottom of the baking dish. Try to press it in evenly. Set aside while you make the topping.
- In a microwave safe bowl, melt the remaining peanut butter with the chocolate chips for 1 minute at 50% power. Stir well. Continue microwaving at 50% power in 30 second increments until fully melted. Stir between each time interval.
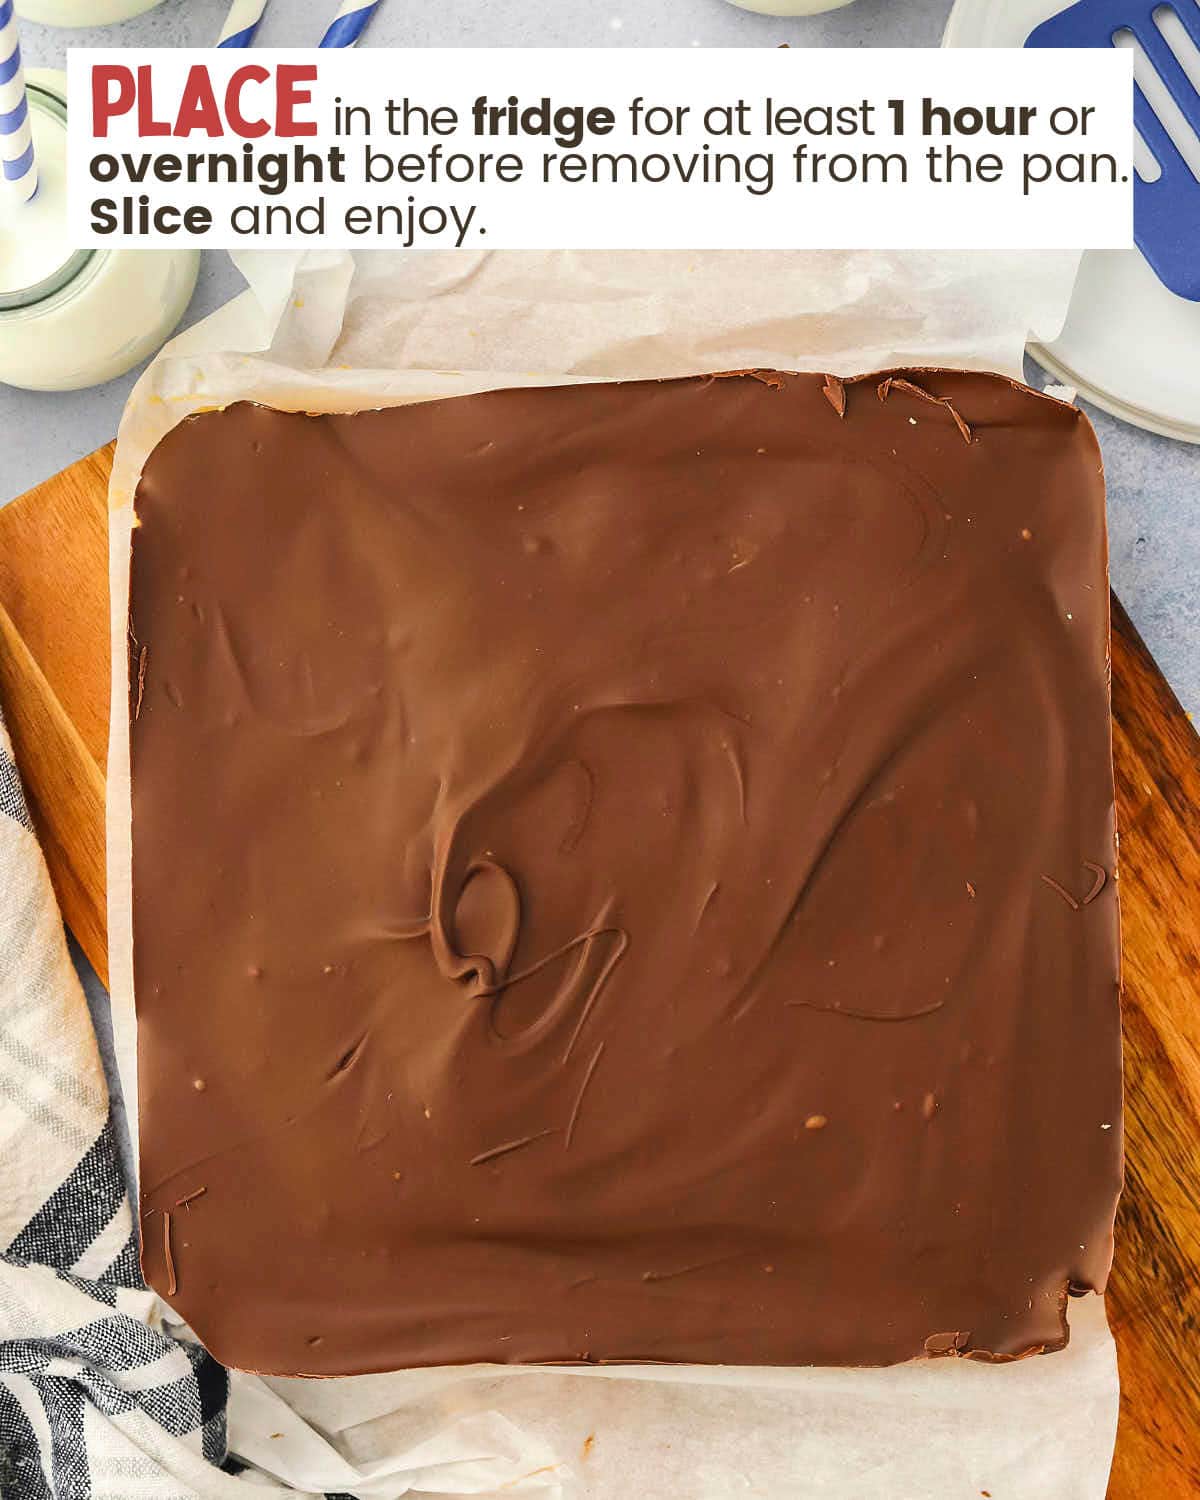
- Spoon the melted chocolate mixture over the peanut butter base and smooth it out evenly. Place in the fridge and chill for at least 1 hour or overnight before removing from the pan. Slice and enjoy.
Equipment

Nutritional Information
Nutritional Disclaimer
Cheerful Cook team members are not trained nutritionists or medical professionals. Calorie information and nutritional values are estimates. If you have nutritional concerns, we recommend using a nutritional calculator.
Maike Corbett is the founder and food blogger of Cheerful Cook, a popular recipe website featuring comfort food recipes from the US and Germany. She has been featured in numerous media outlets, including the AP Wire and MSN.