Peanut Butter Pie
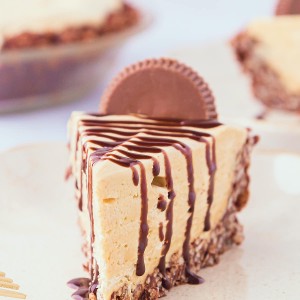

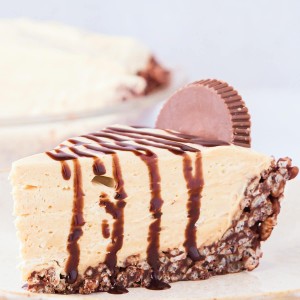


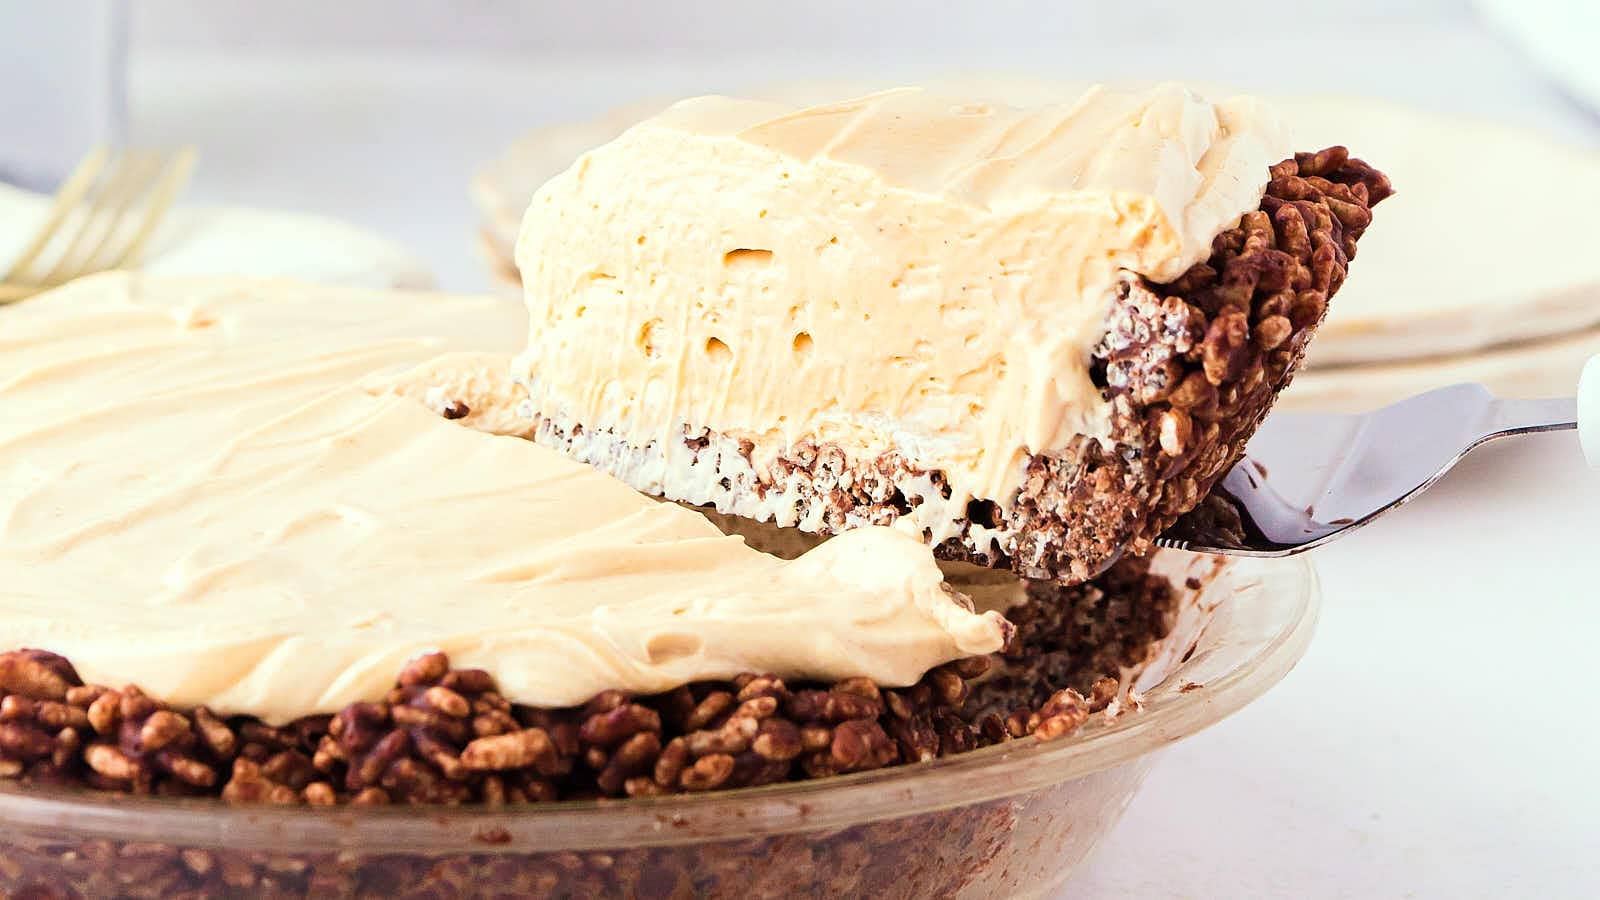
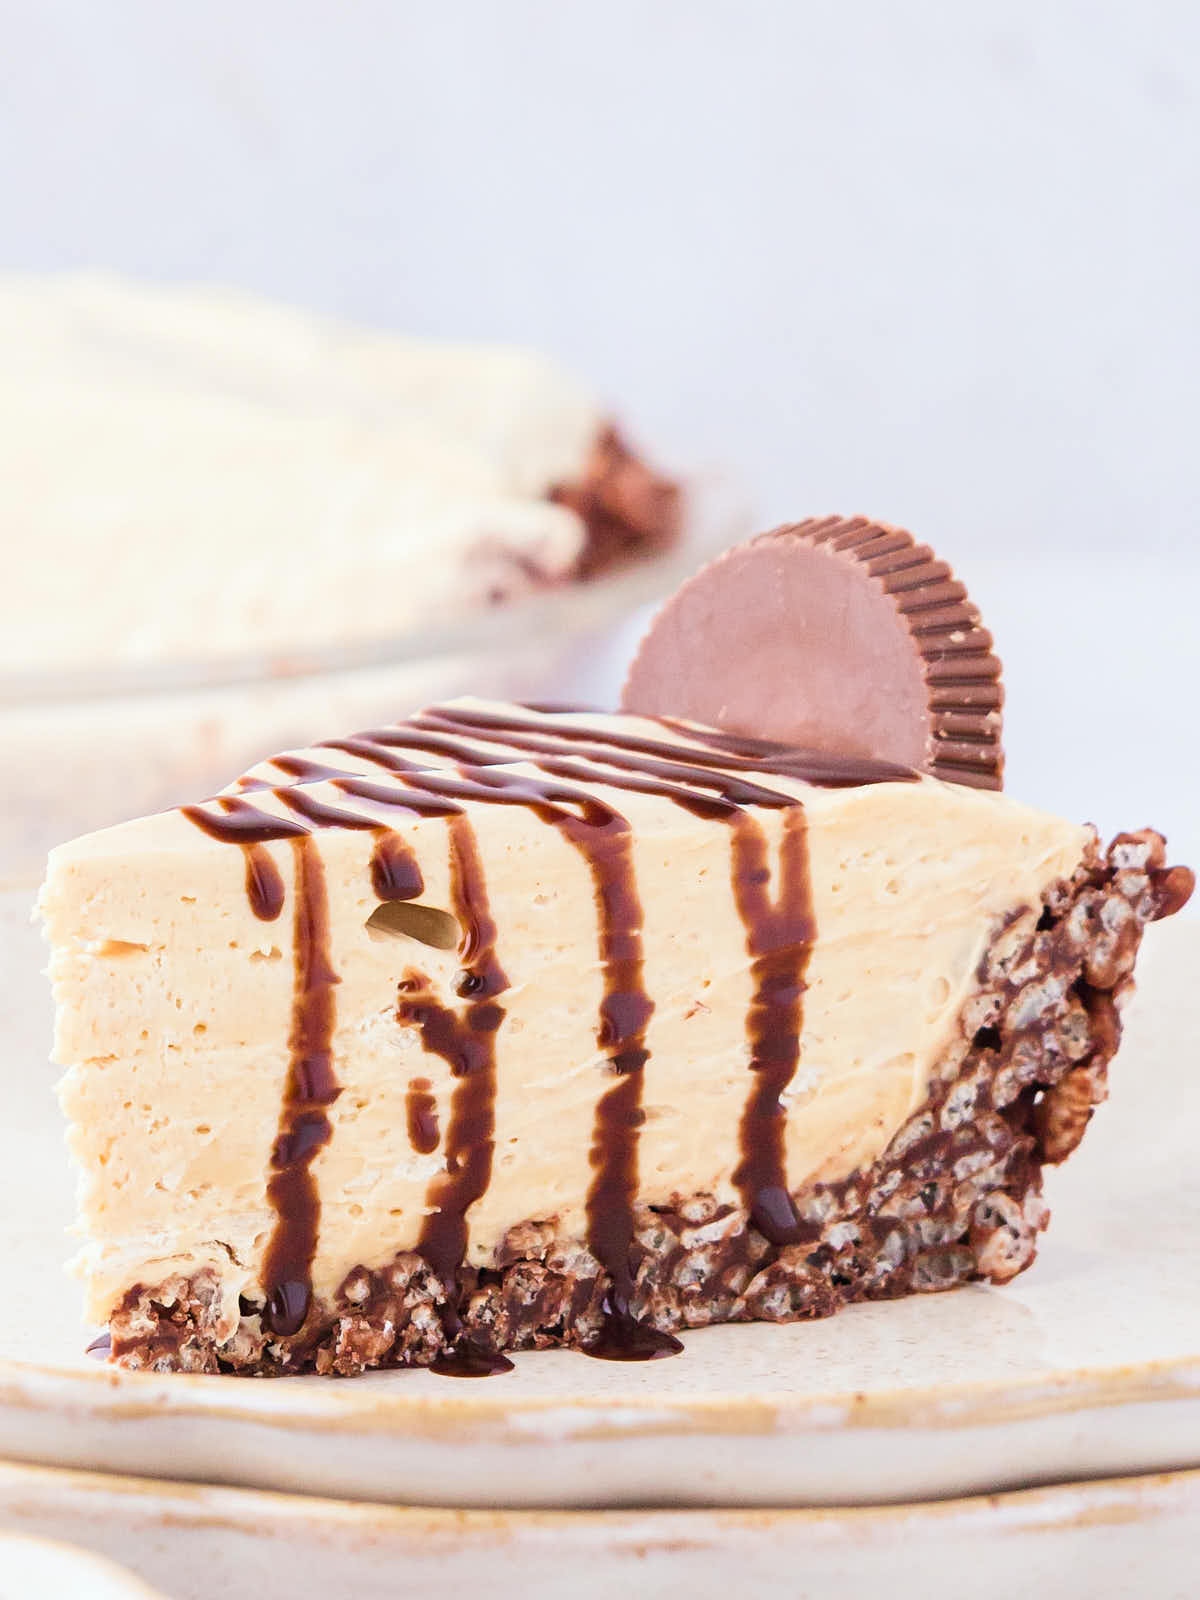
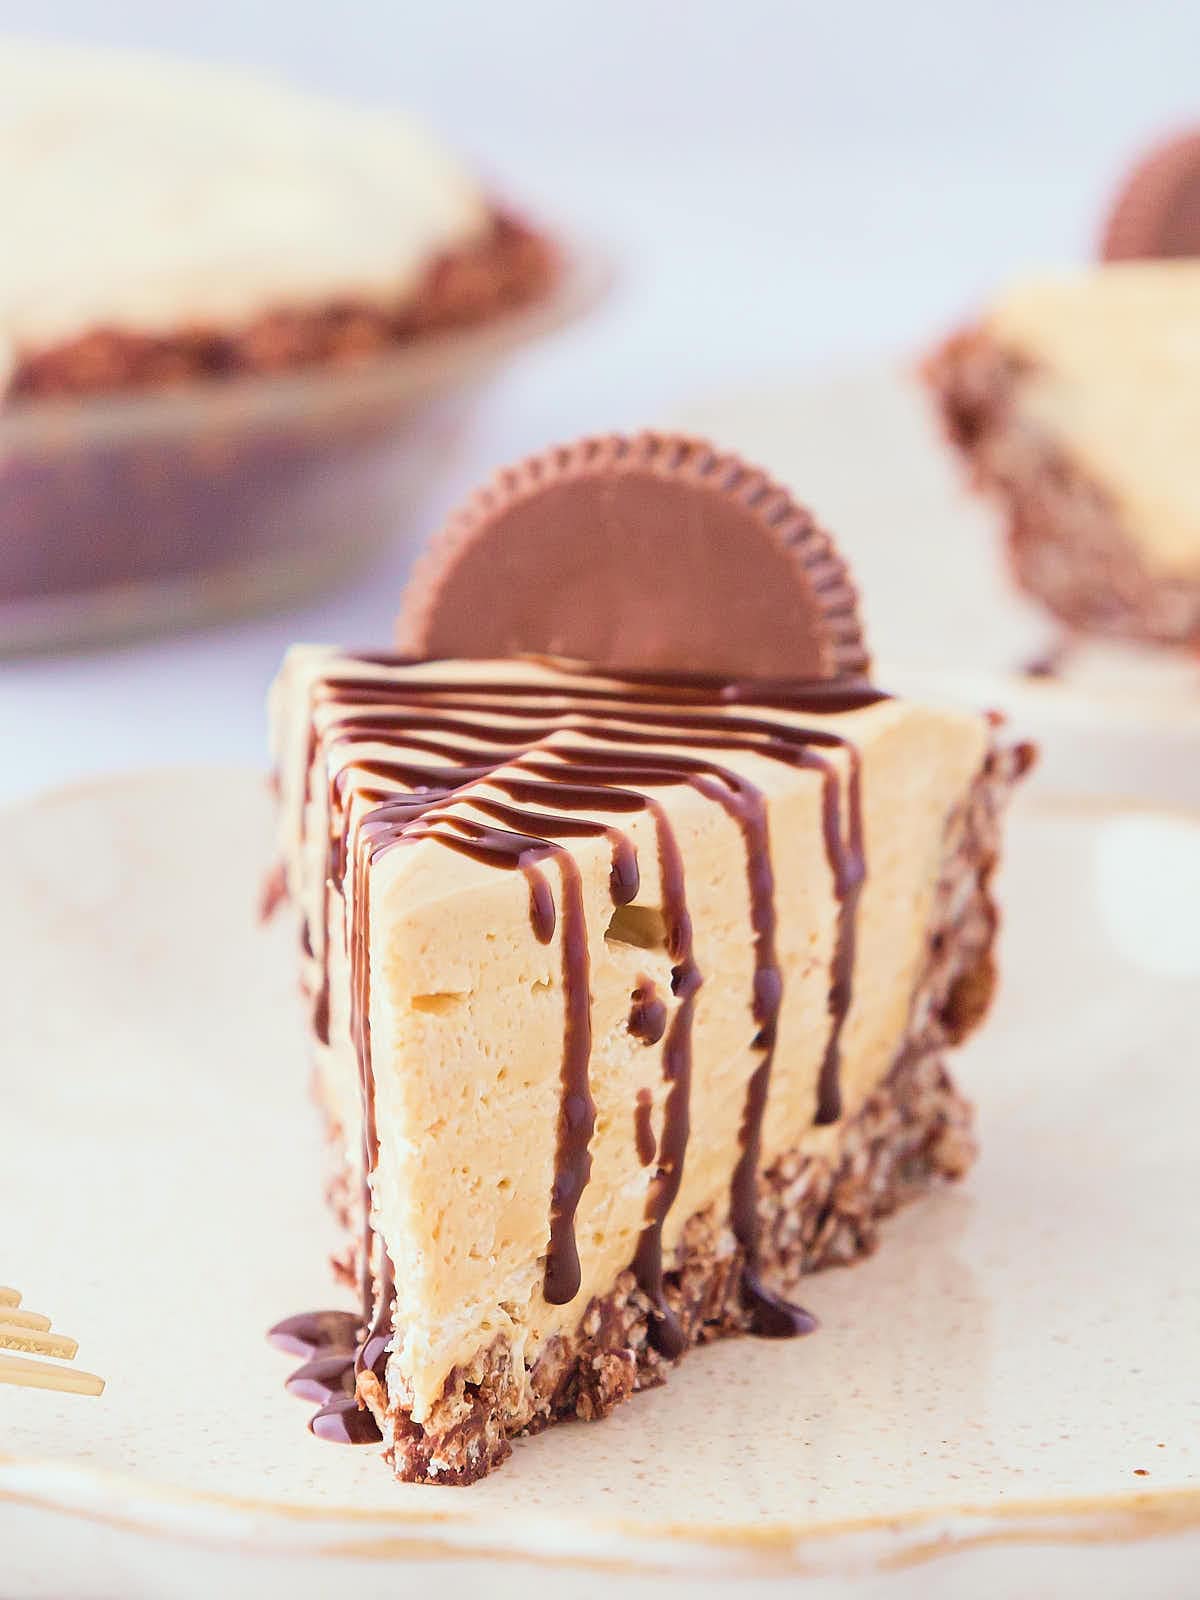
Our No-Bake Peanut Butter Pie is a must-try dessert that combines a creamy, dreamy filling with a crunchy chocolate crust, making it both comforting and fun to make.
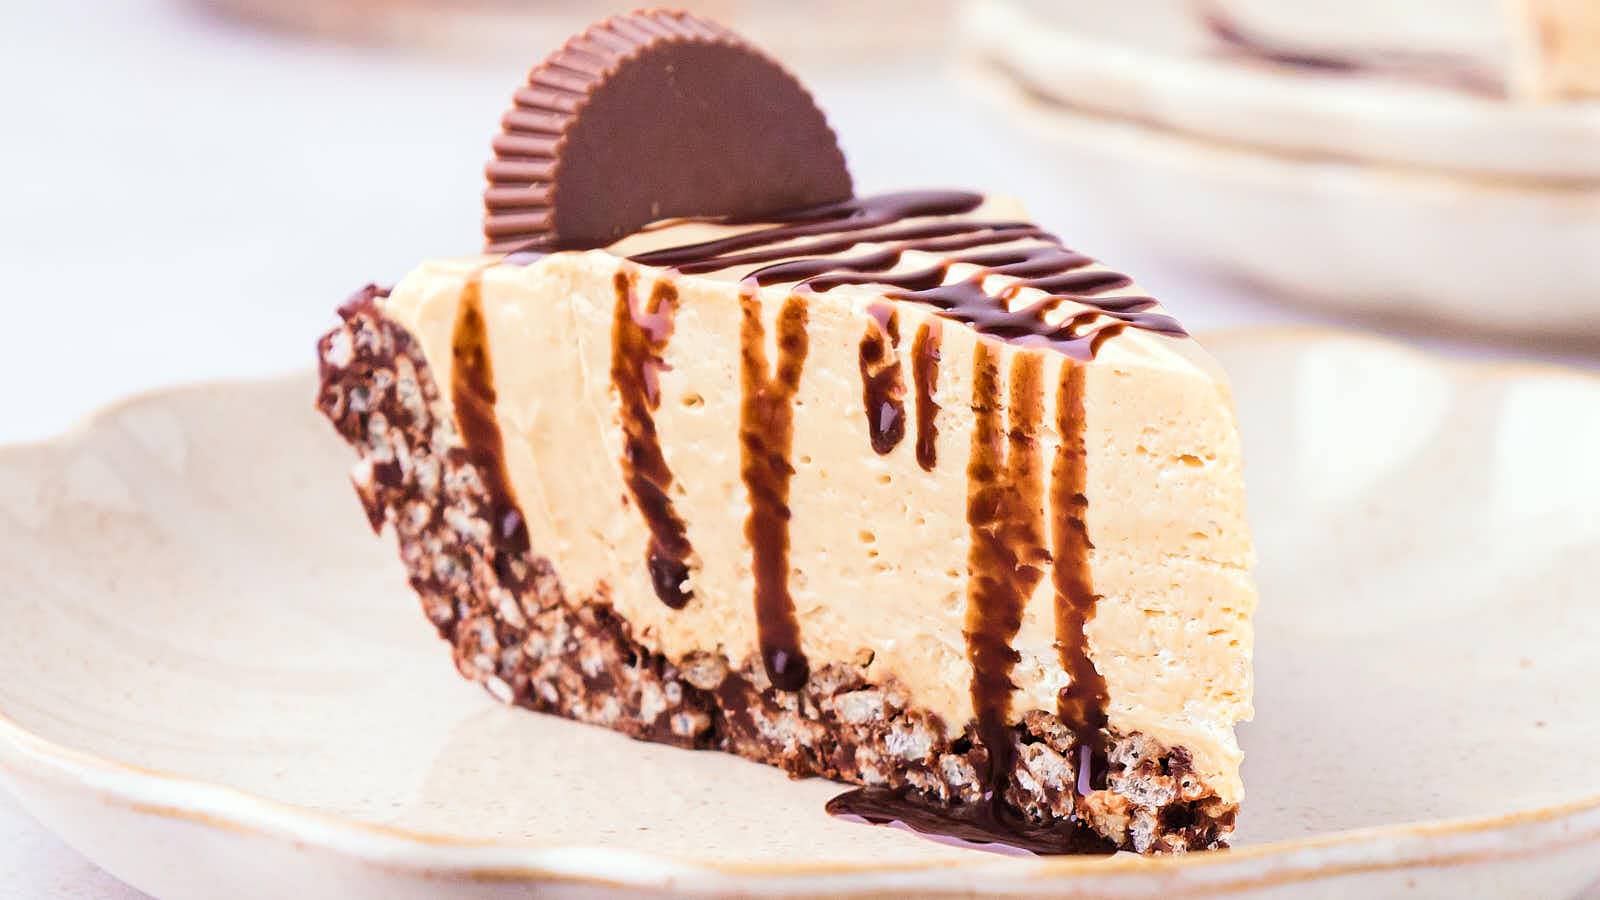
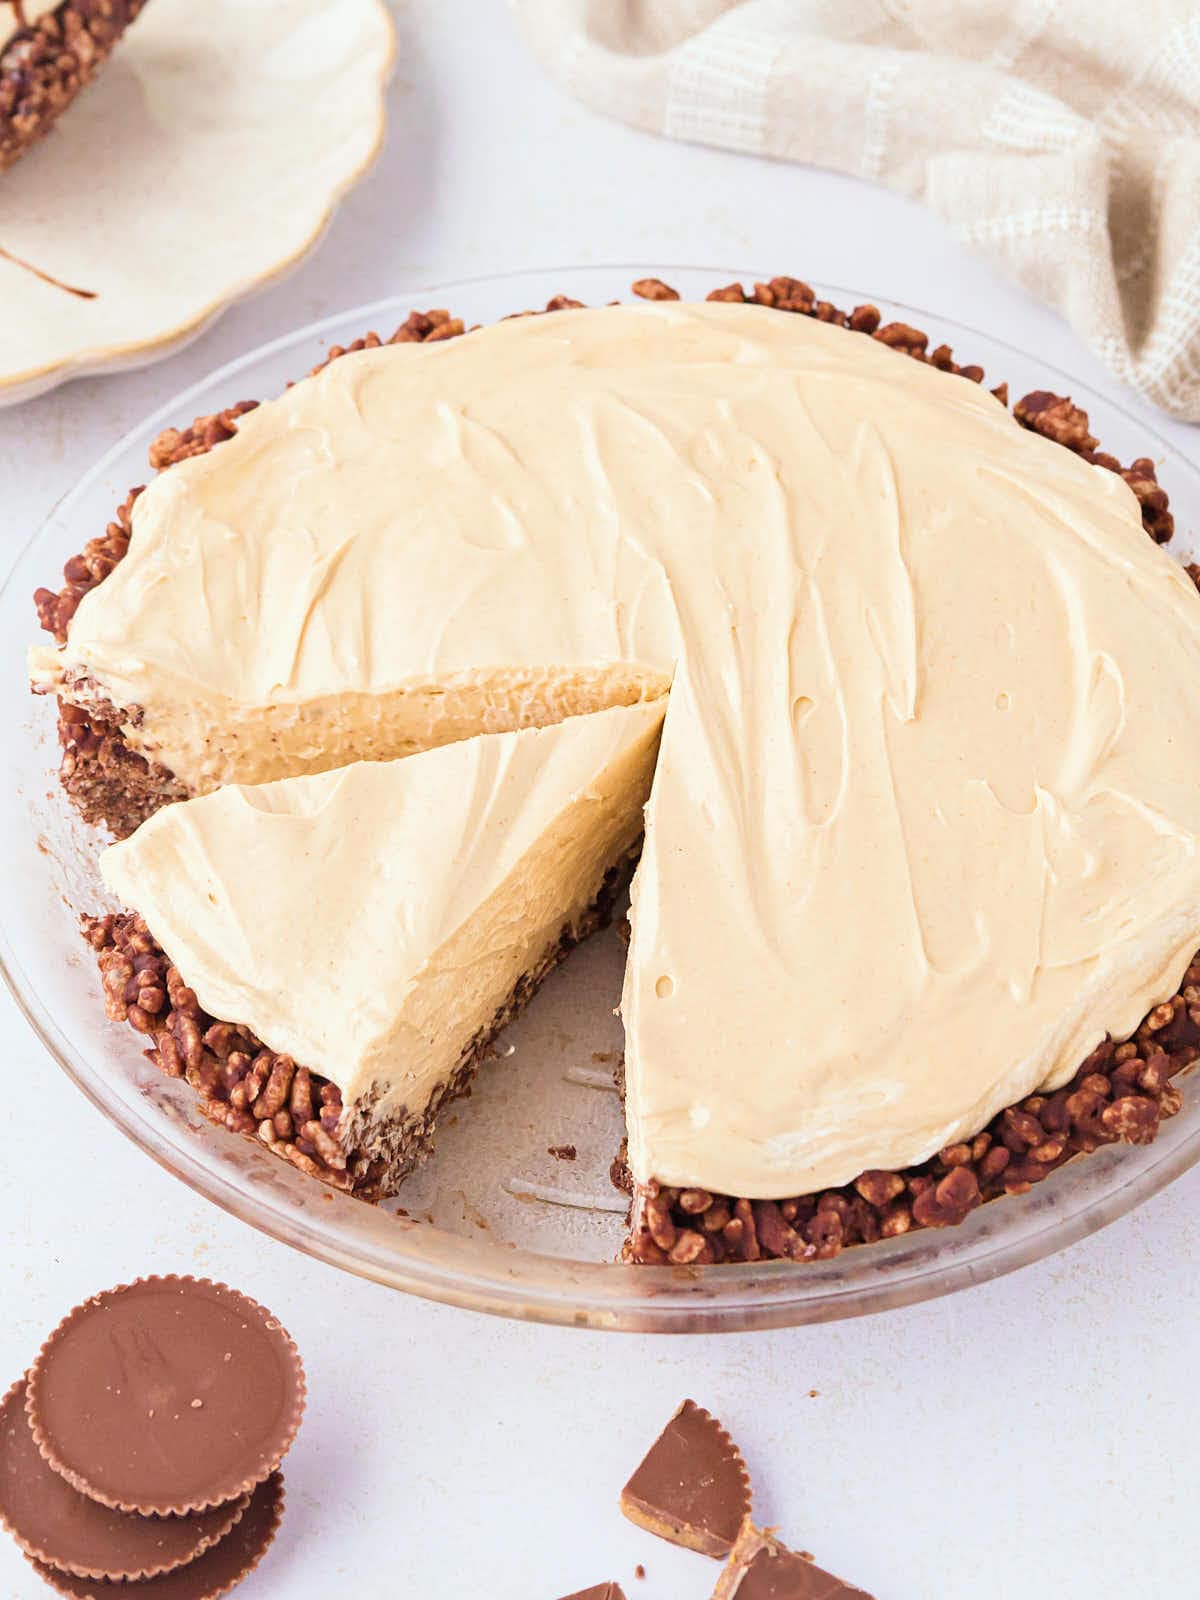
With smooth peanut butter, cream cheese, Cool Whip, and a sweetened condensed milk filling over a unique chocolate rice crispy base, each bite is an delicious blend of flavors and textures.
This easy, no-bake recipe is perfect for anyone looking for a crowd-pleasing dessert that’s as simple as it is delicious—let’s make this pie together!
Peanut Butter Pie Recipe Highlights
- Only 30 minutes of hands-on prep before chilling
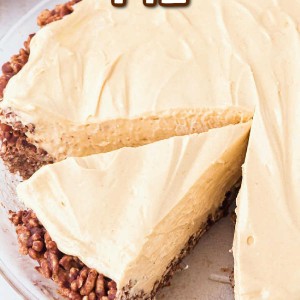
- Fun, no-bake chocolate crust using rice cereal
- Perfectly creamy, peanut-buttery filling
- Great for parties, family dinners, or celebrations
- Easy No-Bake Peanut Butter Pie Recipe
Ingredient Notes
Please check the recipe card below for a detailed, printable ingredient list.
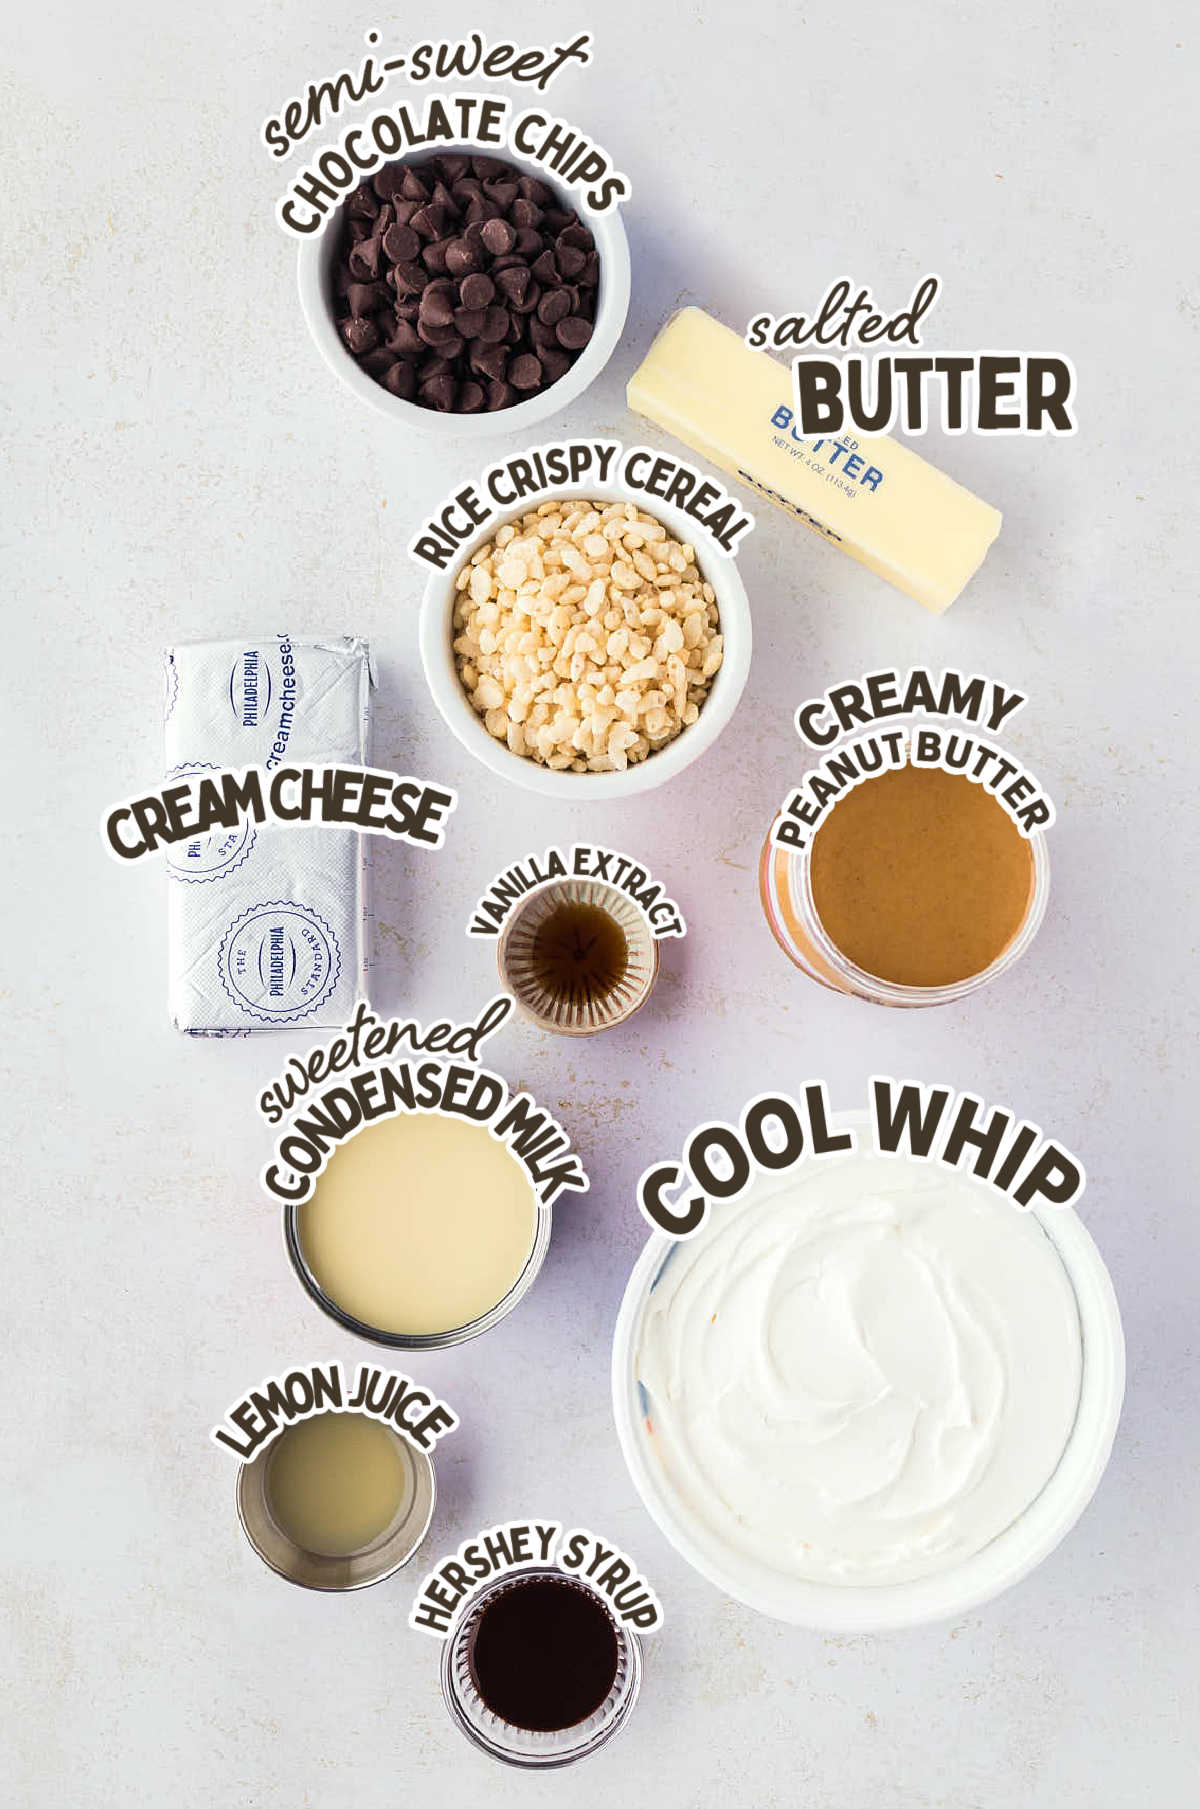
BUTTER – Melts with chocolate to create a smooth, rich base for the crust. We use unsalted butter here to control the saltiness in the final pie.
CHOCOLATE – Semi-sweet chocolate chips work well, offering a balanced chocolate flavor that pairs with peanut butter without overwhelming it. Melting the chocolate slowly helps prevent it from seizing, keeping the crust mixture smooth.
RICE CRISPY CEREAL – Adds crunch and a light texture to the crust, giving a unique twist compared to traditional pie bases. Coat the cereal gently to avoid crushing it.
CREAM FILLING – A smooth, airy combination of cream cheese, Cool Whip, and sweetened condensed milk. This trio creates a perfectly creamy, light texture that complements the richness of peanut butter. Cream cheese adds body and a slight tang, while Cool Whip keeps the filling light, and sweetened condensed milk brings sweetness and a velvety consistency.
PEANUT BUTTER – Use creamy, shelf-stable peanut butter for a smooth, consistent texture. Avoid natural peanut butter, as it can separate, creating an uneven filling. Regular peanut butter blends smoothly with the cream filling ingredients for that classic, creamy taste.
CONDENSED MILK – Sweetened condensed milk, not evaporated milk, adds sweetness and creaminess, binding the filling together without needing extra sugar.
ADD-INS – Vanilla extract adds a warm, rounded flavor that balances the richness of the peanut butter and cream cheese. The lemon juice, while subtle, brightens the filling and enhances its overall flavor without making it taste citrusy. Together, these add-ins create a smooth, balanced taste that keeps each bite from feeling too heavy.
How To Make A No-Bake Peanut Butter Pie
Please check the printable recipe card below for more detailed instructions.
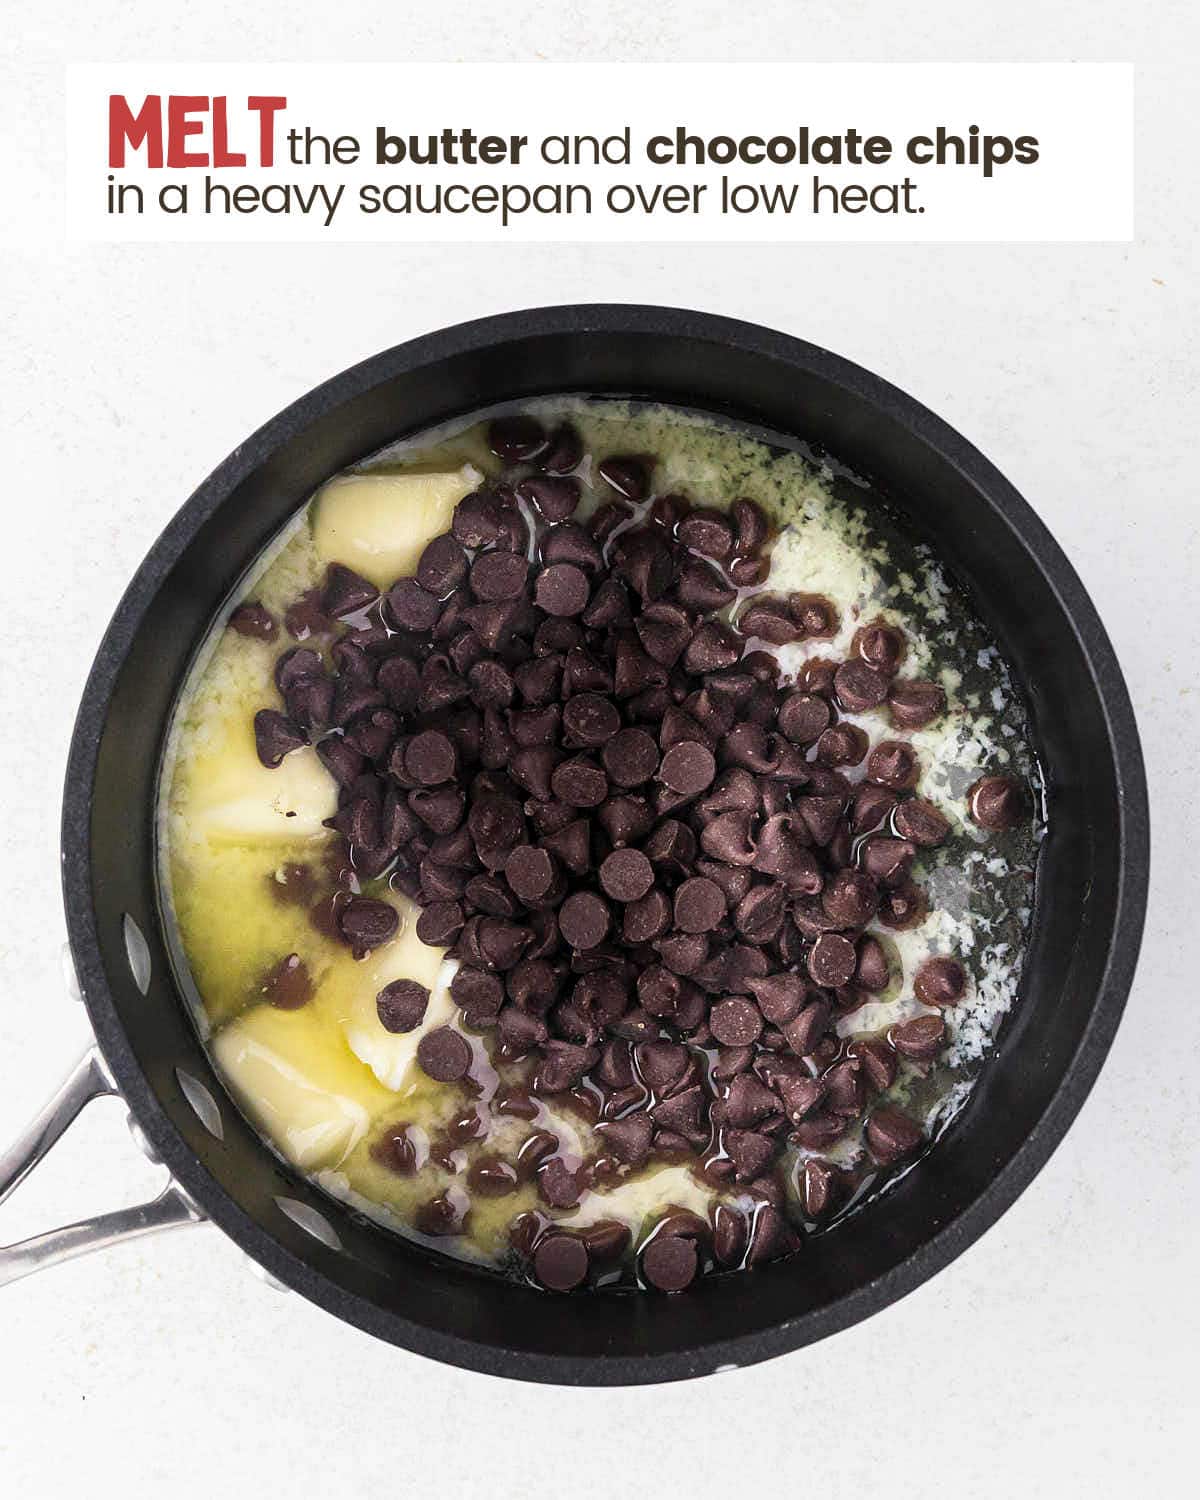
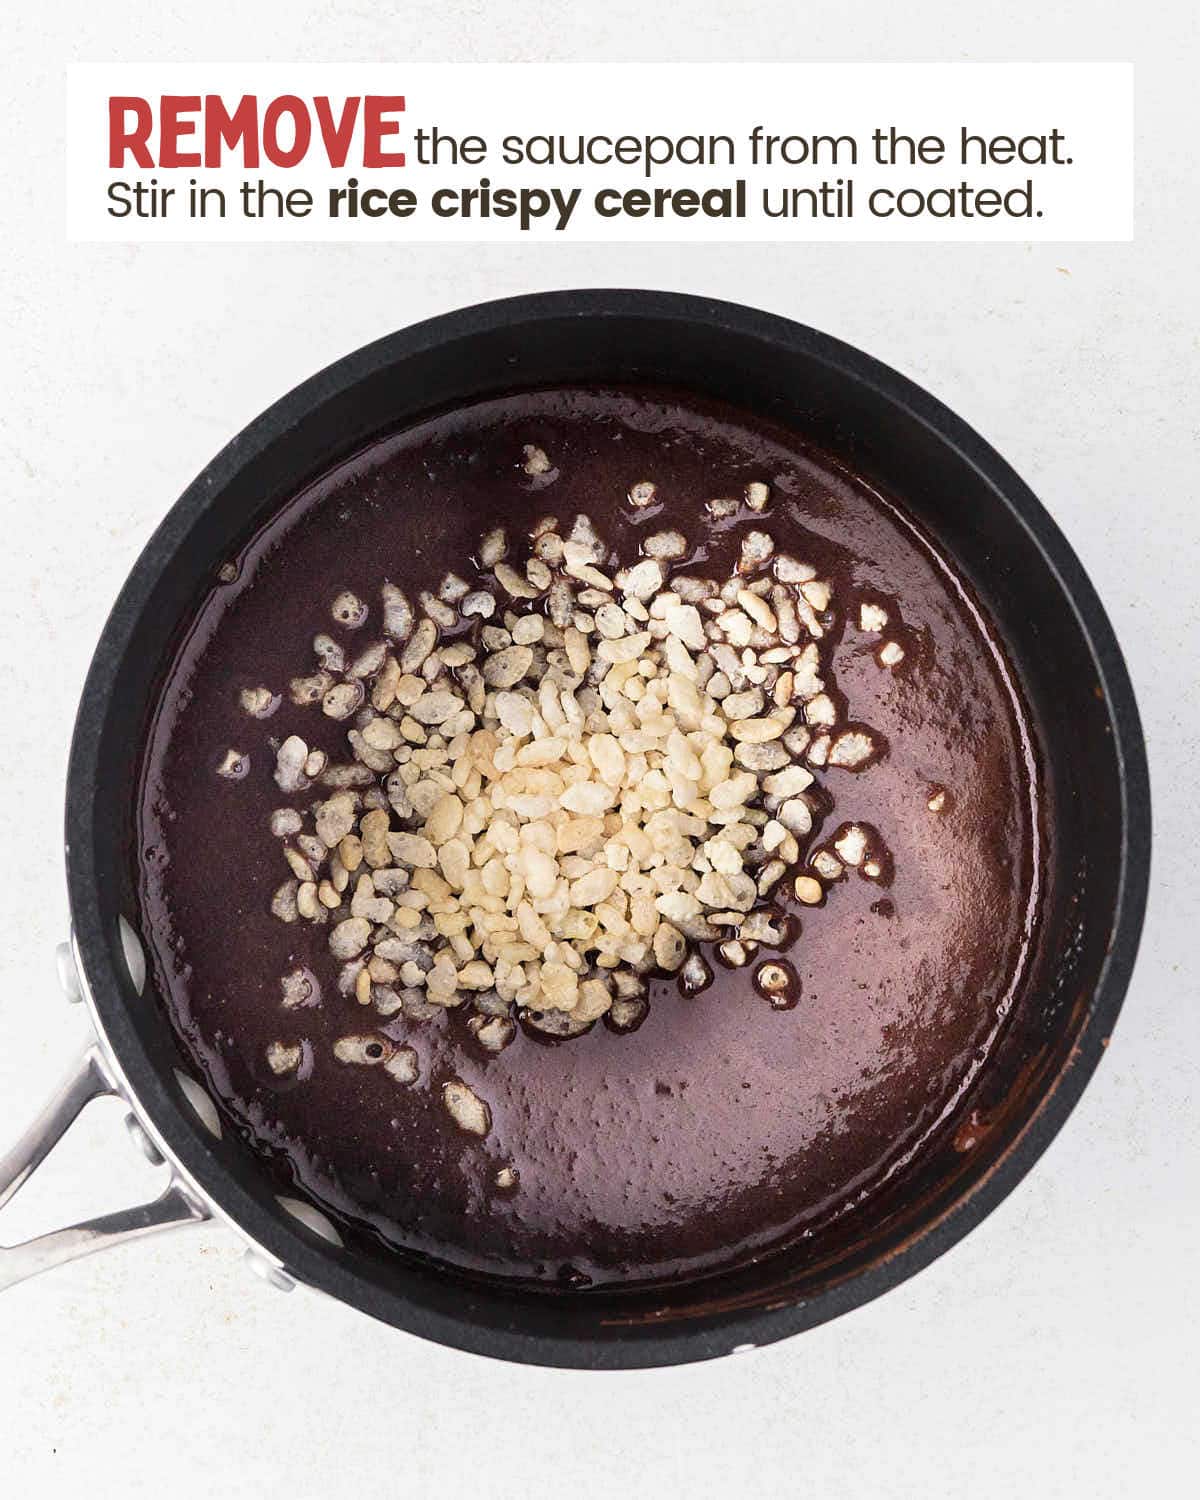
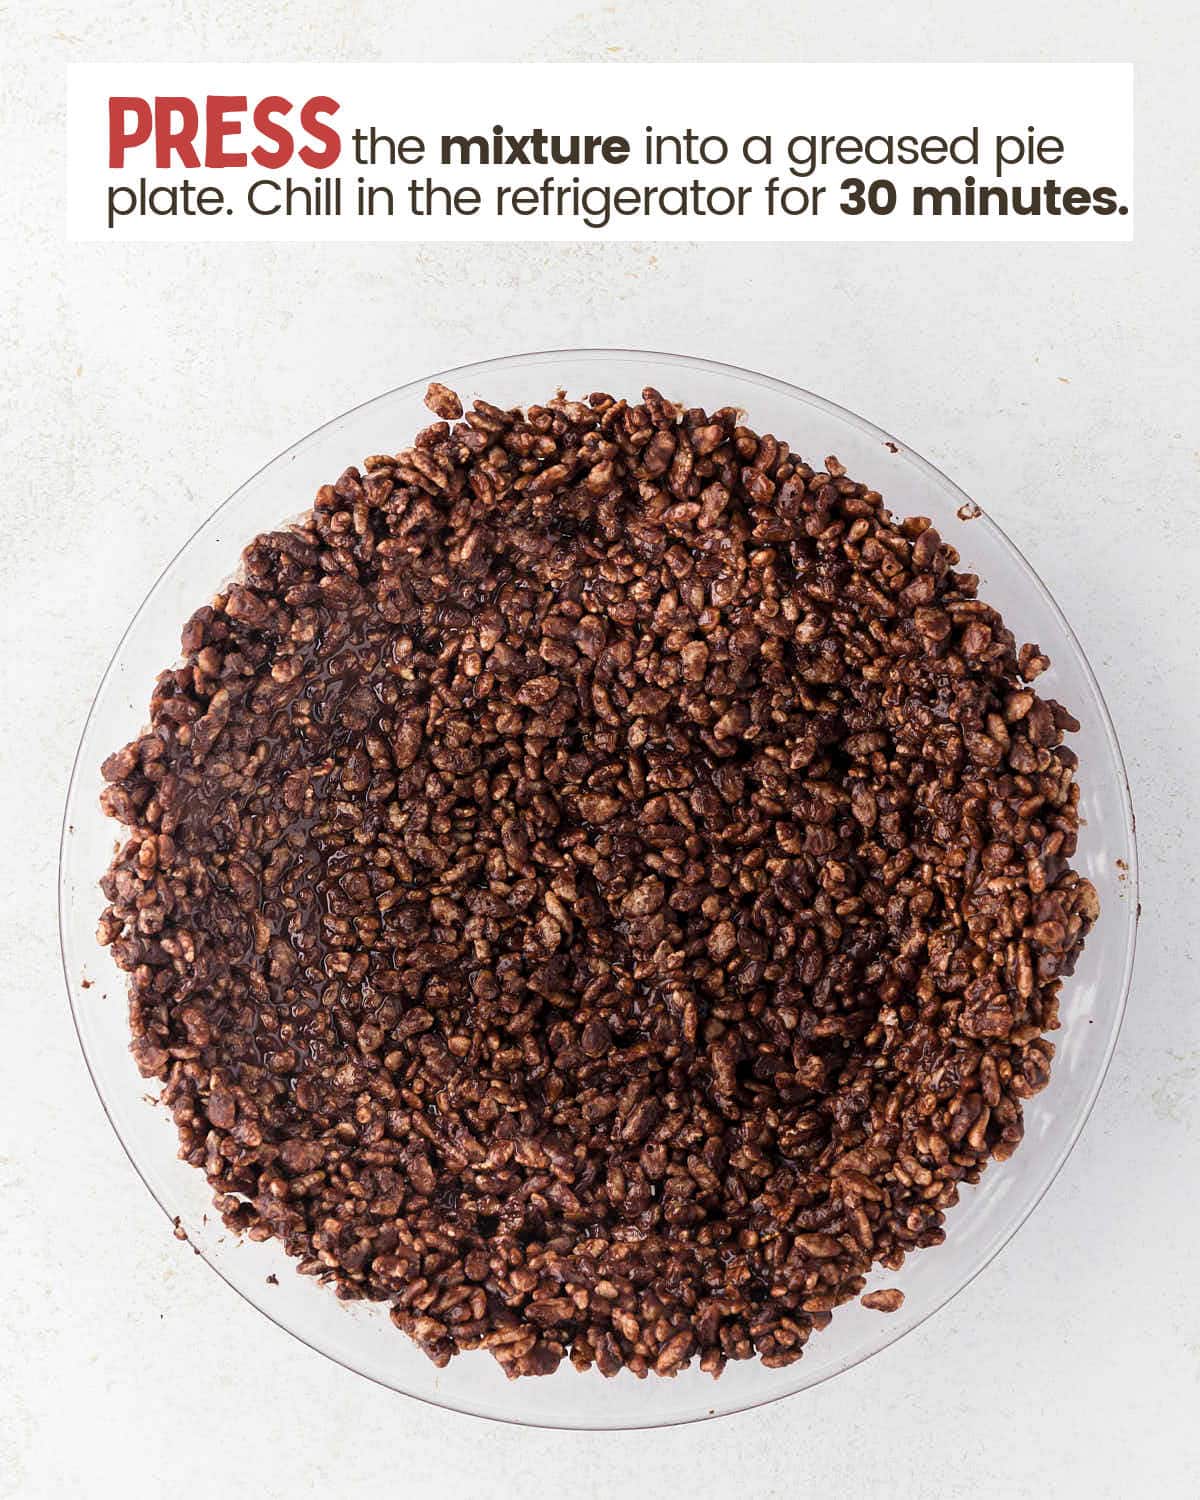

- Melt butter and chocolate chips, stir in rice crispy cereal, and press into a pie plate for the crust. Chill.
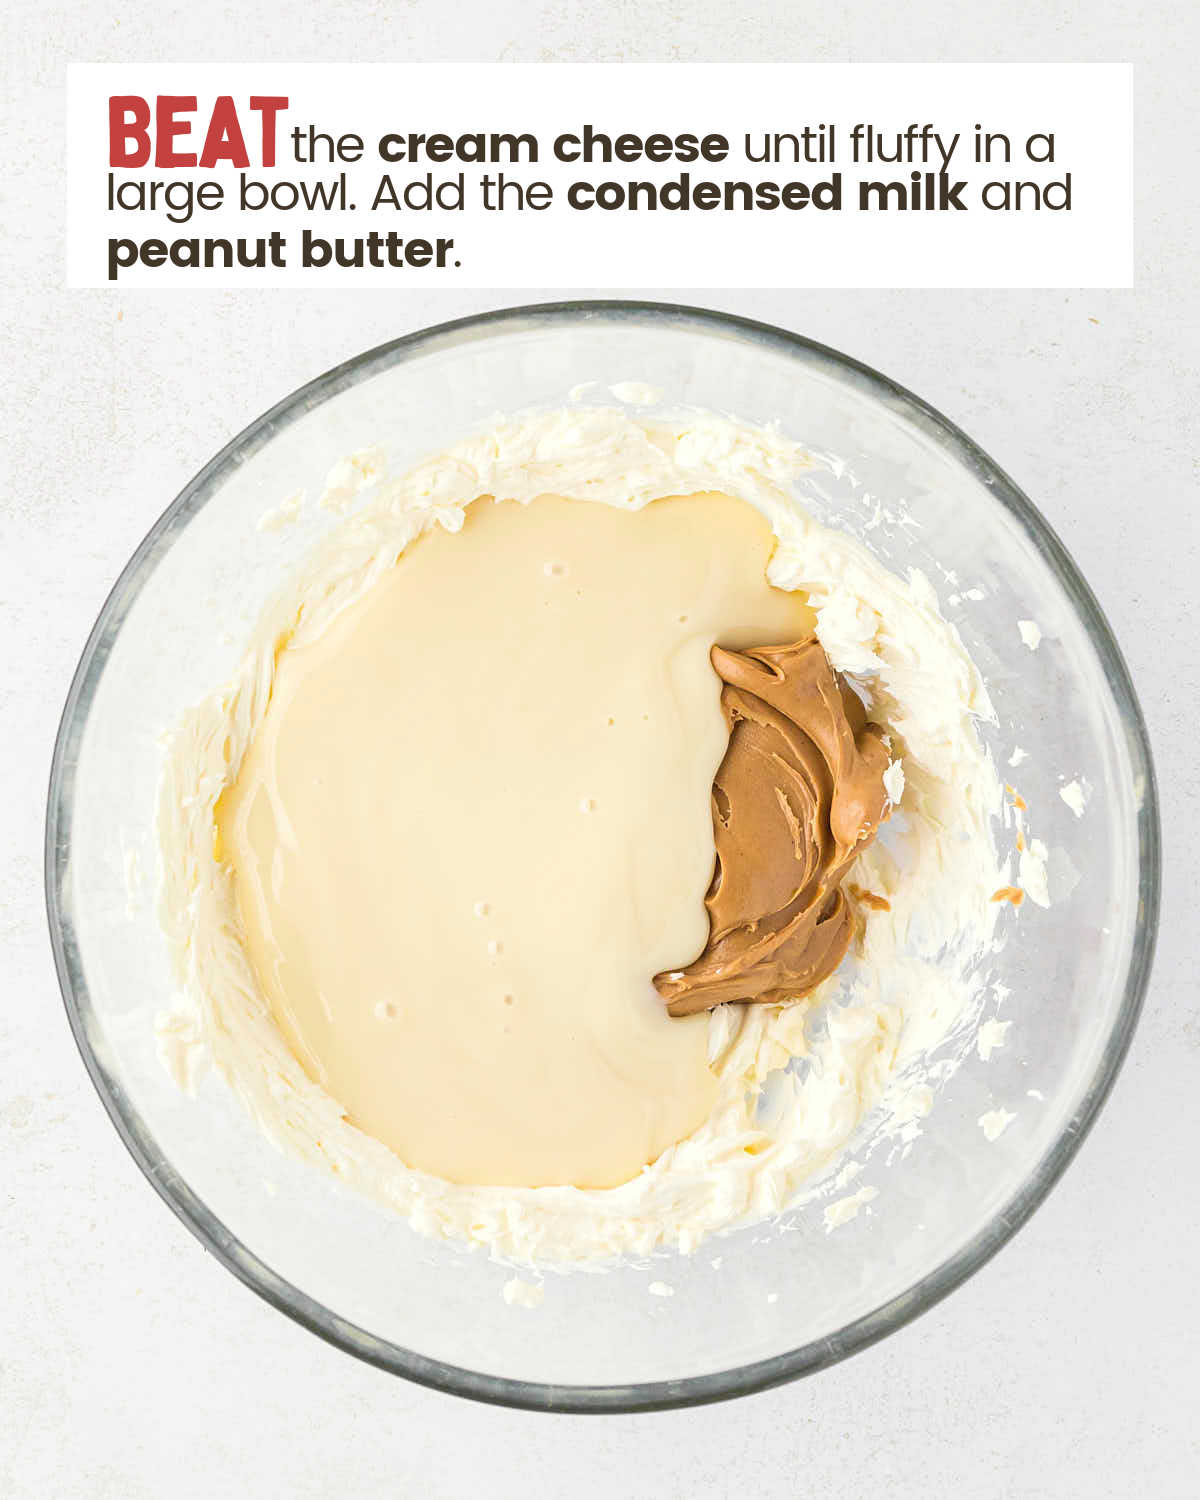
- Beat cream cheese until fluffy, then mix in condensed milk and peanut butter until smooth.
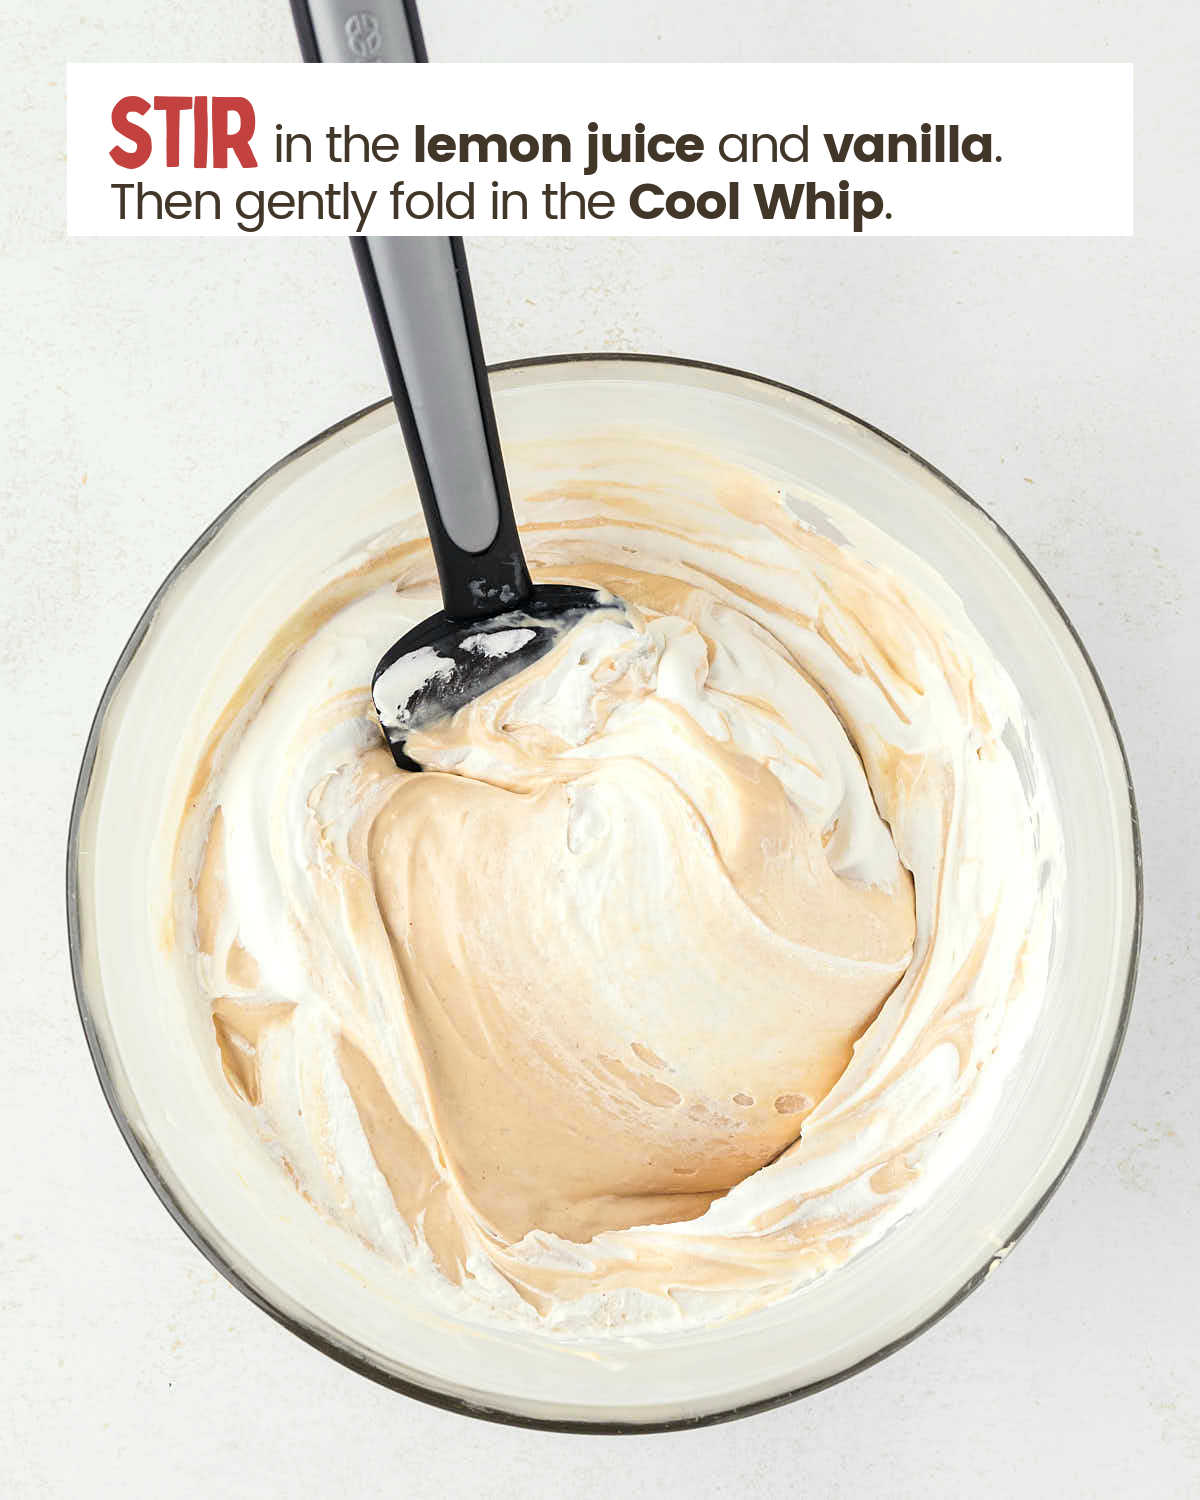
- Add lemon juice and vanilla, then fold in Cool Whip gently.
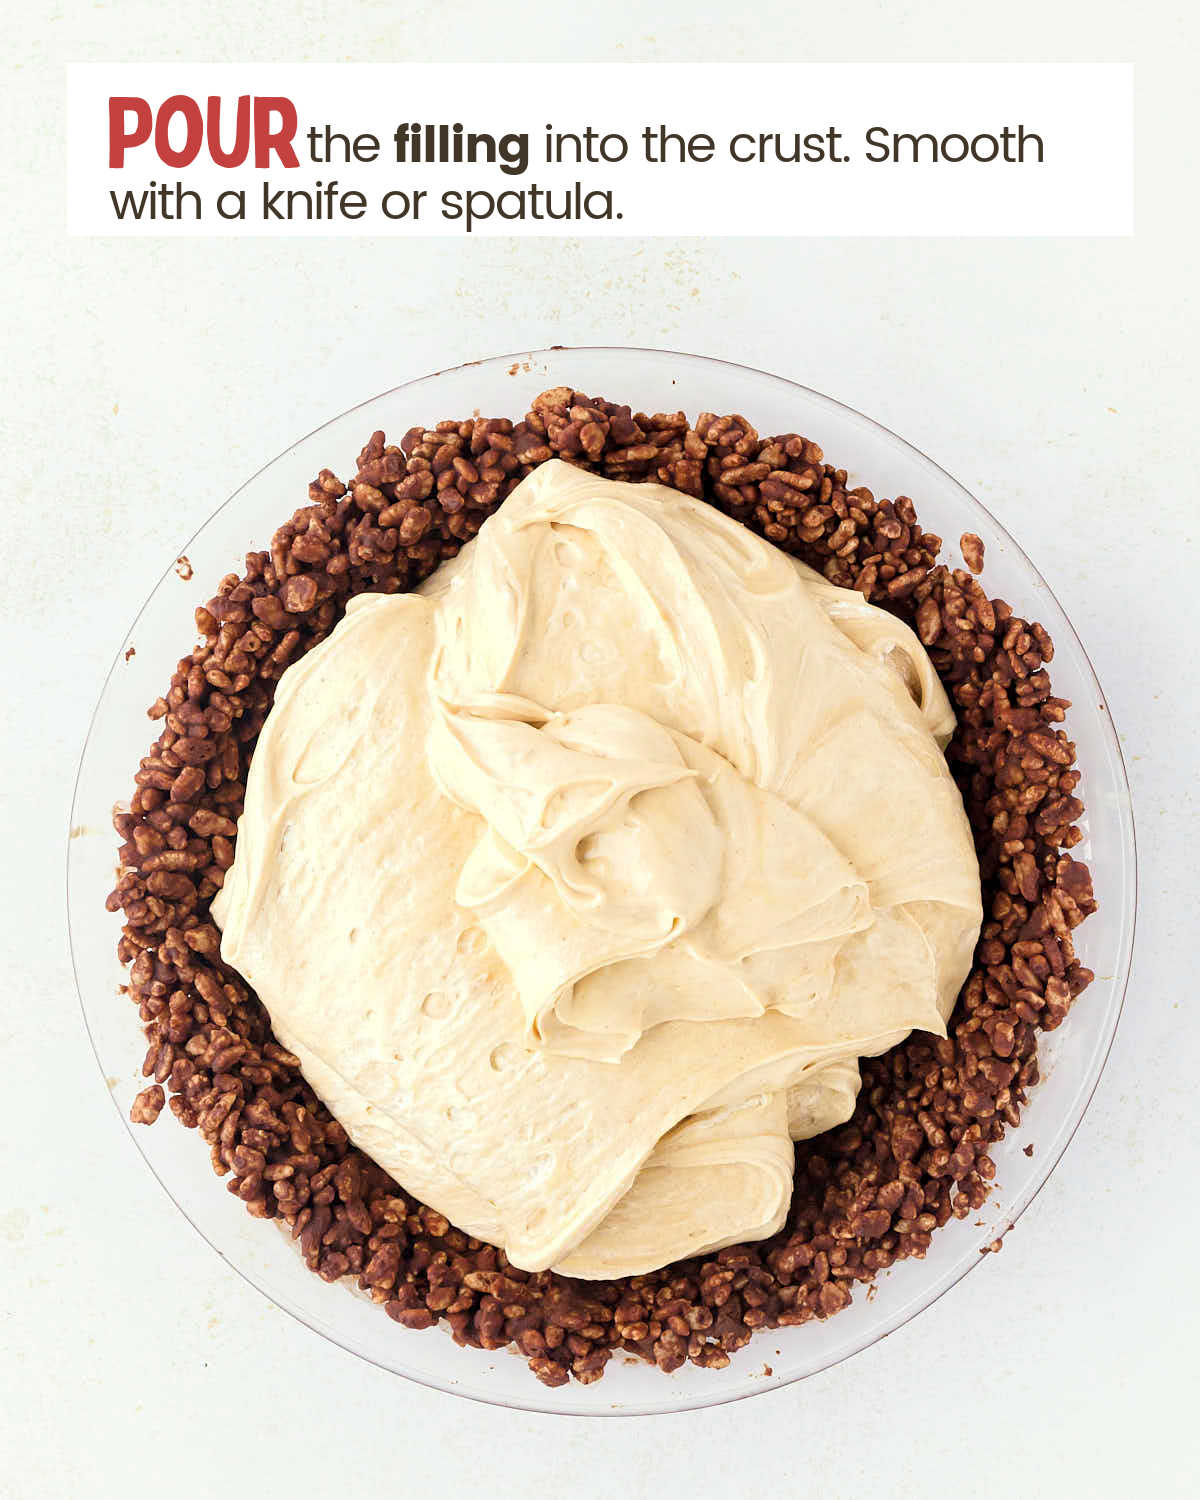
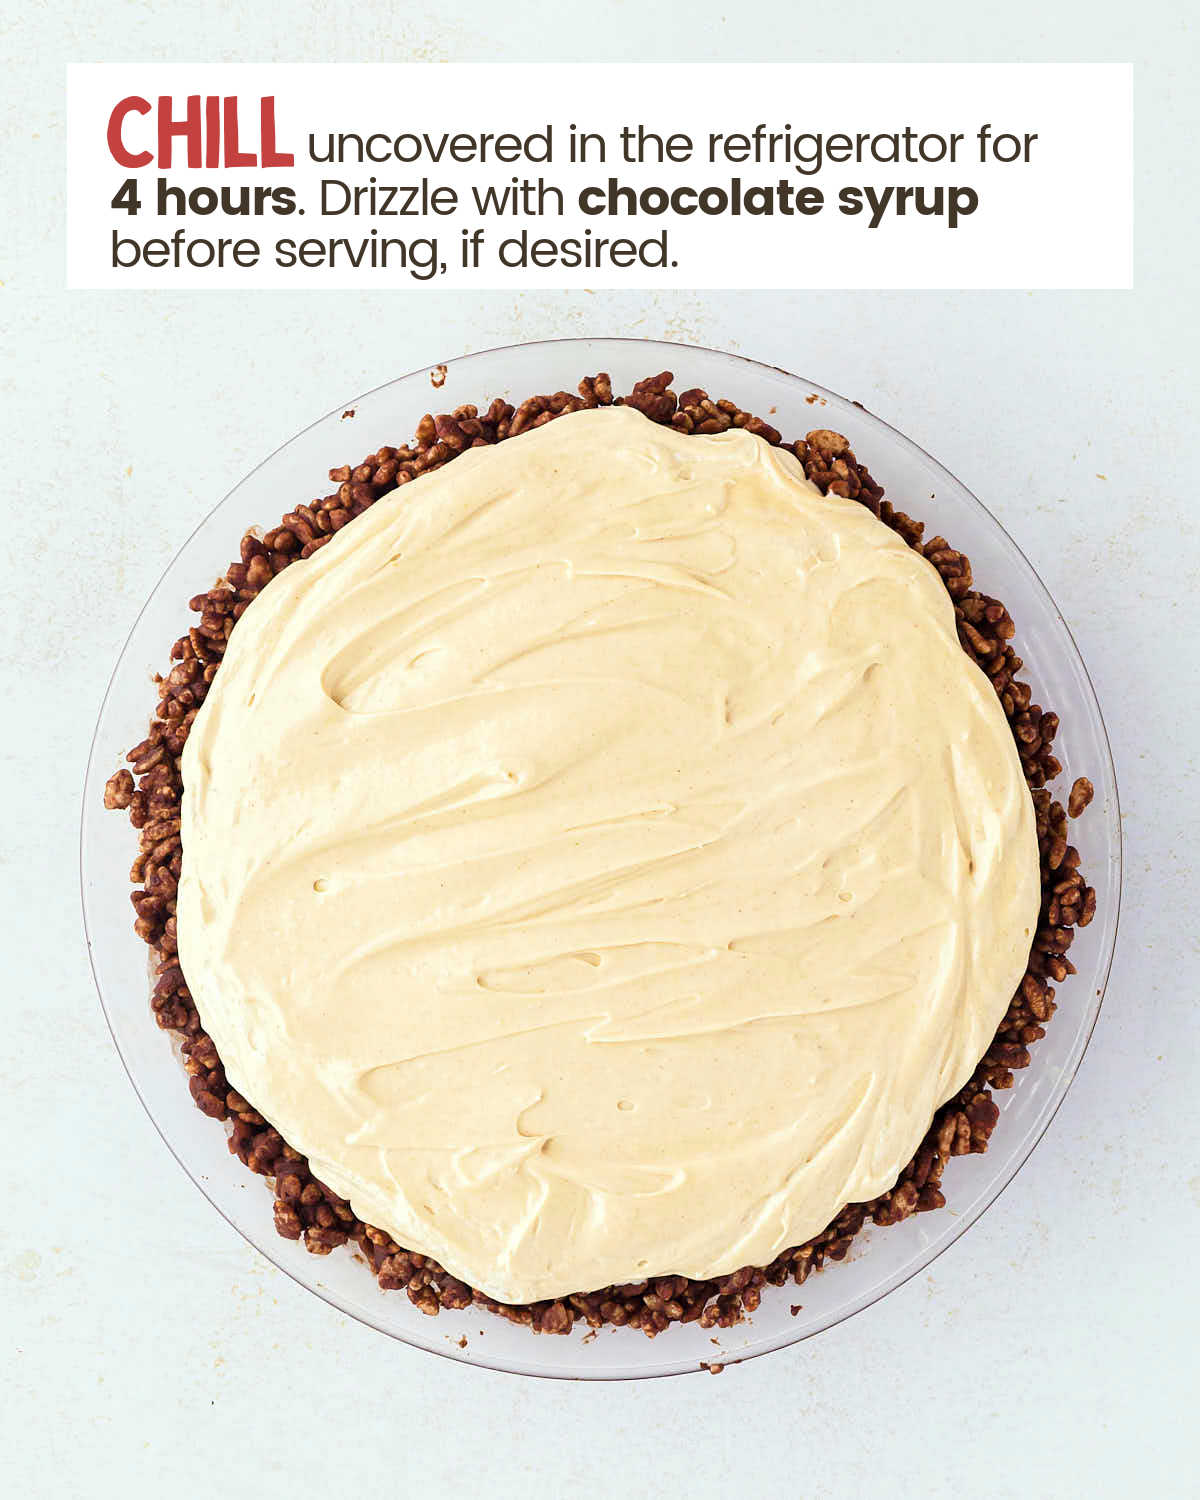
- Pour filling into the chilled crust, drizzle with chocolate syrup, and chill for at least 4 hours.
Leftovers and Storage
STORE – Cover the Peanut Butter Pie with plastic wrap or foil and refrigerate for up to 4 days. This keeps the filling creamy and the crust crisp, making each slice taste fresh even after a few days.
FREEZE – For longer storage, wrap individual slices in plastic wrap, then place them in a freezer-safe container. This double layer helps prevent freezer burn and preserves the pie’s flavor and texture. You can freeze the pie for up to 2 months. When ready to enjoy, thaw slices overnight in the refrigerator.
REHEAT – Since this pie is best served chilled, no reheating is needed. If frozen, let slices sit at room temperature for 10-15 minutes to soften slightly before serving. This keeps the filling smooth and creamy.
MAKE AHEAD – To make prep easier, prepare the crust up to one day in advance and store it in the refrigerator. For the best texture, make the filling on the day you plan to serve the pie, as this ensures it stays light and fluffy.
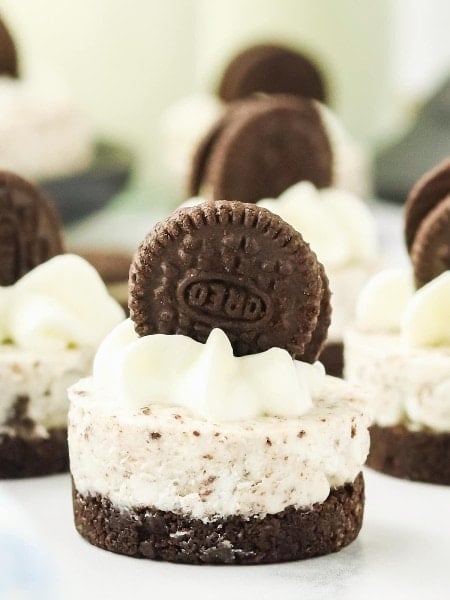
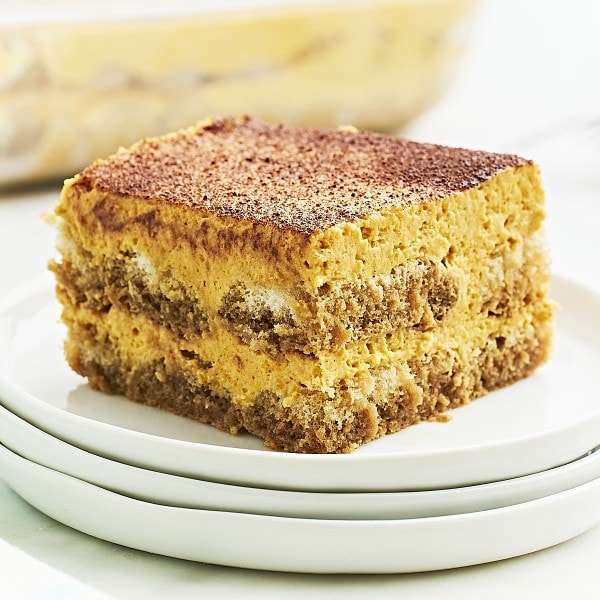
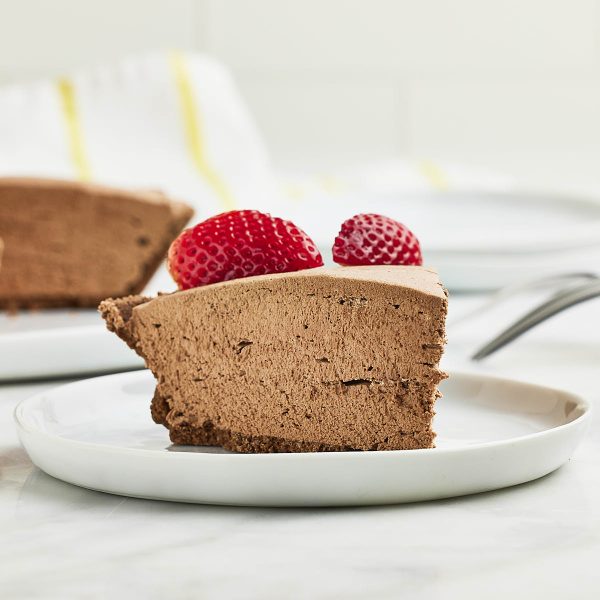
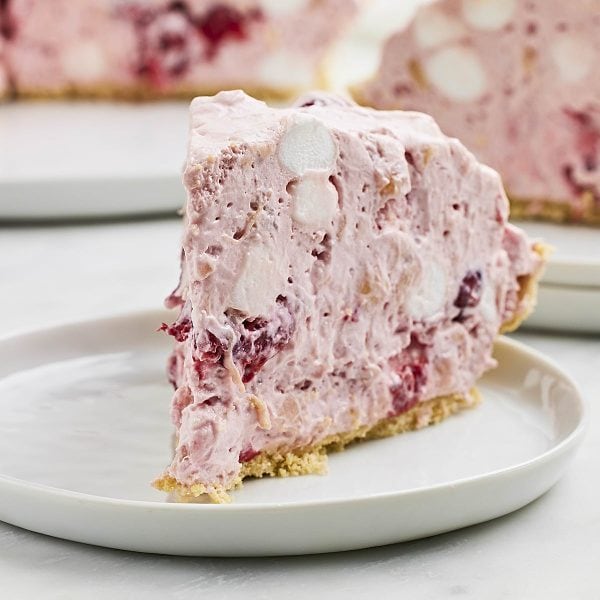
More Easy and Delicious No-Bake Dessert Recipes


Serving Suggestions
CHOCOLATE SHAVINGS – You can sprinkle a handful of chocolate shavings on top for a hint of extra richness and that little touch of elegance. They’re easy to add and really bring out the chocolatey crust!
WHIPPED CREAM – Try adding a dollop of whipped cream on each slice. It adds a light, creamy contrast to the filling, making each bite even more enjoyable. Feel free to add an extra swirl if you’re feeling fancy!
CRUSHED PEANUTS – Crushed peanuts on top might be the perfect finishing touch if you’re after some extra texture. They bring a nice bit of crunch and really complement the peanut butter filling—plus, it’s an easy way to add a little something special.
HOT FUDGE SAUCE – If you’re going all-in, try a drizzle of hot fudge sauce over each slice or on the side. It’s a simple addition that takes the chocolate-peanut butter combo up a notch, making every bite feel like a treat!
Recipe Success Tips
SOFTEN THE CREAM CHEESE – Allow the cream cheese to reach full room temperature before mixing. This prevents lumps in the filling and ensures a smooth, creamy texture. Cold cream cheese can make the filling uneven, so give it time to soften.
GENTLY FOLD IN COOL WHIP – To keep the filling light and airy, fold in Cool Whip slowly and gently. Over-mixing can cause it to deflate, making the filling dense. Use a spatula to fold until just combined for a fluffy, mousse-like texture.
CHILL FULLY – For the filling to set properly, chill the pie in the refrigerator for at least 4 hours. This step helps the flavors meld and the texture firm up, so the pie slices beautifully and tastes its best.
EVENLY PRESS THE CRUST – Press the rice crispy mixture firmly and evenly into the pie plate, covering both the bottom and sides. This helps the crust hold together when sliced, preventing any loose or crumbly edges.
More Peanut Butter Recipes
Peanut Butter Pie
Ingredients
Chocolate Crust
- ½ cup butter
- 1 cup semi-sweet chocolate chips
- 2 ½ cups rice crispy cereal
Peanut Butter Filling
- 1 8-ounces package cream cheese softened
- 1 14-ounces can sweetened condensed milk Eagle Brand, not evaporated
- ¾ cup peanut butter creamy
- 3 tablespoons lemon juice
- 1 teaspoon vanilla extract
- 1 8-ounce container Cool Whip
- 1 teaspoons Hershey Syrup
Instructions
Chocolate Crust
- Grease bottom and sides of a 9” pie plate with baking spray. Set aside.
- Melt butter and chocolate chips in a heavy saucepan, over low heat – about 5 minutes. Remove from heat and gently stir in rice crispy cereal until completely coated.
- Press mixture into the bottom and up the sides of the pie plate. Chill in the refrigerator for 30 minutes.
Peanut Butter Filling
- Beat cheese until fluffy in a large mixing bowl. Add condensed milk and peanut butter until smooth and continue to beat. Using a spoon or spatula, stir in lemon juice and vanilla. Gently fold in Cool Whip.
- Pour filling into a chilled pie crust. Drizzle syrup over the top and swirl with a knife (optional). Refrigerate and chill (uncovered) for 4 hours.
Equipment

Nutritional Information
Nutritional Disclaimer
Cheerful Cook team members are not trained nutritionists or medical professionals. Calorie information and nutritional values are estimates. If you have nutritional concerns, we recommend using a nutritional calculator.
Maike Corbett grew up in German kitchens learning to cook and bake alongside her Omas before spending over a decade running full-service restaurants in the US. She founded Cheerful Cook in 2017 to share practical, tested comfort food recipes that actually work on busy weeknights, drawing on both her American restaurant experience and her German home-cooking roots. Her work has been featured on MSN, Yahoo, the Associated Press, and other major media outlets.