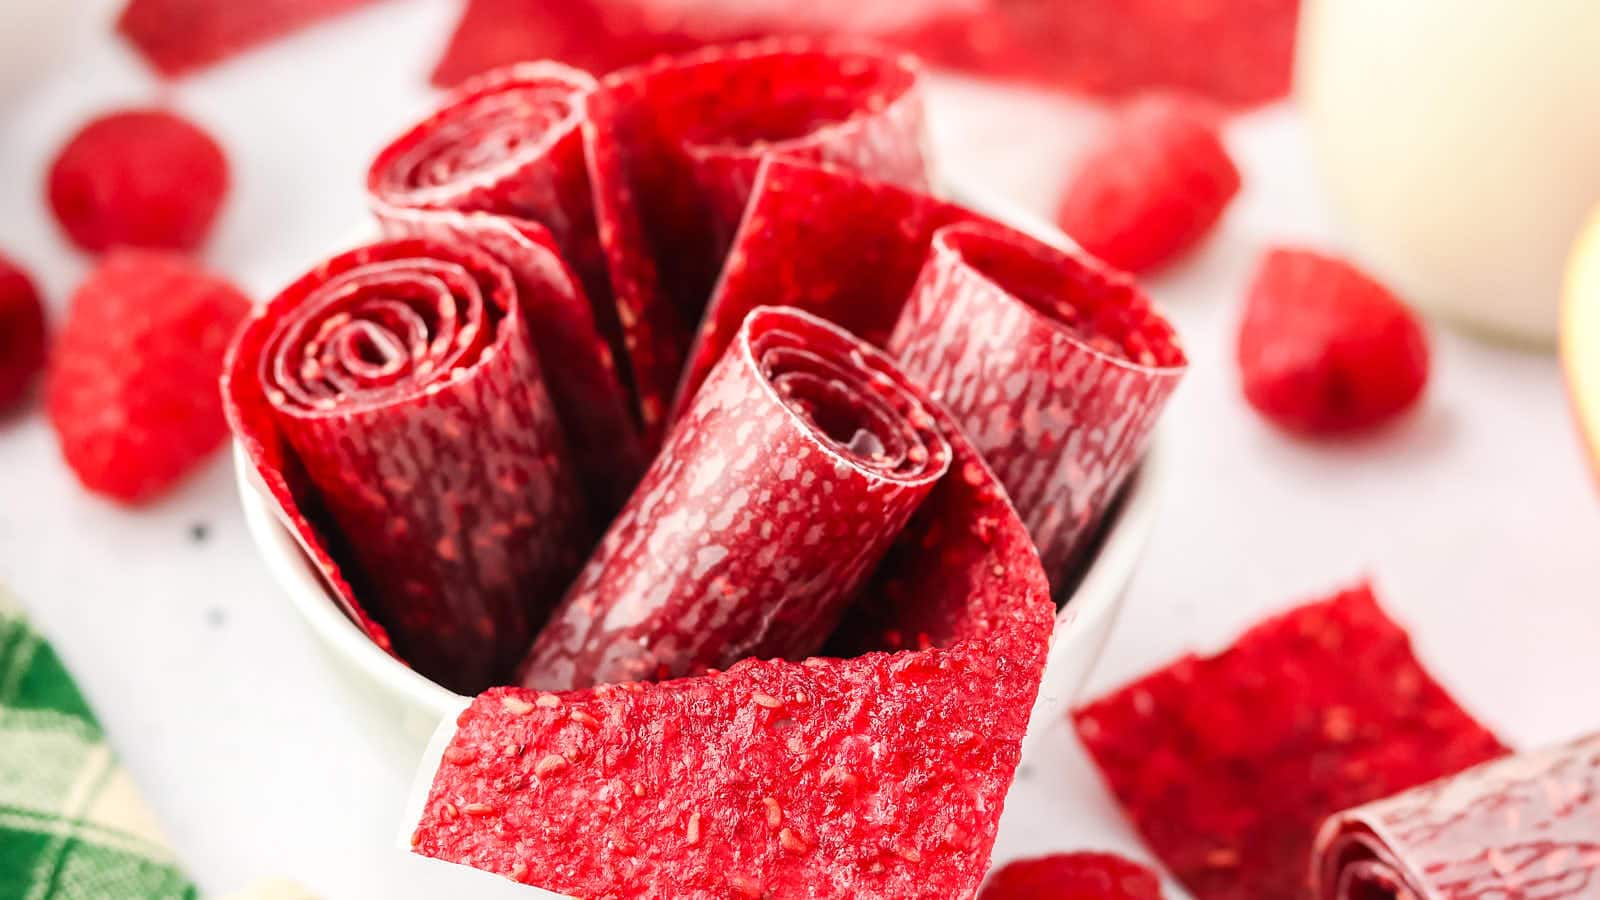
Homemade Fruit Roll Ups

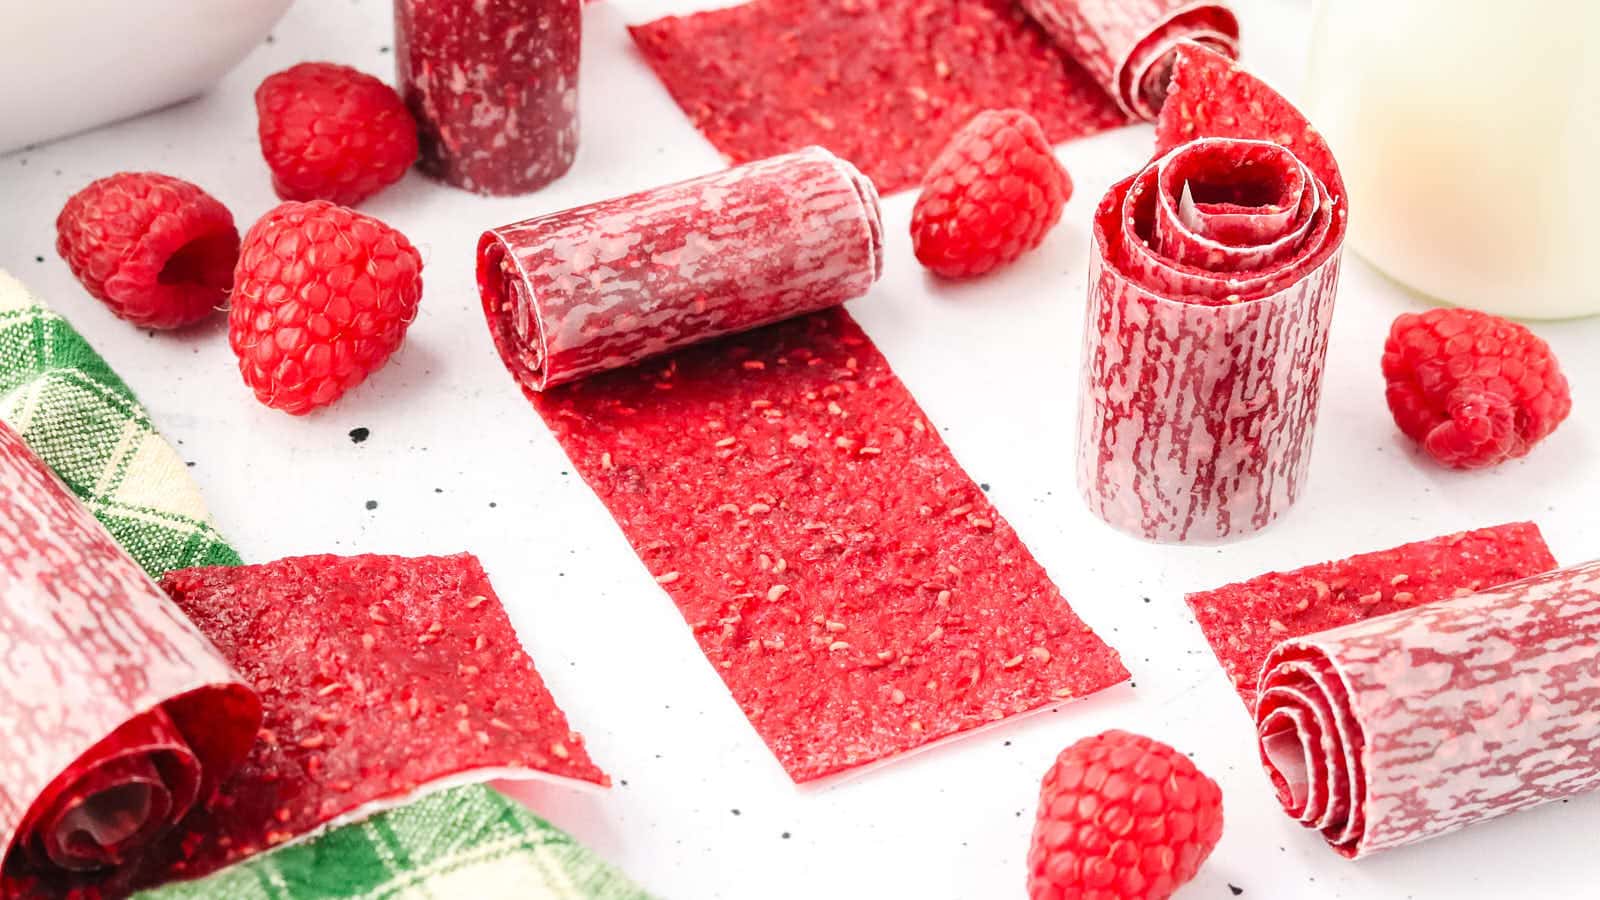
Homemade Fruit Roll Ups are a fun and easy way to enjoy a naturally sweet snack without all the extra preservatives and artificial flavors.
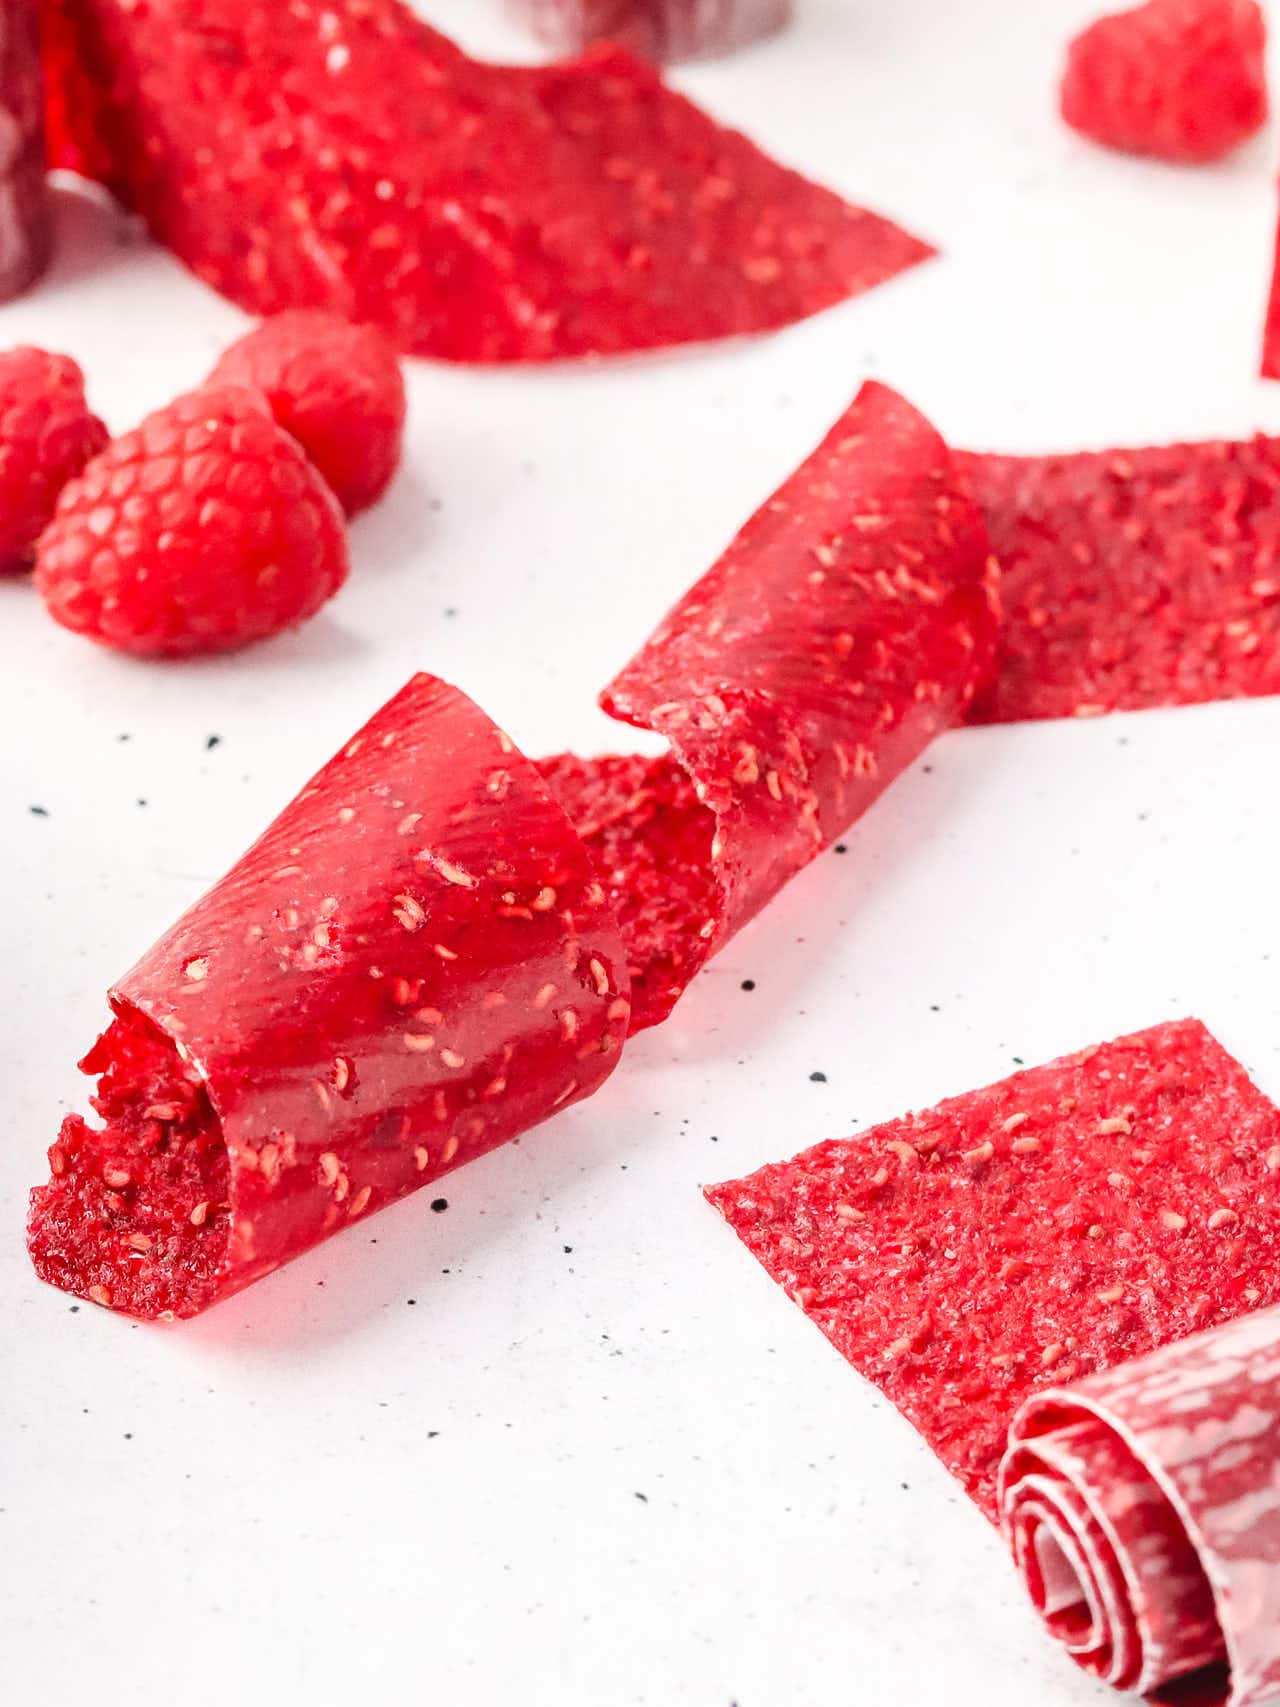
Fresh apple and raspberries blend together with a touch of honey and lemon juice, creating a smooth, spreadable mixture that bakes into perfectly chewy fruit leather.
It’s a great way to use up extra fruit and make a snack that kids and adults love.
Homemade Fruit Roll Ups Recipe Highlights
- Uses simple ingredients that are easy to find
- Perfect for meal prep and freezer-friendly
- A healthier alternative to store-bought fruit roll-ups
- Customizable with different fruits and natural sweeteners
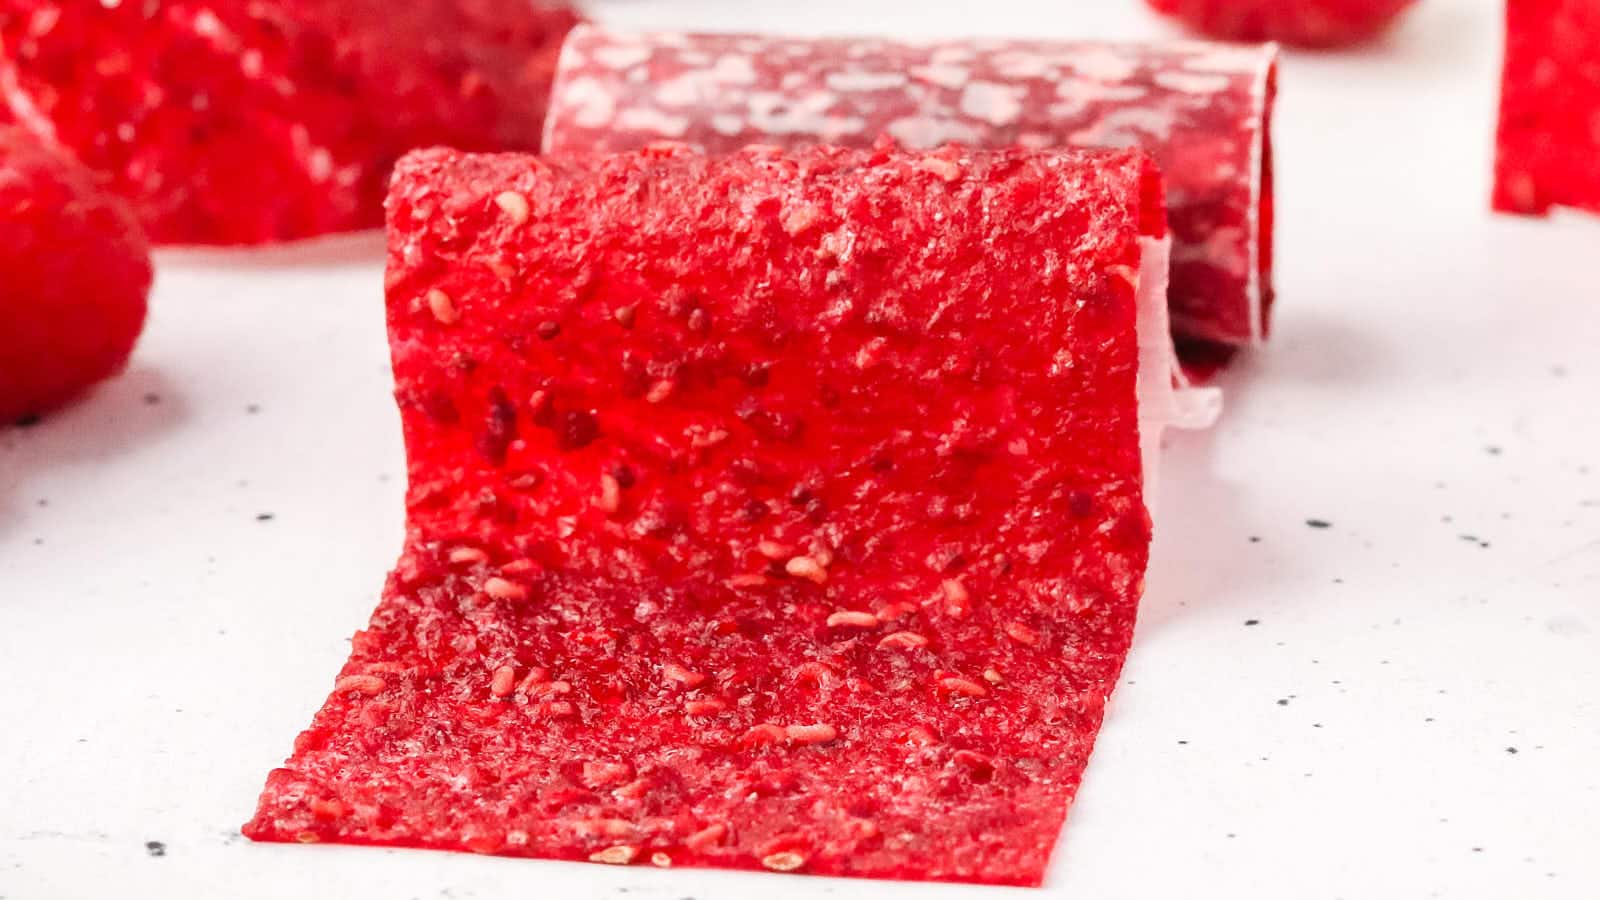
- Bakes low and slow for the perfect chewy texture
Ingredient Notes
Please check the recipe card below for a detailed, printable ingredient list.
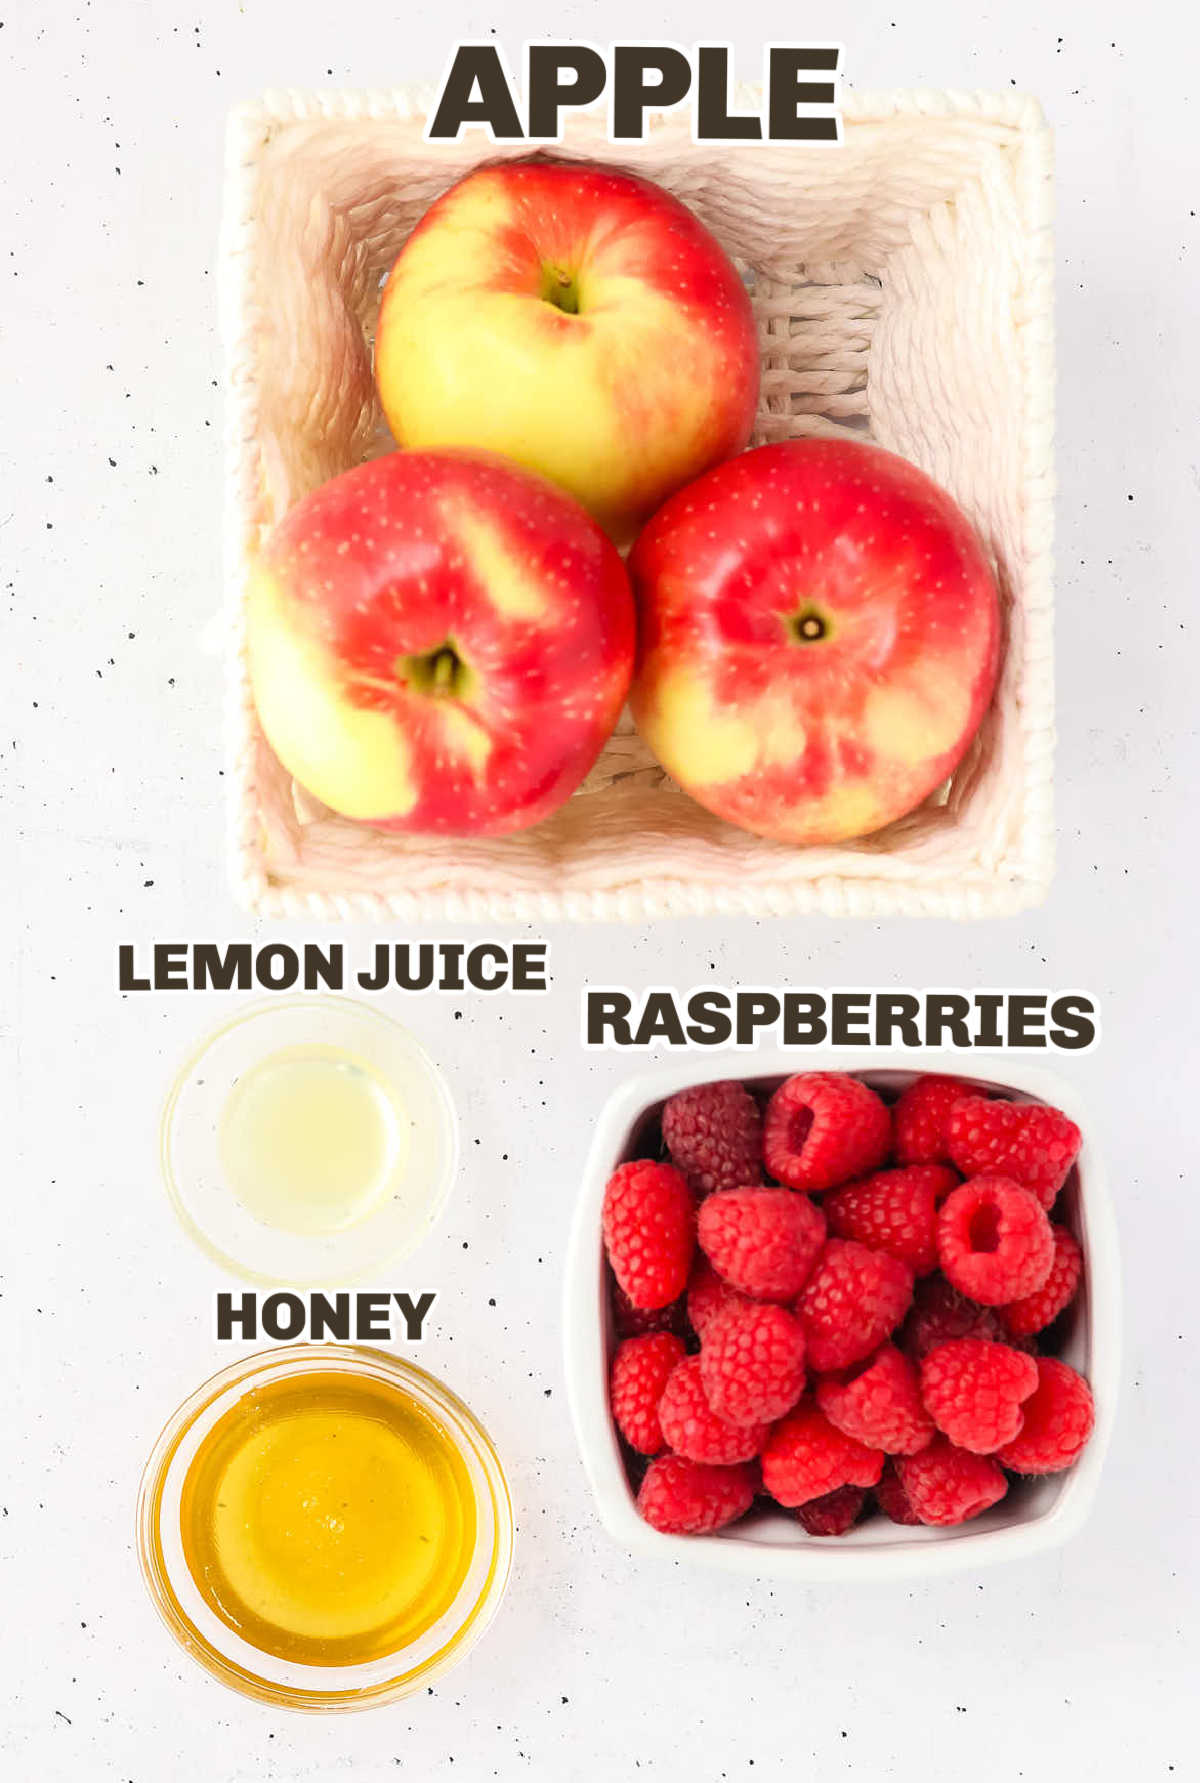
APPLE – This adds natural sweetness and helps give the fruit leather a smooth, pliable texture. A peeled and cubed large apple works best since it blends easily. Sweet apples like Honeycrisp or Fuji create a naturally sweeter roll-up, while Granny Smith adds a slight tartness. If your apples are extra juicy, you may need to bake a little longer.
RASPBERRIES – These give the fruit roll-ups a bright, tangy flavor and a gorgeous color. Fresh raspberries blend smoothly, but if using frozen, let them thaw and drain off excess liquid to avoid making the mixture too runny. If you prefer a smoother texture without seeds, strain the mixture after blending.
HONEY – A natural sweetener that adds depth and balances the tartness of the fruit. The amount can be adjusted to taste, depending on how sweet your fruit is. Maple syrup or agave work as substitutes, but they may slightly alter the flavor. If your fruit is already very sweet, you can reduce or skip the honey.
LEMON – This helps enhance the fruit’s natural flavor while keeping the color vibrant. It also acts as a natural preservative, helping the fruit leather last longer. If you don’t have lemon juice, lime juice or even a bit of orange juice can work, though they’ll slightly change the flavor.
How To Make Homemade Fruit Roll Ups
Please check the printable recipe card below for more detailed instructions.
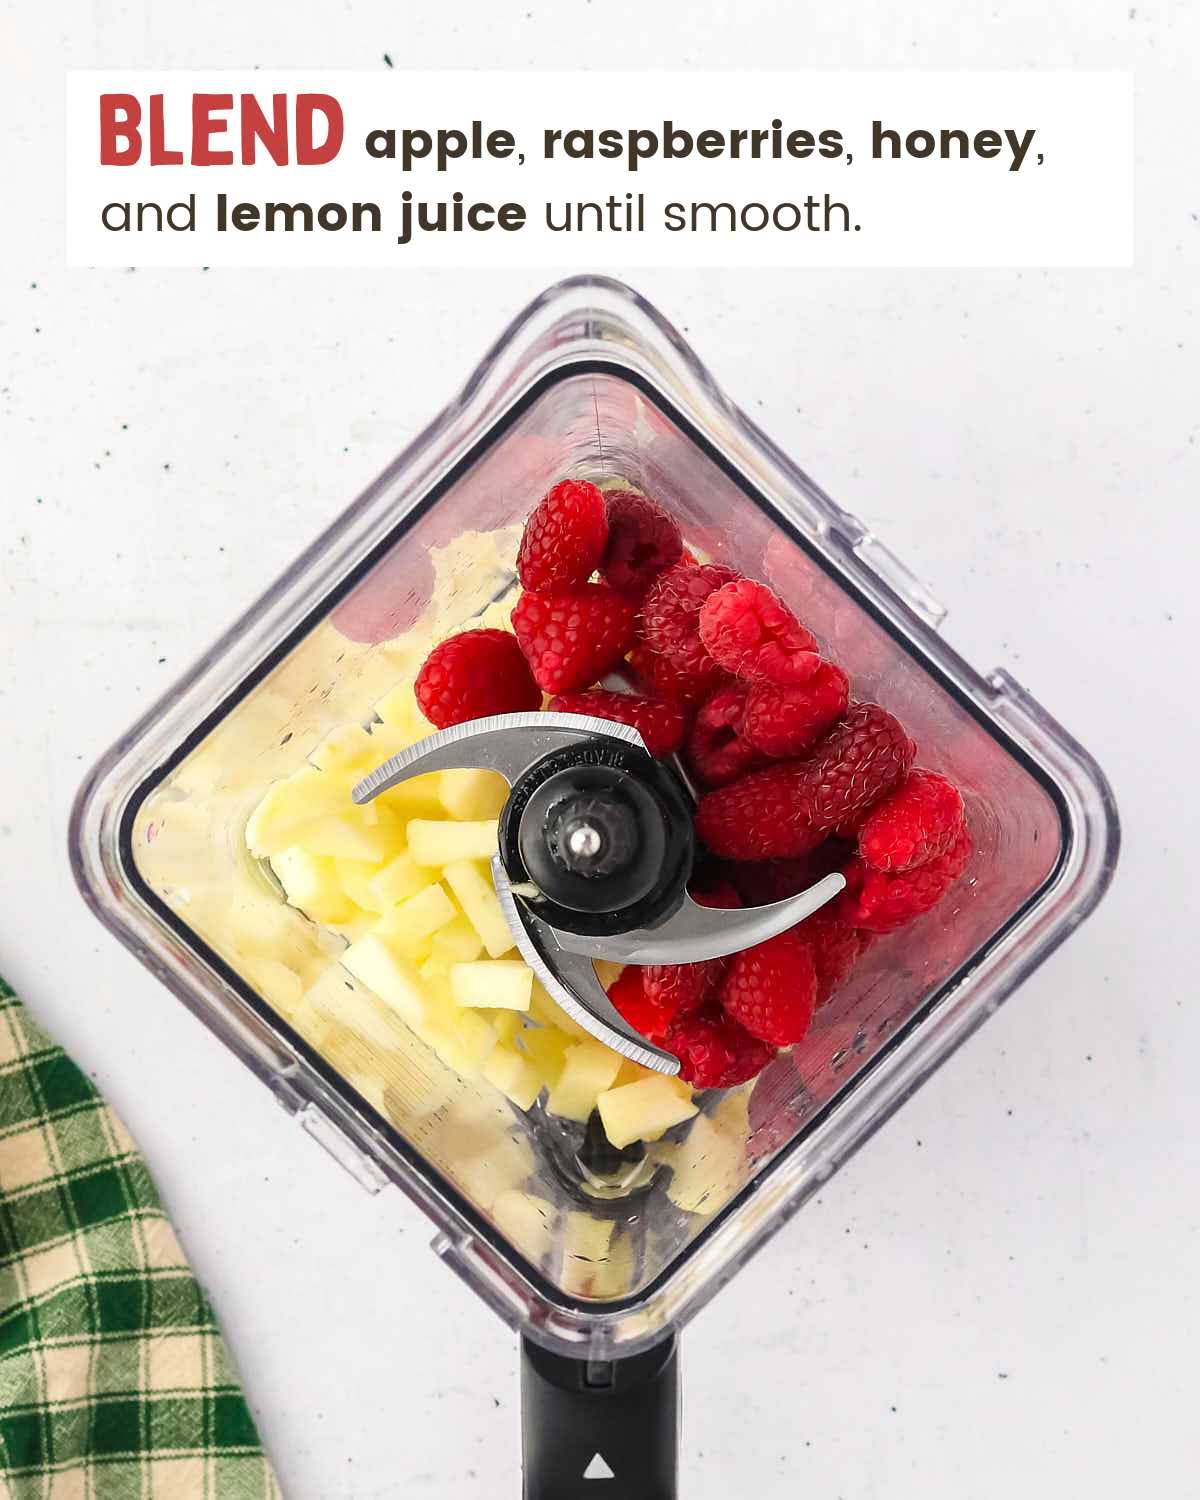

- Blend the apple, raspberries, honey, and lemon juice until smooth.
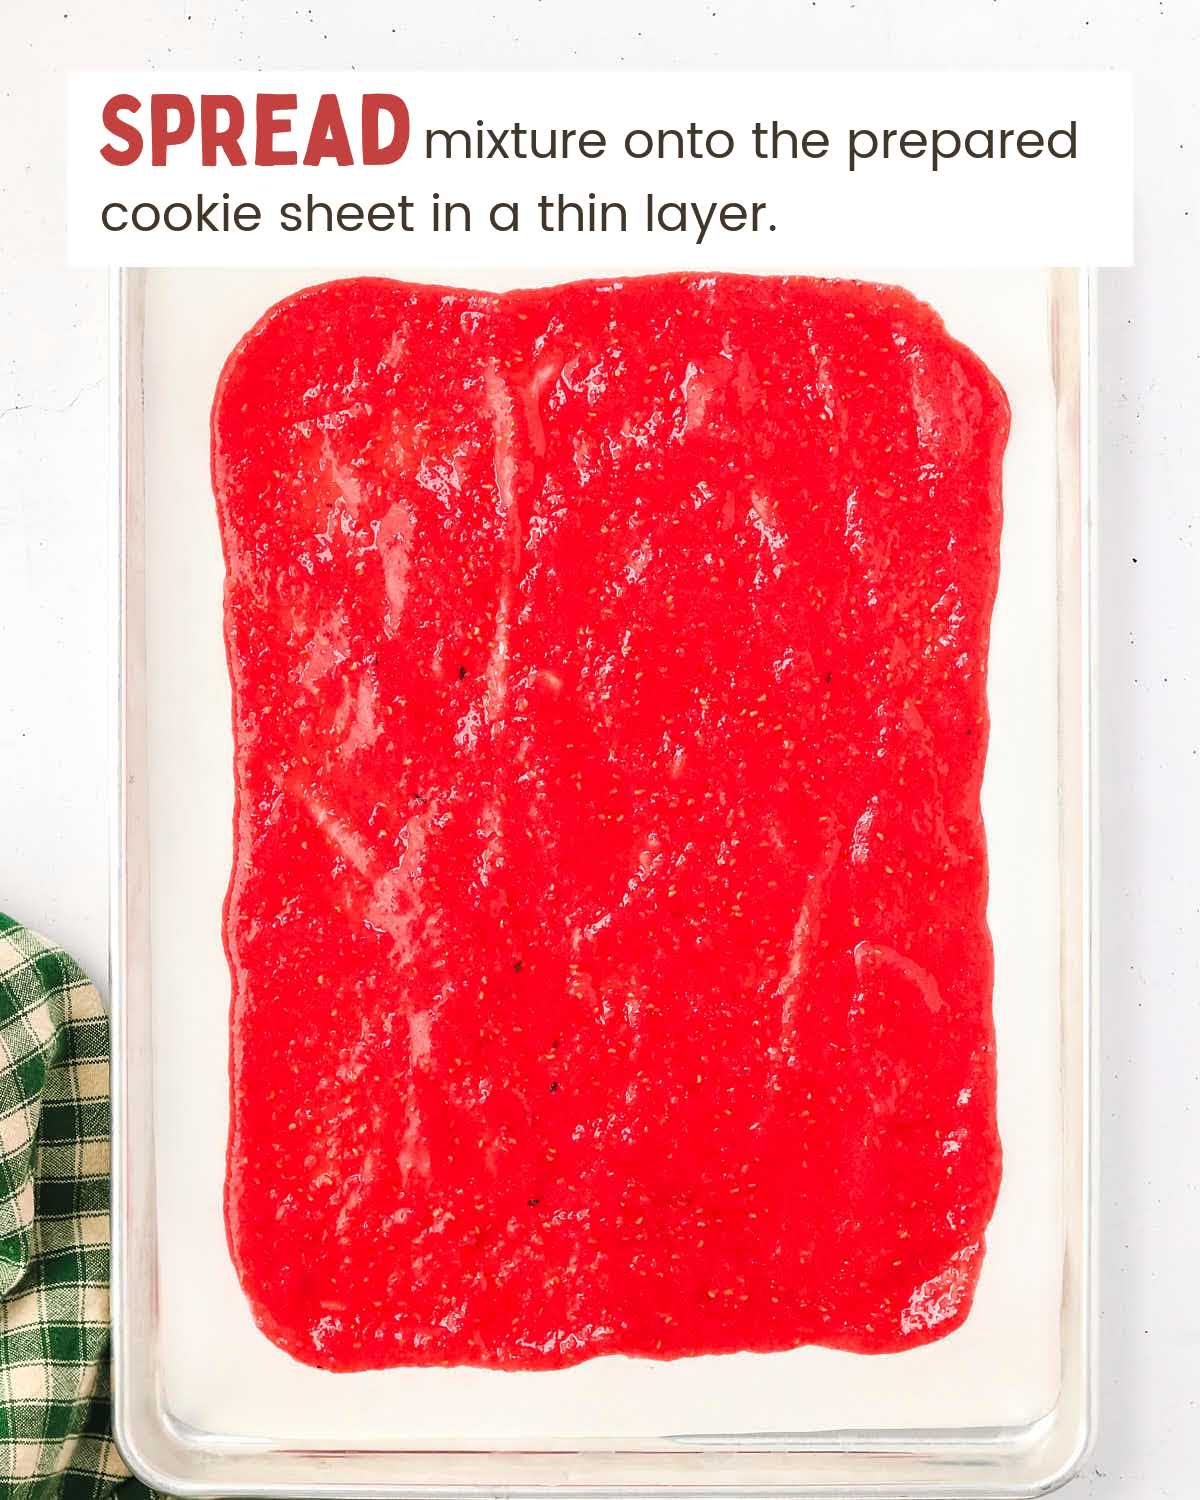
- Spread the mixture evenly on a parchment-lined baking sheet.
- Bake at 150-180º Fahrenheit for 4 hours, checking for a slightly tacky but dry texture.
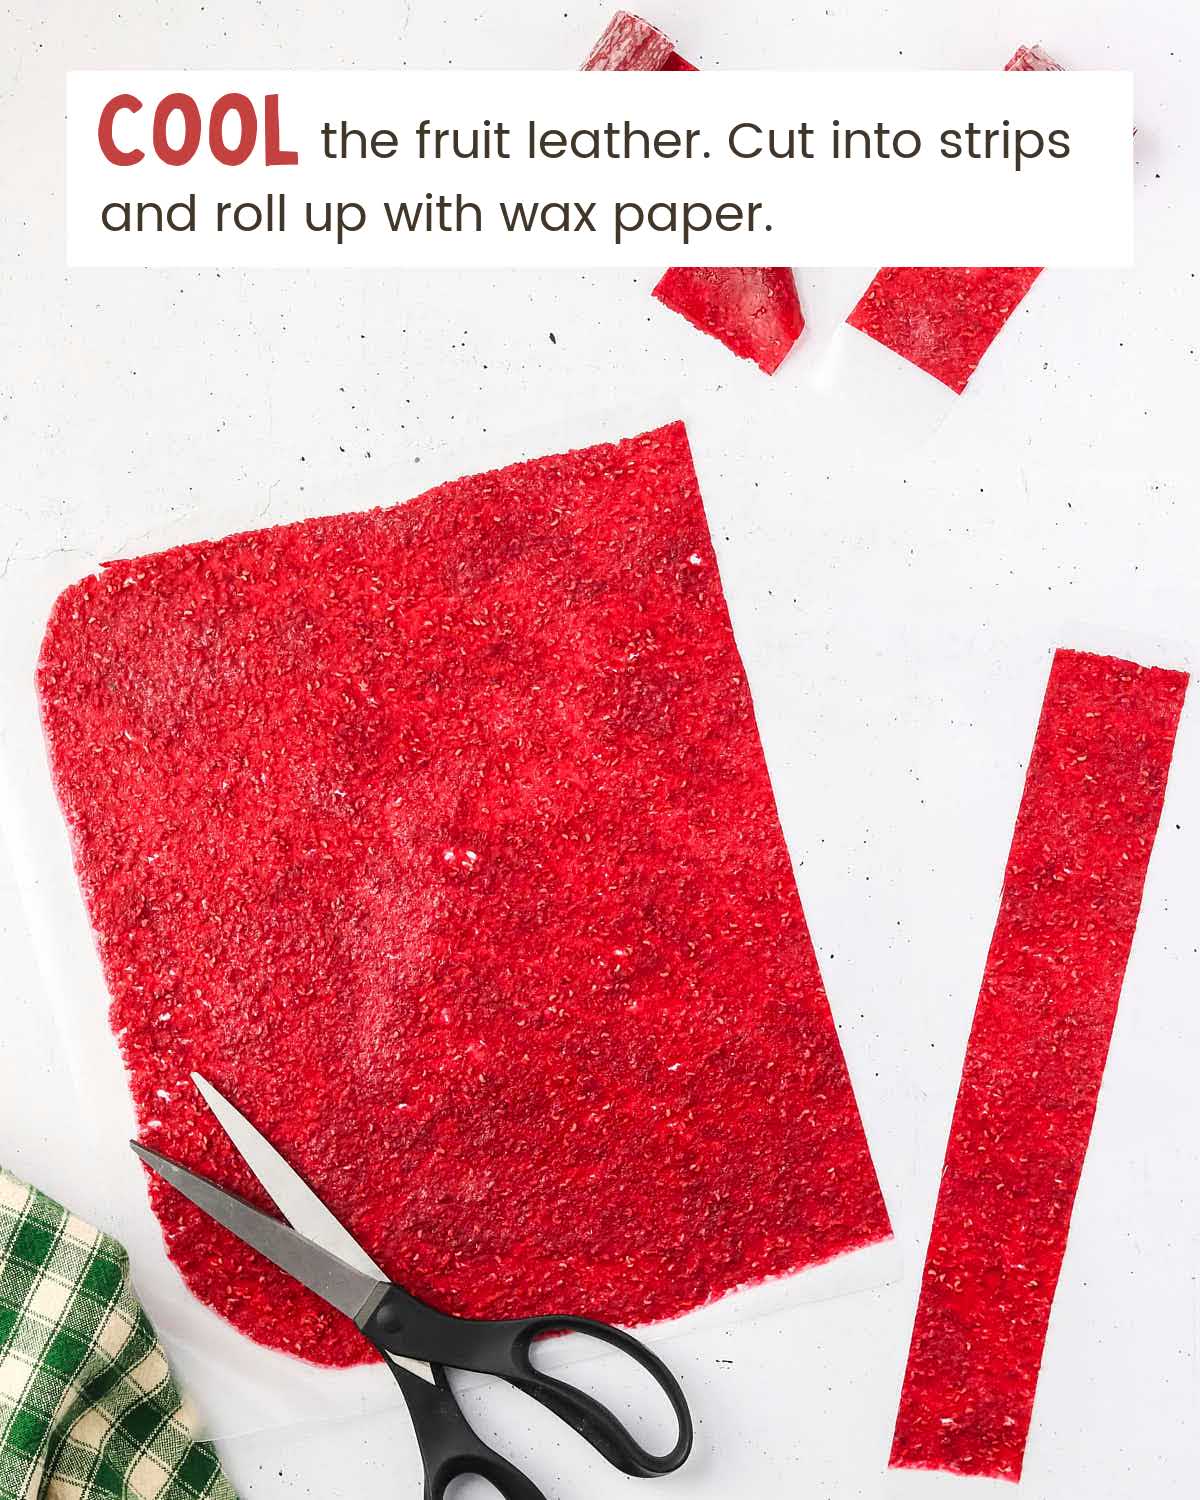
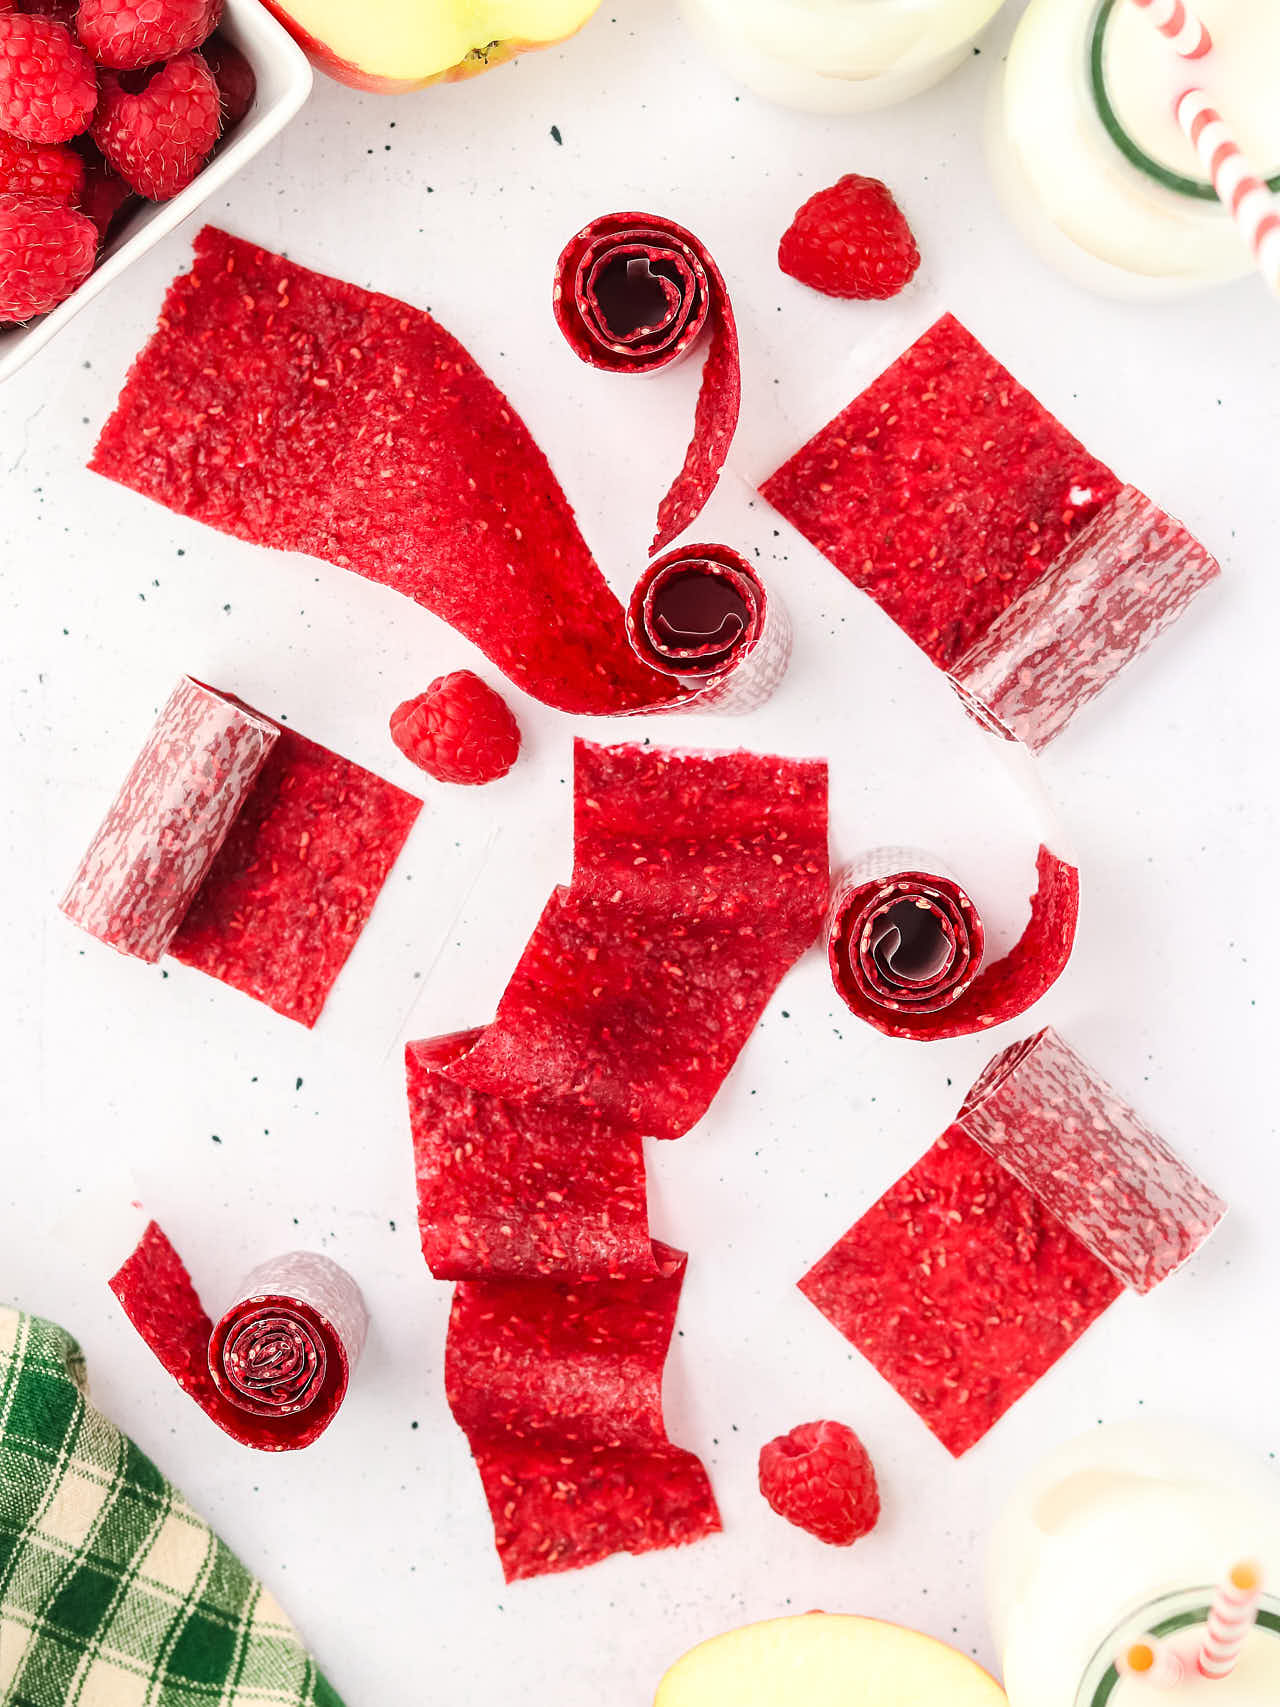
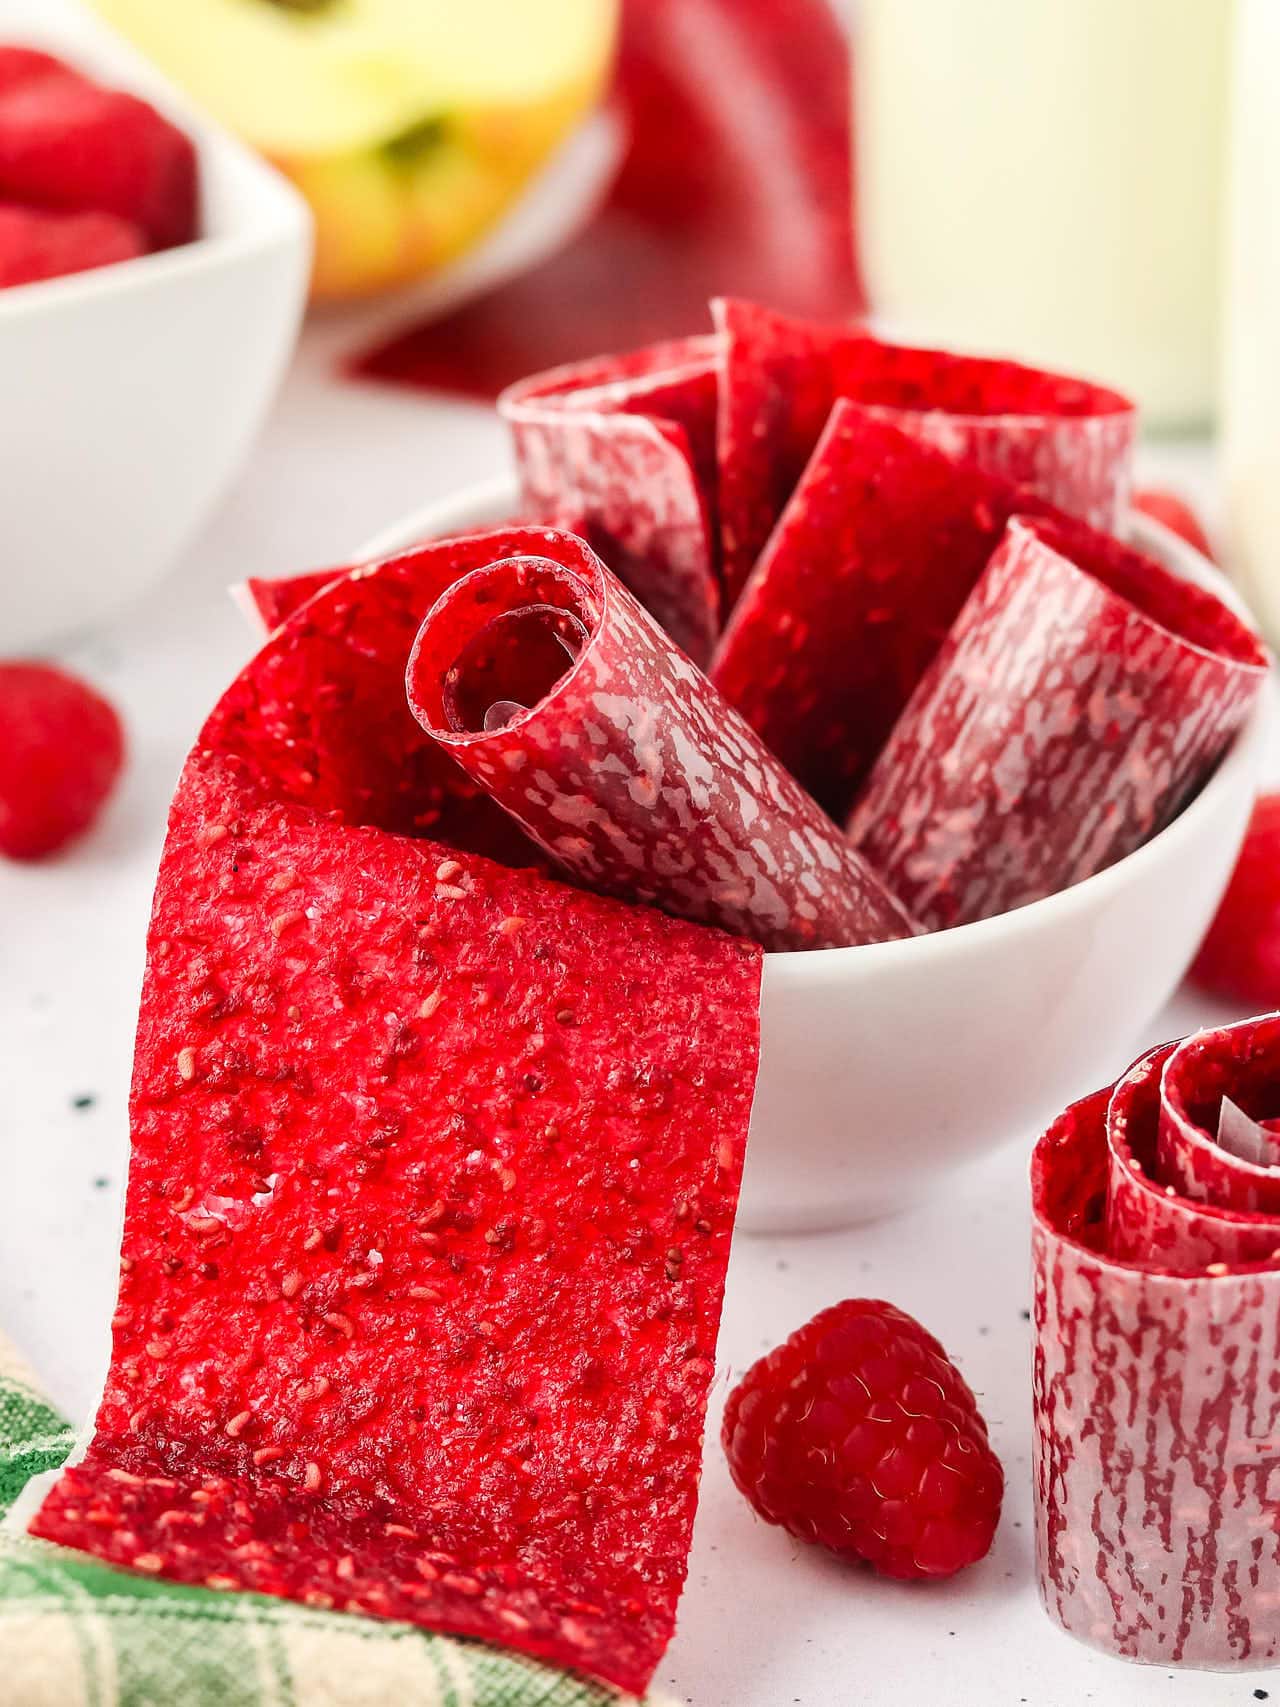
- Cool, peel from the parchment, cut into strips, and roll up with wax paper.
Leftovers and Storage
STORE – Keep fruit roll-ups in an airtight container at room temperature for up to one week. For longer storage, place them in the fridge where they will stay fresh for up to a month. Rolling them in wax paper before storing prevents sticking and makes them easier to grab.
FREEZE – Wrap each roll-up individually in wax paper and place them in a freezer-safe bag or airtight container. This keeps them fresh and prevents freezer burn. They will last up to three months. To eat, let them thaw at room temperature for a few minutes before unrolling.
MAKE AHEAD – The fruit mixture can be blended up to a day in advance and stored in an airtight container in the fridge. Give it a quick stir before spreading and baking. This is a great option if you want to break up the prep work or bake a batch fresh in the morning.
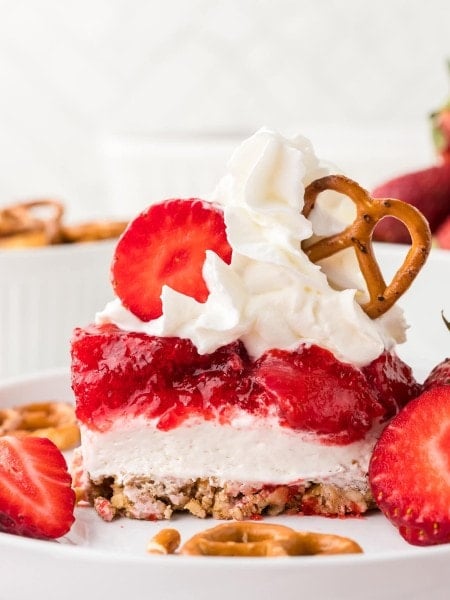
More Easy and Delicious Fruit Dessert


Serving Suggestions
PACKED IN LUNCHES – These fruit roll-ups make a fun and naturally sweet addition to lunchboxes. Wrap them individually in wax paper for an easy grab-and-go snack. Pair them with cheese cubes and crackers for a balanced meal.
WITH YOGURT – Tear the fruit roll-ups into small bite-sized pieces and mix them into Greek yogurt for a naturally sweet and fruity topping. They soften slightly when stirred in, creating a texture similar to fruit-on-the-bottom yogurt but without added sugar.
DIPPED IN NUT BUTTER – Rolling the fruit leather around a small spoonful of peanut butter or almond butter makes for a protein-packed, satisfying snack. Try drizzling with a little honey or cinnamon for an extra treat.
Recipe Success Tips
Parchment Paper vs Silicone Mat – A silicone baking mat works best, but parchment paper is an option. If using parchment, keep in mind a few things. It becomes brittle in the oven and wrinkles when wet, which can leave wrinkles in your fruit roll-ups. This won’t affect the taste or texture, but they won’t be as flat. Parchment also tends to stick to the back because of how brittle it gets. It will come off, but you’ll need to peel it carefully since the paper may tear. With a silicone baking mat, the fruit roll-ups will release easily.
SPREAD EVENLY – A thin even layer is the key to consistent drying. If the mixture is too thick in some areas and too thin in others you’ll end up with chewy edges and a sticky center. Use an offset spatula or the back of a spoon to smooth it out before baking.
TRY DIFFERENT FRUITS – This recipe is easy to customize. Strawberries mangoes and peaches all work well but you can also mix flavors for a unique blend. Try strawberry banana or peach raspberry for a fun twist.
USE WAX PAPER – Rolling the fruit leather in wax paper keeps it from sticking to itself and makes it easier to store and grab on the go. If you don’t have wax paper parchment paper works too.
SEEDS – The seeds and skin of the fruit are not removed but I know that some people have sensitivities to seeds. If you need to, you can push the puréed mixture through a sieve before pouring the fruit mixture onto the cookie sheet. This will give you less of the mixture but should remove the seeds.
Commonly Asked Questions
Can I use Frozen Strawberries?
You can use frozen raspberries but you must thaw them completely and then drain the excess liquid before starting. You may have to bake for longer, the fruit mixture will be a little runnier when using frozen fruit.
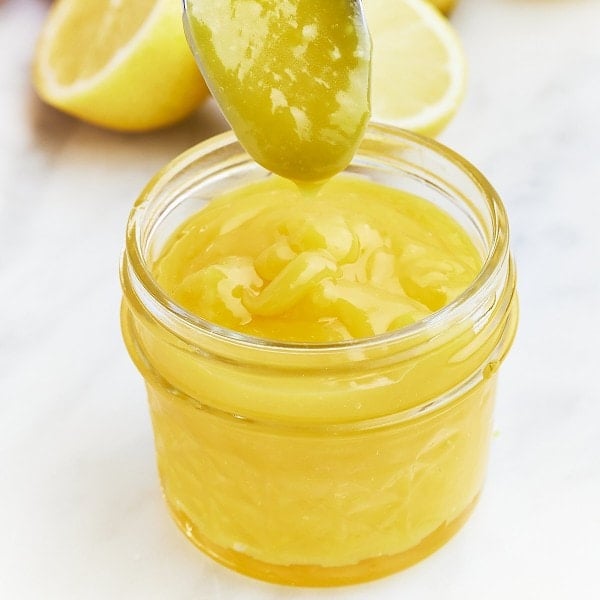
More Easy and Delicious No-Bake Desserts
Homemade Fruit Roll Ups
Ingredients
- 1 cup apple fresh, peeled and cubed, 1large apple
- 2 cups raspberries fresh
- 2 tablespoons honey
- 1 teaspoon lemon juice
Instructions
- Line an 11×17 baking sheet with parchment paper or a silicone baking mat (preferred).
- Preheat the oven to 150-180º Fahrenheit. The temperature should be as low as the oven can go.
- Blend the apple, raspberries, honey, and lemon juice into a blender or food processor until smooth.
- Spread the fruit mixture onto the prepared cookie sheet. The mixture should be very thin but even and not show any white from the parchment paper.
- Bake in a preheated oven for 4 hours.
- Check the fruit by touching the middle. It will be slightly sticky but if any of the fruit mixture attaches to your finger, it is not ready yet. Bake for an additional 30 minutes and check again.
- Once the fruit has stopped sticking to your finger, remove the baking sheet from the oven. Cool completely on the pan.
- Cut a piece of wax paper approximately the same size at your fruit roll ups.
- Once cool, remove the fruit ‘leather’ from the baking mat or parchment paper. Place it on the sheet of wax paper.
- Use clean scissors to cut the fruit into strips and roll up.
Nutritional Information
Nutritional Disclaimer
Cheerful Cook team members are not trained nutritionists or medical professionals. Calorie information and nutritional values are estimates. If you have nutritional concerns, we recommend using a nutritional calculator.
Maike Corbett grew up in German kitchens learning to cook and bake alongside her Omas before spending over a decade running full-service restaurants in the US. She founded Cheerful Cook in 2017 to share practical, tested comfort food recipes that actually work on busy weeknights, drawing on both her American restaurant experience and her German home-cooking roots. Her work has been featured on MSN, Yahoo, the Associated Press, and other major media outlets.